When people think about painting, they often focus on choosing colours. But in reality, a beautiful paint finish starts long before the first coat of paint is applied.
One of the most common things we hear from homeowners, builders, and property managers is:
“The drywall is finished, but the walls don’t look right.”
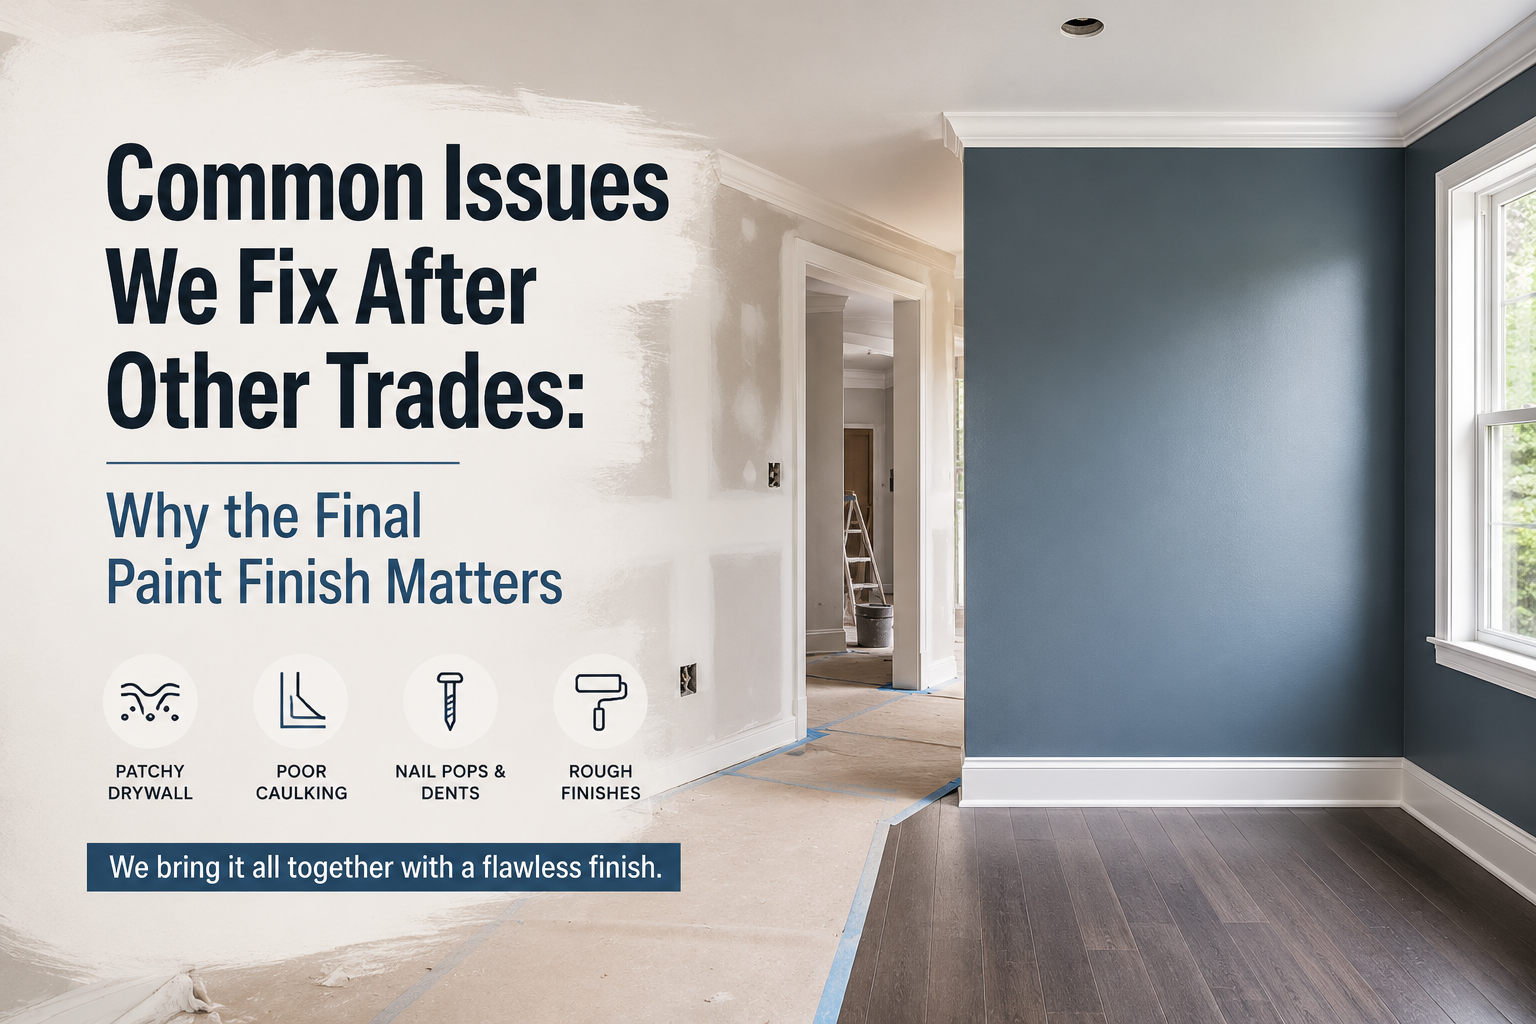
The truth is that painters are often the last trade to work on a project, which means we’re also the ones who discover—and fix—many of the imperfections left behind by previous trades.
Here’s a closer look at some of the most common issues we encounter and why proper preparation makes all the difference.
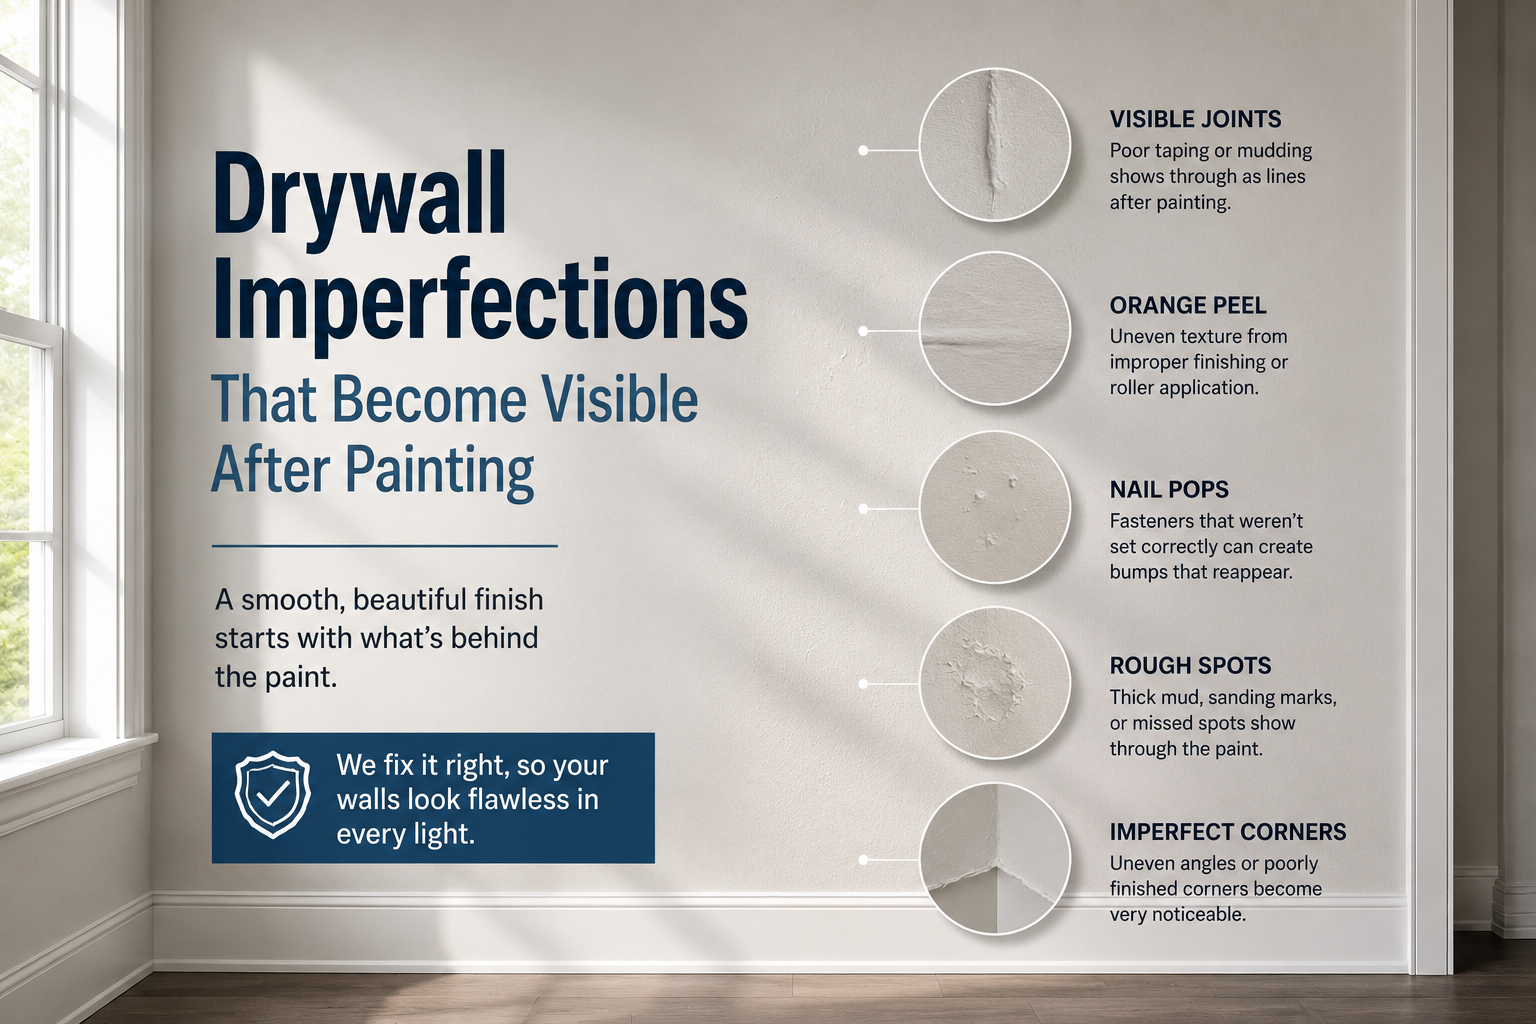
Drywall Imperfections That Become Visible After Painting
Fresh drywall can look perfectly smooth at first glance. However, once paint is applied—especially in rooms with lots of natural light—even minor imperfections become much more noticeable.
Some common drywall issues include:
Uneven joints
Visible seams
Poorly feathered mudding
Sanding marks
Nail or screw pops
Corner bead imperfections
Surface waviness
Many homeowners don’t notice these flaws during construction because drywall compound and primer can hide them temporarily. Once the final paint colour goes on, especially darker shades or finishes with any sheen, these imperfections can suddenly stand out.
We’ve walked into countless projects where clients say:
“We didn’t notice that before the walls were painted.”
That’s because paint doesn’t hide flaws—it highlights them.
A professional painter spends time inspecting every surface before painting begins. Small corrections made early can dramatically improve the final appearance of the room.
Damage Caused During Construction
Even when drywall work is completed properly, other trades often continue working throughout the project.
Electricians install fixtures.
Plumbers complete finishing work.
Cabinet installers move large materials through hallways.
Flooring crews bring equipment in and out of rooms.
As a result, walls and ceilings frequently suffer small amounts of damage before painting is completed.
We regularly repair:
Dents and dings
Scratches
Gouges in drywall
Damaged corners
Scuffed surfaces
Ceiling repairs around light fixtures
Holes left from changes during construction
These issues may seem minor individually, but together they can significantly affect the finished appearance of a home or commercial space.
Before painting, we carefully inspect all surfaces and make necessary repairs so the final result looks seamless.
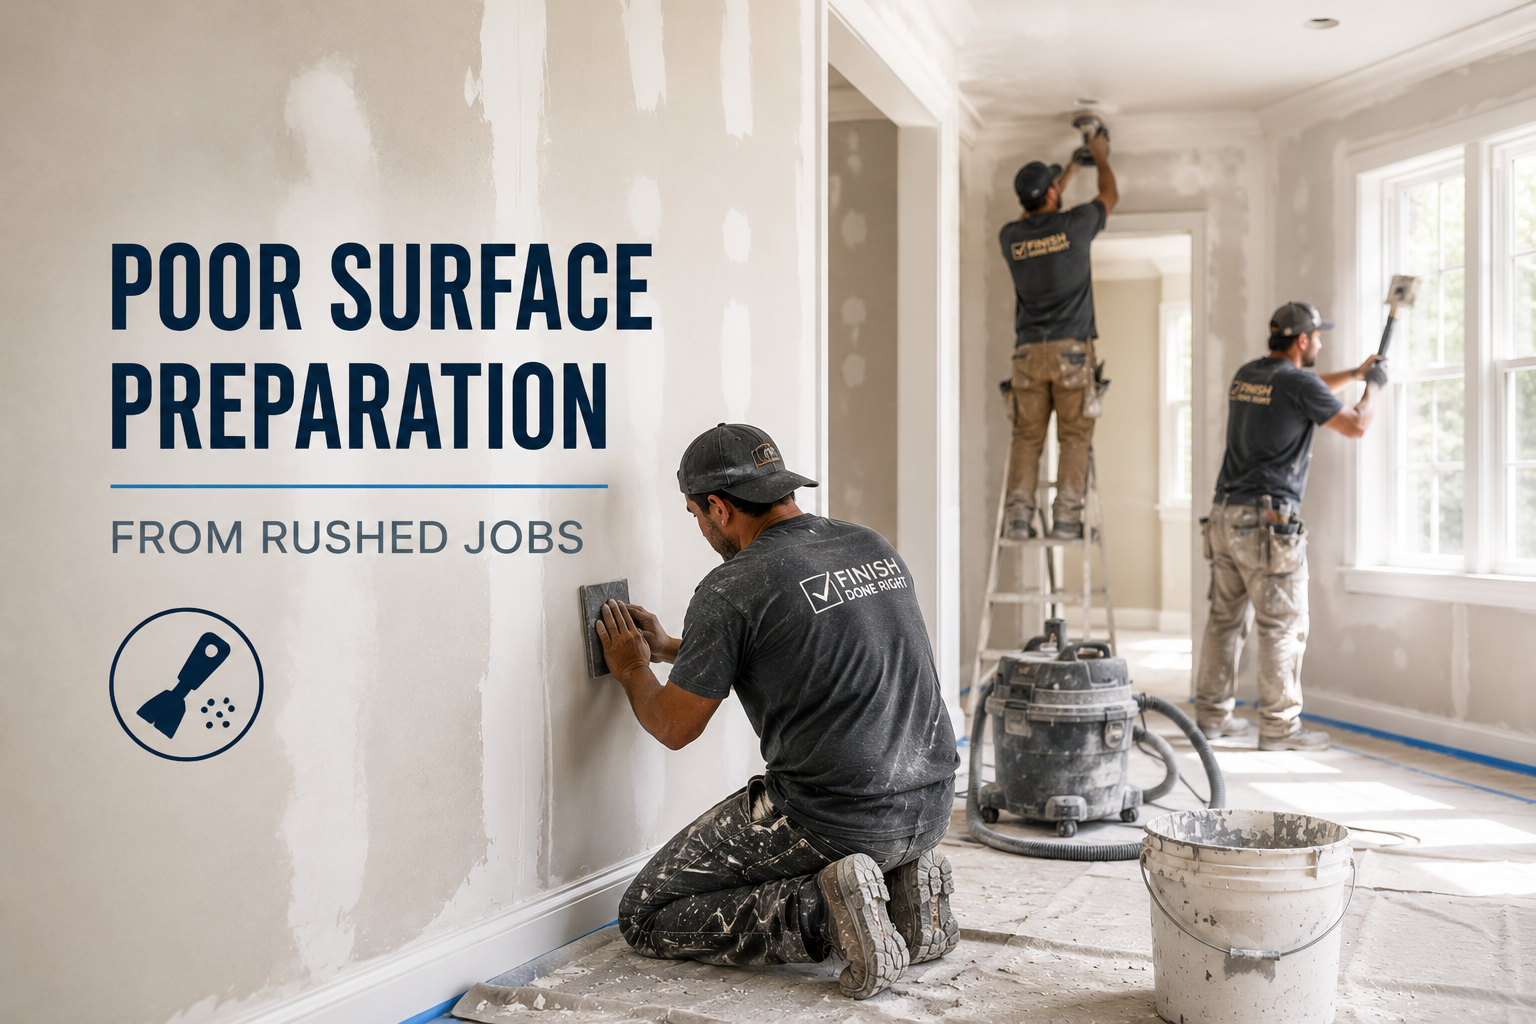
Poor Surface Preparation From Rushed Jobs
In today’s fast-paced construction environment, deadlines can sometimes take priority over quality.
When projects are rushed, preparation is often the first thing sacrificed.
Unfortunately, no amount of premium paint can compensate for poor prep work.
Some examples we commonly encounter include:
Dust left on surfaces
Incomplete sanding
Poor patch repairs
Unfilled nail holes
Uneven caulking
Paint applied over damaged surfaces
Areas that were never properly primed
These shortcuts may save time initially, but they often create problems that become obvious once the project is complete.
Homeowners frequently contact us after noticing:
Rough wall surfaces
Visible patches
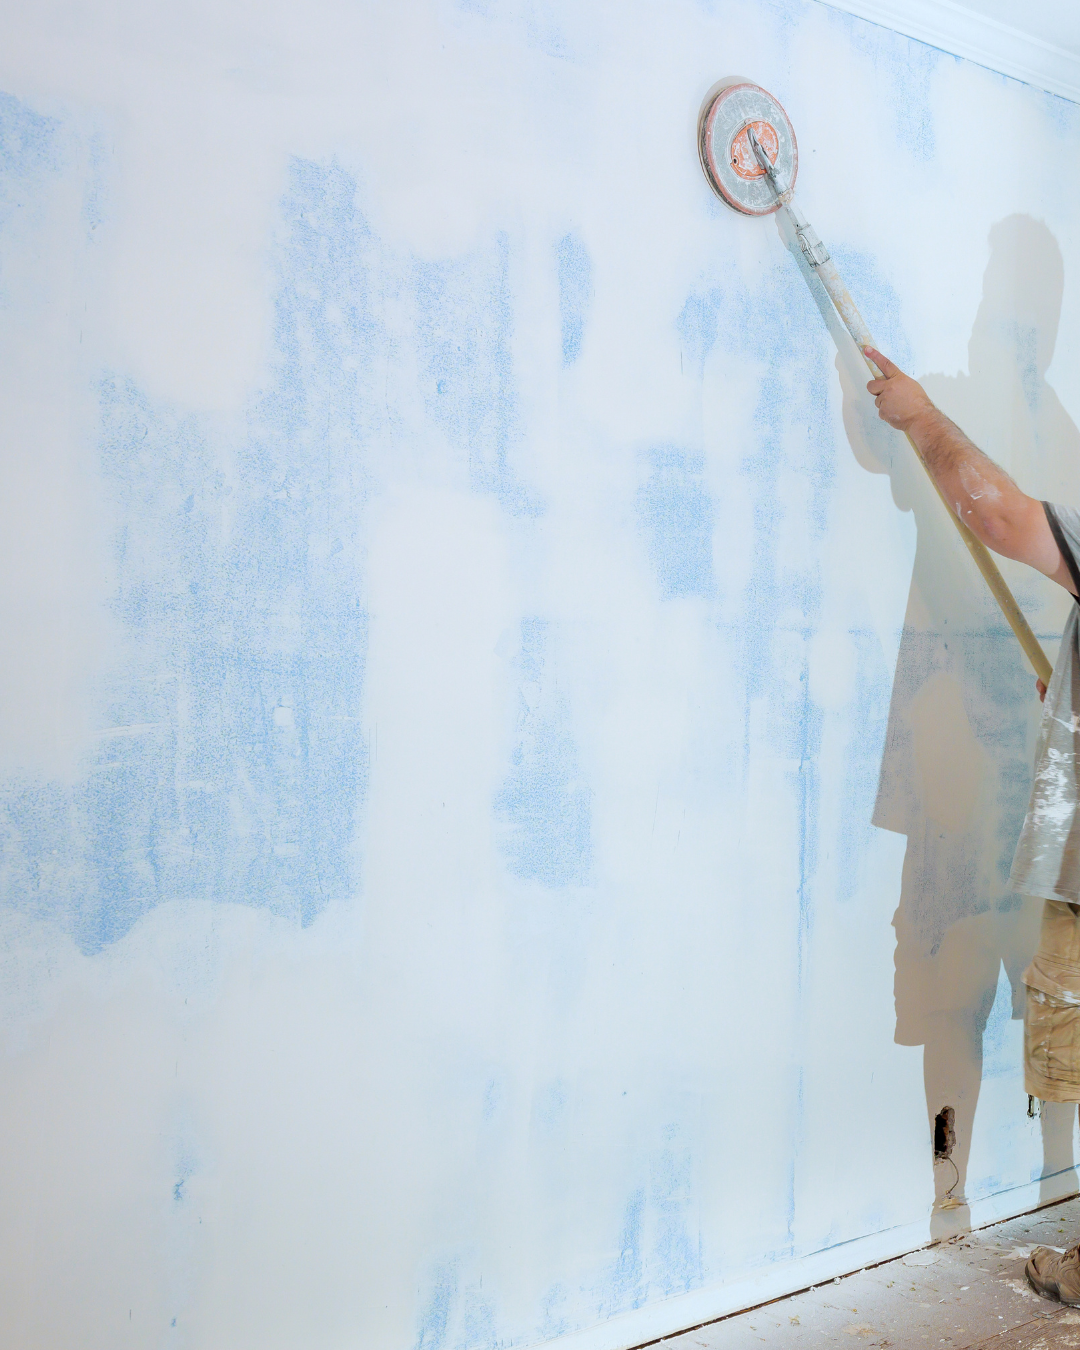
Flashing or uneven paint appearance
Peeling paint
Poor adhesion
Inconsistent finishes
Proper preparation may not be the most exciting part of painting, but it is what separates an average finish from a professional one.
Uneven Caulking and Trim Gaps
Trim work can dramatically enhance a room—but only when the finishing details are done correctly.
We often see:
Gaps between trim and walls
Inconsistent caulking lines
Cracked caulking
Nail holes that weren’t properly filled
Rough trim surfaces
These small details may seem insignificant during construction, but once painted, they can become surprisingly noticeable.
A professional painting team takes the time to fill, caulk, sand, and refine these areas before applying paint, creating crisp, clean lines throughout the space.
Lighting Reveals Everything
One of the biggest surprises for homeowners is how much lighting affects the appearance of walls.
Natural sunlight, pot lights, pendant fixtures, and modern LED lighting can expose imperfections that weren’t visible during construction.
This is especially common in:
Hallways
Staircases
Open-concept living spaces
Large feature walls
Home offices
Rooms with oversized windows
We’ve had clients wonder why a wall looked perfect one day and flawed the next.
The answer is often lighting.
As professional painters, we inspect surfaces under different lighting conditions to identify imperfections before the final coat is applied.
Why Hiring Professional Painters Matters
Many people assume painting is simply about applying colour to walls.
In reality, a significant portion of our work involves correcting, preparing, repairing, and refining surfaces before painting even begins.
The best paint jobs aren’t just about what you see.
They’re about what was fixed beforehand.
A smooth, flawless finish comes from careful preparation, attention to detail, and years of experience identifying issues that others may overlook.
The Bottom Line
Painting is often the final step that brings a project together—but it’s also the stage where hidden imperfections become visible.
Whether it’s drywall flaws, construction damage, rushed preparation, or finishing details that were overlooked, professional painters frequently play a key role in correcting issues left behind by previous trades.
The result is a cleaner, smoother, and more polished space that homeowners, builders, and business owners can be proud of.
Need Help Getting Your Project Finished the Right Way?
At CAM Painters, we don’t just paint walls—we help ensure every surface looks its absolute best before the first coat goes on. If you’re planning a renovation, new build, office refresh, or home update, our team is here to deliver the professional finish your project deserves.
Contact us today for a free estimate and see the difference proper preparation can make.
When people think about painting a home, they usually imagine the final result—fresh, clean walls and a beautiful new color transforming the space.
But here’s the truth most homeowners don’t see:
A flawless paint job is never about the paint alone. It’s about the preparation behind it.
At CAM Painters, we believe the difference between an average result and a long-lasting, professional finish always comes down to one thing: prep work.
Why Preparation Matters So Much
Painting over a poorly prepared surface is like building a house on weak foundations. It might look fine at first—but problems show up quickly.
Without proper prep, you can expect:
Peeling paint within months
Visible cracks and uneven texture
Poor color coverage
Shortened lifespan of the paint job
That’s why we never rush this stage. It sets the foundation for everything that follows.
Step 1: Surface Preparation
Before any paint touches a wall, we carefully inspect and prepare the surface.
This includes:
Removing dust, grease, and stains
Fixing holes, dents, or imperfections
Scraping off loose or flaking paint
Ensuring the surface is stable and clean
This step ensures the paint actually bonds properly to the wall—not just sits on top of it.
Step 2: Proper Sanding
Sanding is what creates that smooth, professional feel you notice in high-end homes.
We sand surfaces to:
Smooth out imperfections
Even out patched areas
Create the right texture for paint adhesion
Skipping this step leads to rough finishes and visible flaws under certain lighting. That’s why we take our time to get it right.
Step 3: Clean, Sharp Edges
One of the biggest differences between amateur and professional painting is the detail work.
We focus heavily on:
Straight, crisp cut lines
Clean transitions between walls, ceilings, and trim
No paint bleed or uneven edges
These small details are what make a room feel truly finished and professionally done.
Why Most People Skip Prep Work
In many cases, rushed or low-cost painters skip or minimize prep work to save time.
While it might make the job faster, it almost always leads to:
Lower durability
Visible imperfections
Earlier need for repainting
What looks like a “cheaper job” upfront often ends up costing more in the long run.
Our Approach at CAM Painters
We don’t cut corners. Ever.
Every project—big or small—follows a process built around:
Careful preparation
Attention to detail
Clean, professional execution
Long-lasting results
Because we don’t just want your space to look good today—we want it to stay that way for years.
The Final Result
When prep work is done right, everything changes:
Paint applies smoother
Colors look richer and more consistent
Surfaces feel cleaner and more refined
The finish lasts significantly longer
That’s the difference you can see—and feel.
Thinking About Your Next Project?
If you’re planning to refresh your home, don’t just think about color—think about quality.
Let’s do it properly from the start.
📩 Email: info@campainters.com 📞 Phone: (416) 499-6120 💬 Or send us a message for a free estimate
If you’re planning to repaint your Toronto home, chances are you’ve asked this question:
“Do I really need to prime, or can I just paint?”
It’s a fair question. Primer can feel like an extra step—but in Toronto’s climate and with the variety of home surfaces we see, priming is often the difference between a paint job that looks great for years and one that starts failing far too soon.
Let’s break it down in a simple, homeowner-friendly way.
What Does Primer Actually Do?
Primer isn’t just watered-down paint. It’s specially formulated to:
Create a strong bond between the surface and the paint
Seal porous materials so paint absorbs evenly
Block stains, tannins, and odours from bleeding through
Improve durability so your paint lasts longer
In short, primer sets the foundation for a flawless finish.
Why Priming Matters in Toronto Homes
Toronto homes face unique challenges that make priming especially important:
1. Extreme Weather Changes
Toronto’s freeze–thaw cycles, humid summers, and dry winters cause surfaces to expand and contract. Primer helps stabilize the surface so paint adheres properly instead of cracking or peeling.
2. Older Homes & Mixed Materials
Many Toronto homes feature plaster walls, repaired drywall, brick, wood trim, or previously painted surfaces layered over decades. Primer ensures consistency across different materials.
3. Moisture & Humidity
Kitchens, bathrooms, basements, and older homes without modern ventilation benefit greatly from moisture-resistant primers that prevent mold and paint failure.
When You Absolutely Need Primer
You should never skip primer if:
You’re painting new drywall or plaster
You’ve done patching, repairs, or skim coating
You’re covering dark colours with lighter ones
There are water stains, smoke damage, or nicotine stains
You’re painting bare wood, metal, or masonry
You’re changing from oil-based paint to latex
Skipping primer in these cases often leads to uneven colour, flashing, peeling, or stains reappearing.
When You Might Be Able to Skip Primer
In limited situations, primer may not be necessary if:
The existing paint is in excellent condition
You’re repainting with a similar colour
The surface is clean, smooth, and properly prepped
Even then, many professionals still use a light primer coat to ensure uniform results—especially on high-visibility walls.
This is one of the most common misconceptions.
Paint-and-primer products are great for colour coverage, but they do not replace true primer when:
Sealing stains
Bonding to raw surfaces
Blocking moisture or odours
Painting problem areas
Think of them as a convenience product—not a universal solution.
The Professional Advantage
Professional painters don’t just ask if primer is needed—they determine:
Which type of primer (bonding, stain-blocking, moisture-resistant)
Where it’s needed most
How many coats are required
This tailored approach is what gives professional paint jobs their smooth finish and long lifespan.
So, Do You Need to Prime Your Toronto Home?
In most cases—yes.
Priming is an investment in:
Better colour accuracy
Longer-lasting results
Fewer touch-ups and repaints
Protection against Toronto’s climate
It may add a step, but it saves time, money, and frustration in the long run.
Thinking About Repainting?
If you’re unsure whether your space needs primer—or what type is best—it’s always worth getting expert advice.
A properly primed home doesn’t just look better on day one. It stays beautiful for years.
Ready to get started? Contact a professional painting team to assess your space and create a finish that lasts.
When you live in the heart of Toronto, your home isn’t just a place to rest — it’s your personal sanctuary above the city buzz. Our recent downtown project perfectly captures that balance of calm sophistication and urban edge.
The Power of a Thoughtful Palette
This condo features two standout shades that work together seamlessly:
Oxford White OC-30 by Benjamin Moore – a timeless, clean white that reflects natural light beautifully and opens up compact city spaces.
Down Pipe by Farrow & Ball – a deep, dramatic grey with subtle blue undertones, offering contrast, depth, and quiet luxury.
These colors were chosen not only for their visual appeal but for how they interact with light and texture. In bright daylight, Oxford White brings a sense of airiness, while Down Pipe grounds each room, adding warmth and modern character. Together, they create a refined look that feels both contemporary and enduring.
Why This Combination Works So Well
The key to this palette’s success lies in balance. Oxford White keeps the condo feeling open and spacious — an important factor in downtown living — while Down Pipe introduces personality and visual interest. The result? A harmonious mix that highlights the architecture and complements the client’s art, furniture, and natural light.
This pairing also transitions beautifully from space to space. The crisp kitchen in Oxford White flows effortlessly into the cozy, moody bedroom painted in Down Pipe — each room distinct, yet cohesive.
Tips to Consider Before Repainting Your Interior
If you’re thinking of refreshing your own space, here are a few key tips:
Test Your Colors in Natural Light – Paint swatches can look completely different depending on lighting. Always sample your top choices on the wall first.
Balance Light and Dark Shades – In smaller spaces, use lighter tones to open the room and darker hues to define areas or create a cozy retreat.
Work with the Mood You Want to Create – Soft neutrals calm, while bold tones energize. Match your palette to how you want your home to feel.
Invest in Quality Paint – Premium brands like Benjamin Moore and Farrow & Ball not only look better but also last longer and clean easier.
Think Beyond Walls – Doors, trims, and ceilings are opportunities to add subtle contrast and elevate the overall design.
The Result
This project reflects what thoughtful design and skilled craftsmanship can do. Each room now feels intentional — bright where it needs to be, grounded where it counts. The tones complement Toronto’s skyline views while maintaining a warm, livable charm.
Ready to Refresh Your Space?
At CAM Painters, we bring color expertise and precision craftsmanship to every home we transform. Whether it’s a downtown condo or a family house, we’ll help you find the perfect palette that fits your lifestyle.
👉 Contact us today — and let’s make your next project a masterpiece.
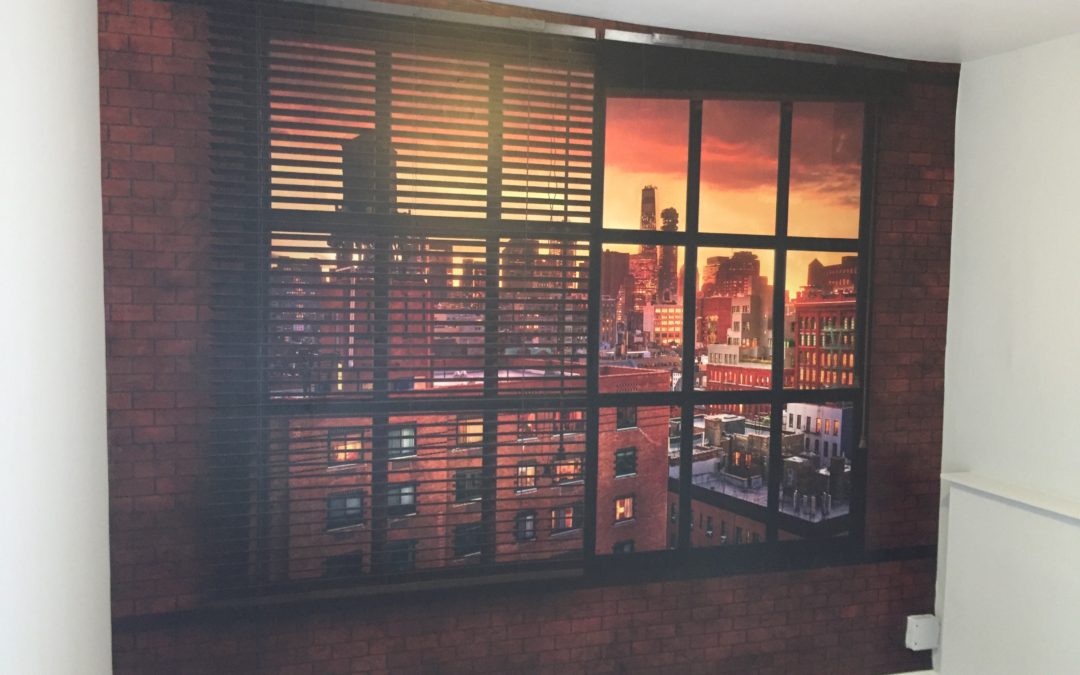
One of the things we’ve been doing more of the last few years is mural installation. Murals are a specialty subset of wallpaper and were traditionally very hard to source. They don’t just come in the form of wallpaper though. Some artists offer custom murals LA which are painted directly onto the wall, to show a beautiful image or text. Wallpaper is an easy option, but if you’re interested in getting a traditional route, contact an artist. Traditional paint stores with their books of wallpaper, just weren’t able to offer them. Now, however, with the popularity of online shopping, many websites specialize in offering wallpaper murals. In fact, some printers will make a custom mural from any digital image you can supply them!
What’s the difference between traditional wallpaper and a wallpaper mural?
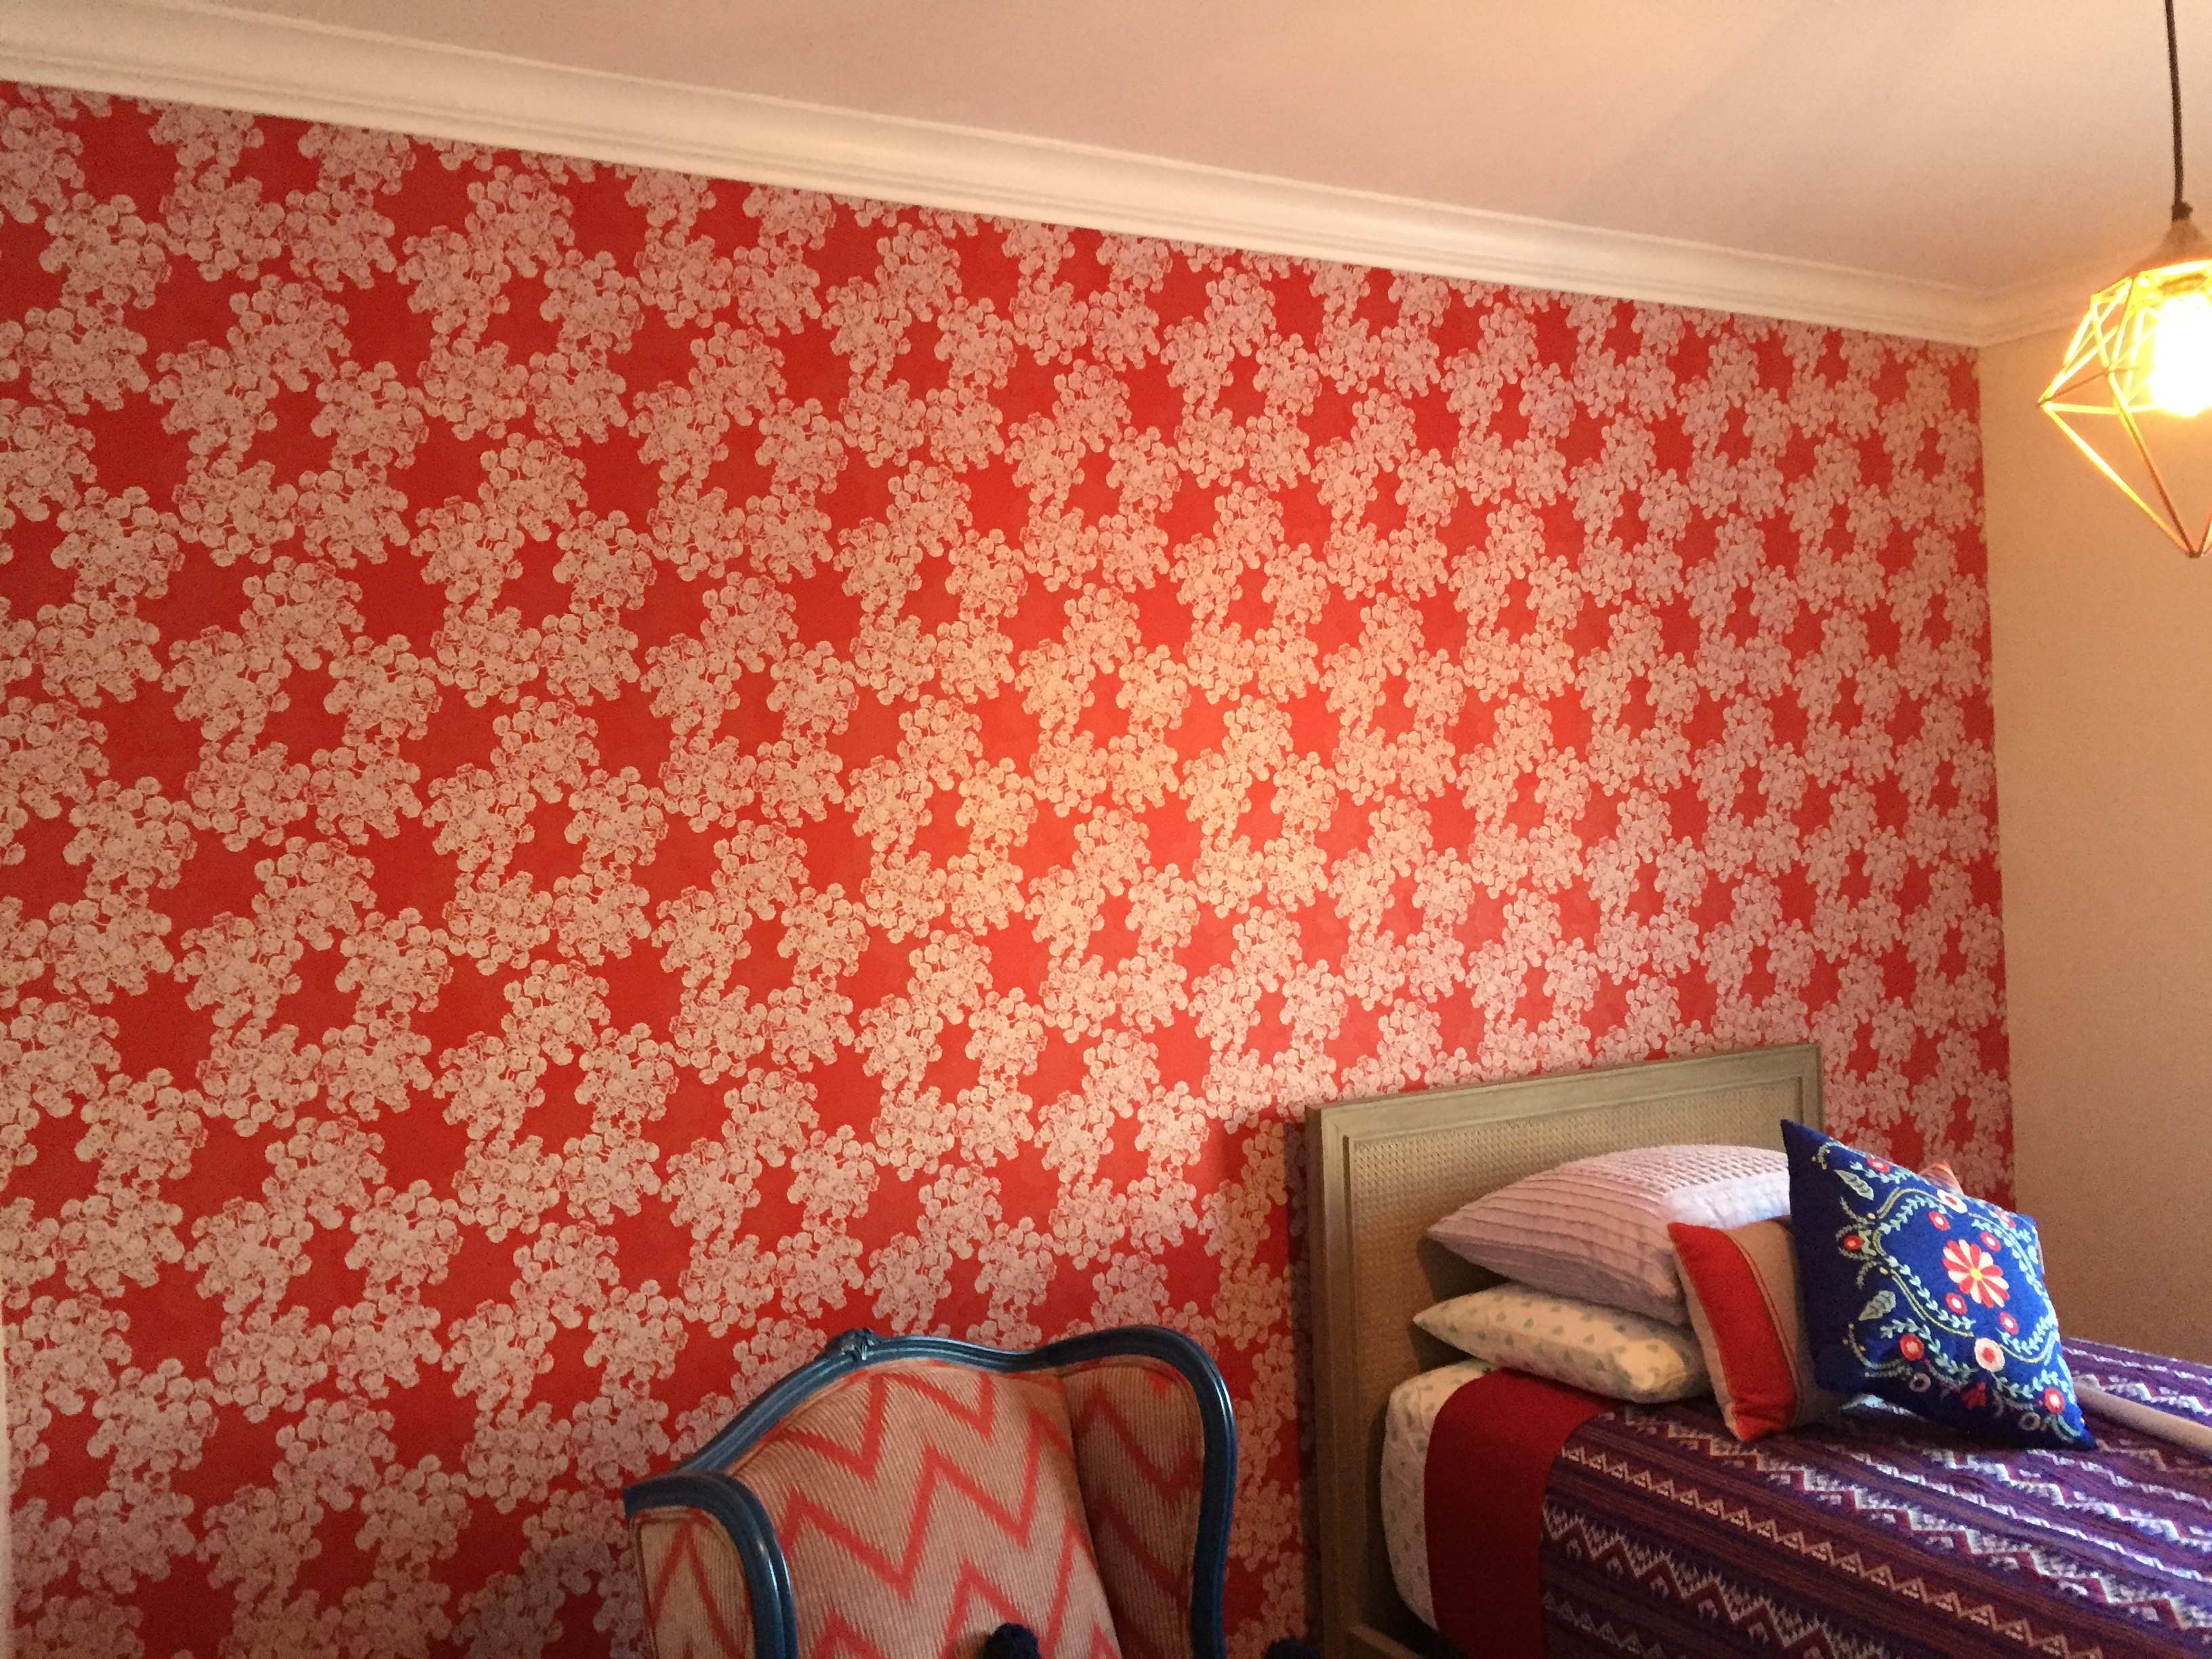
Traditional wallpaper
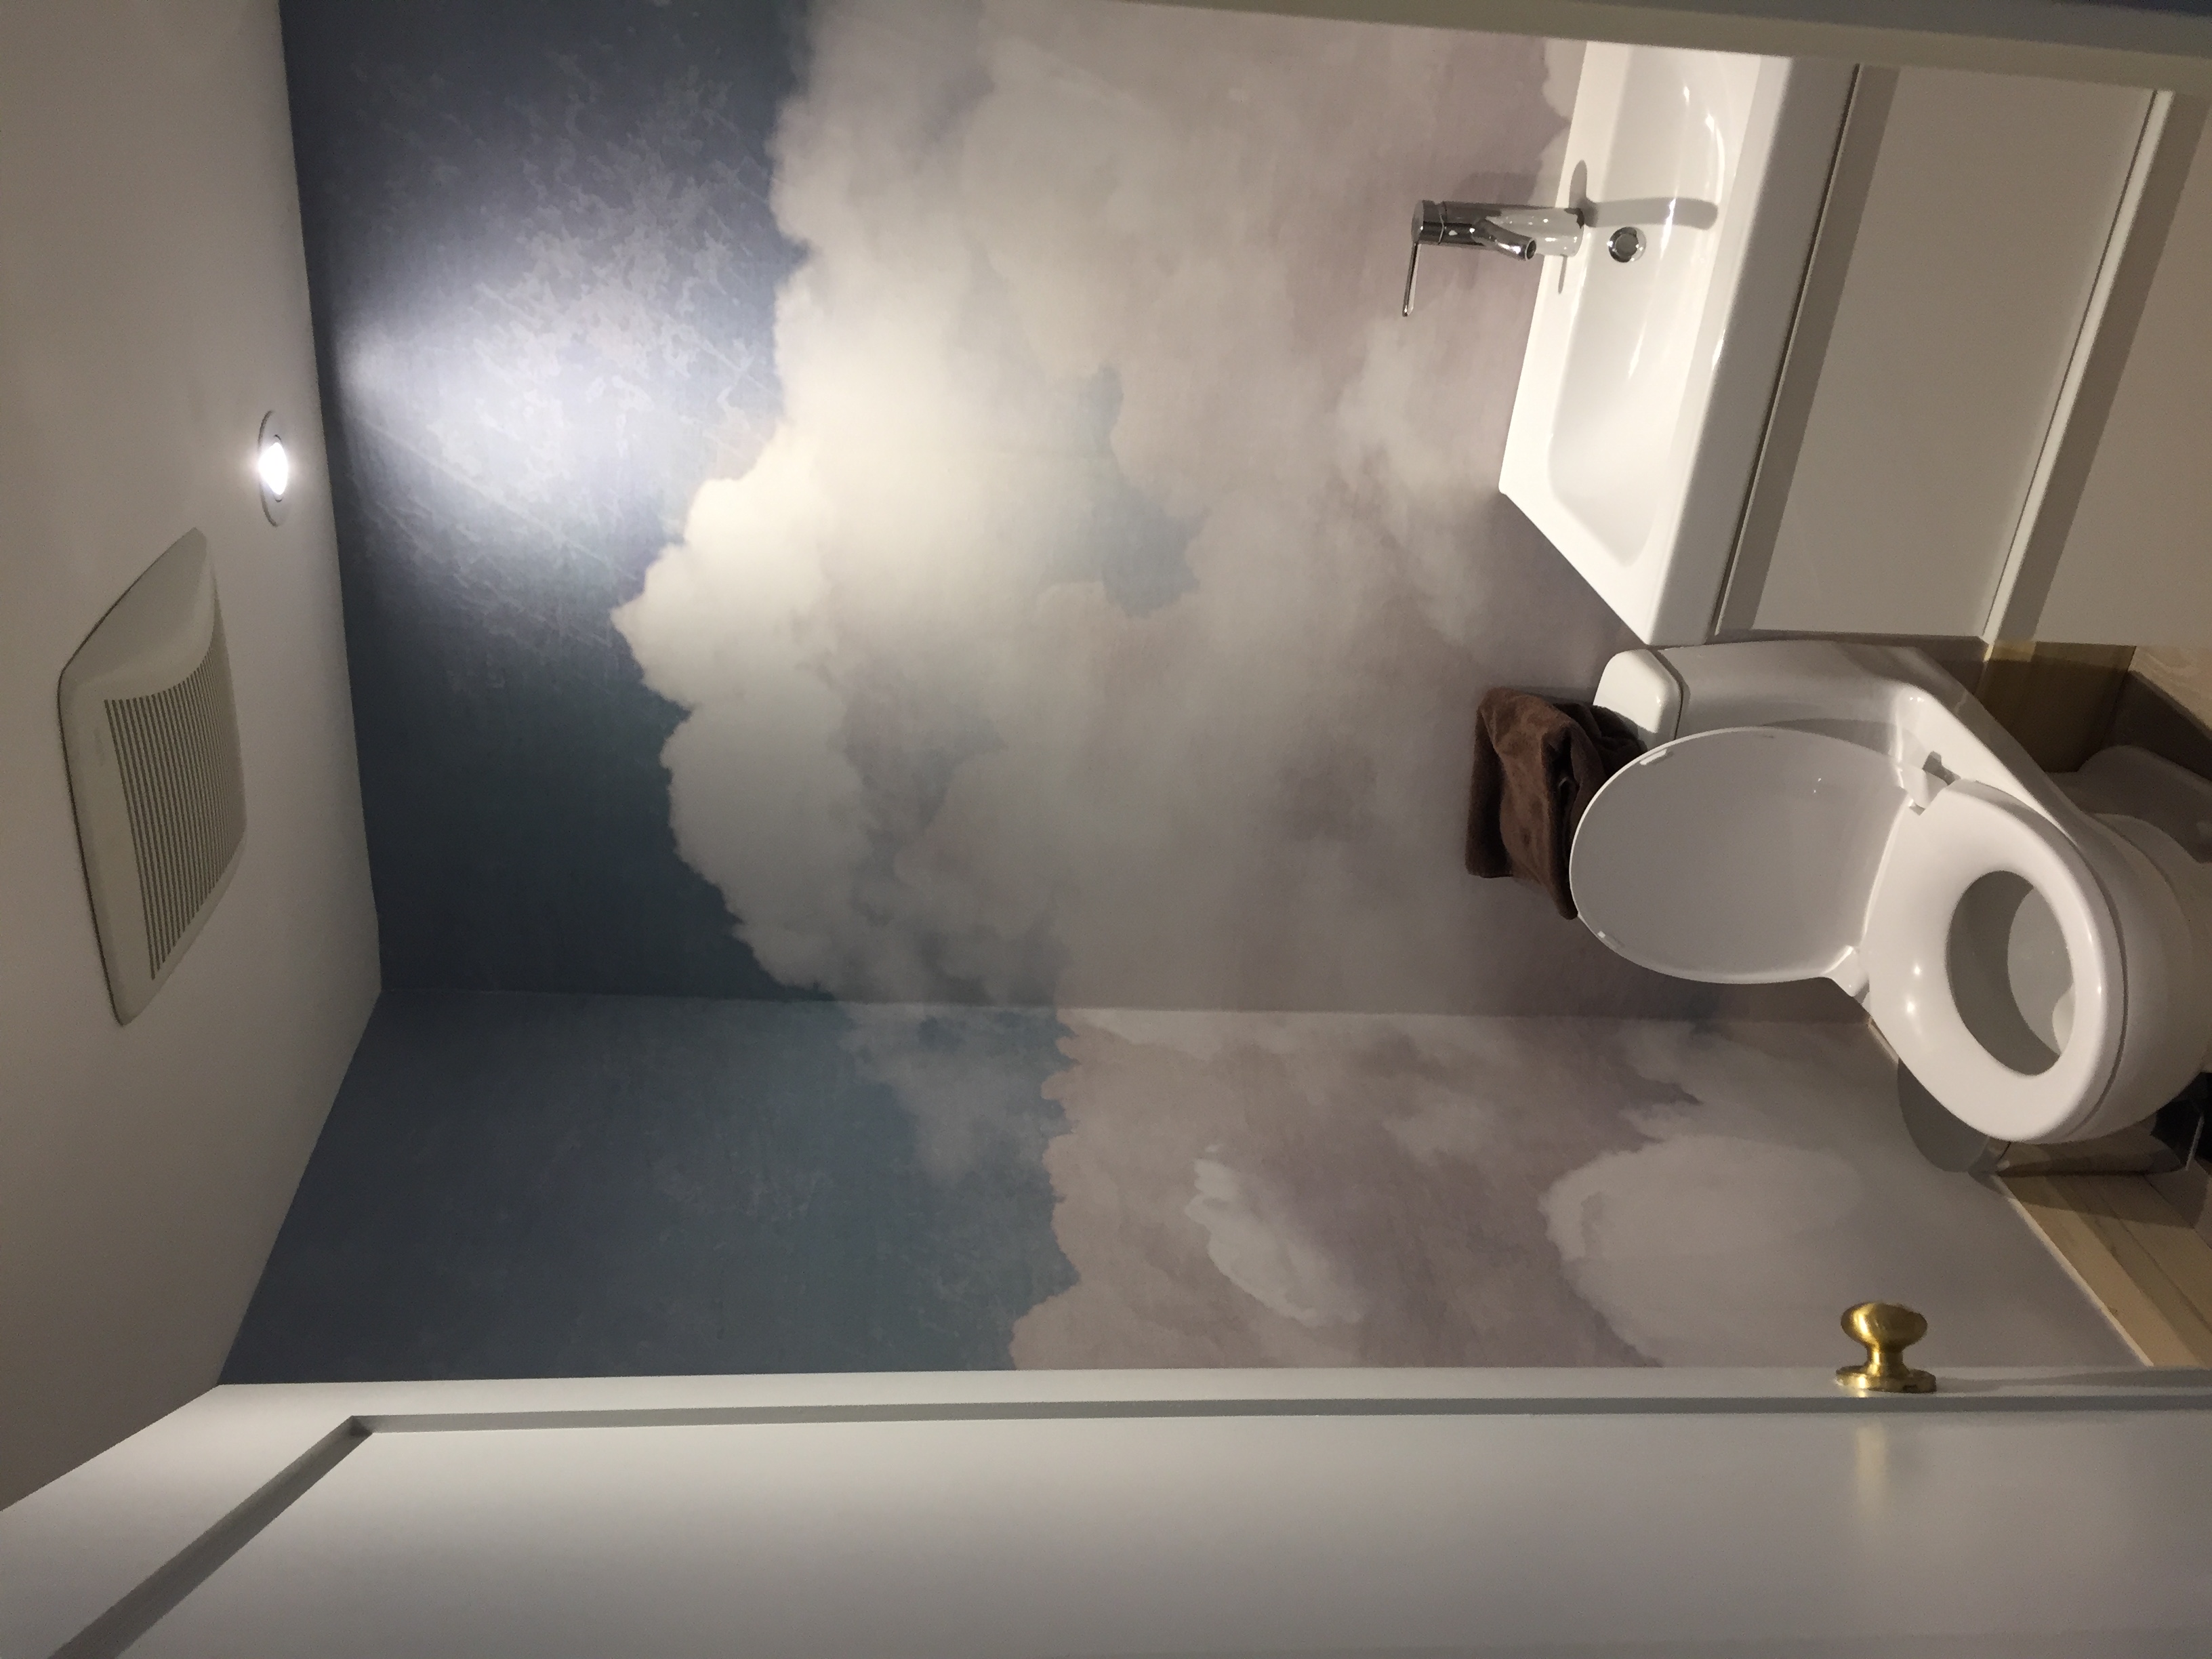
The main difference is that wallpaper is a repetitive pattern, whereas a mural can be anything at all. Some popular murals can be city skylines, world maps, even a picture of a marble slab.
How to select a wallpaper mural
You want to make sure that the size of the mural will fit the size of your wall. If it’s too big for the wall you might lose some of the picture as it’s trimmed to size. If the mural is too small then it won’t fill the entire wall.
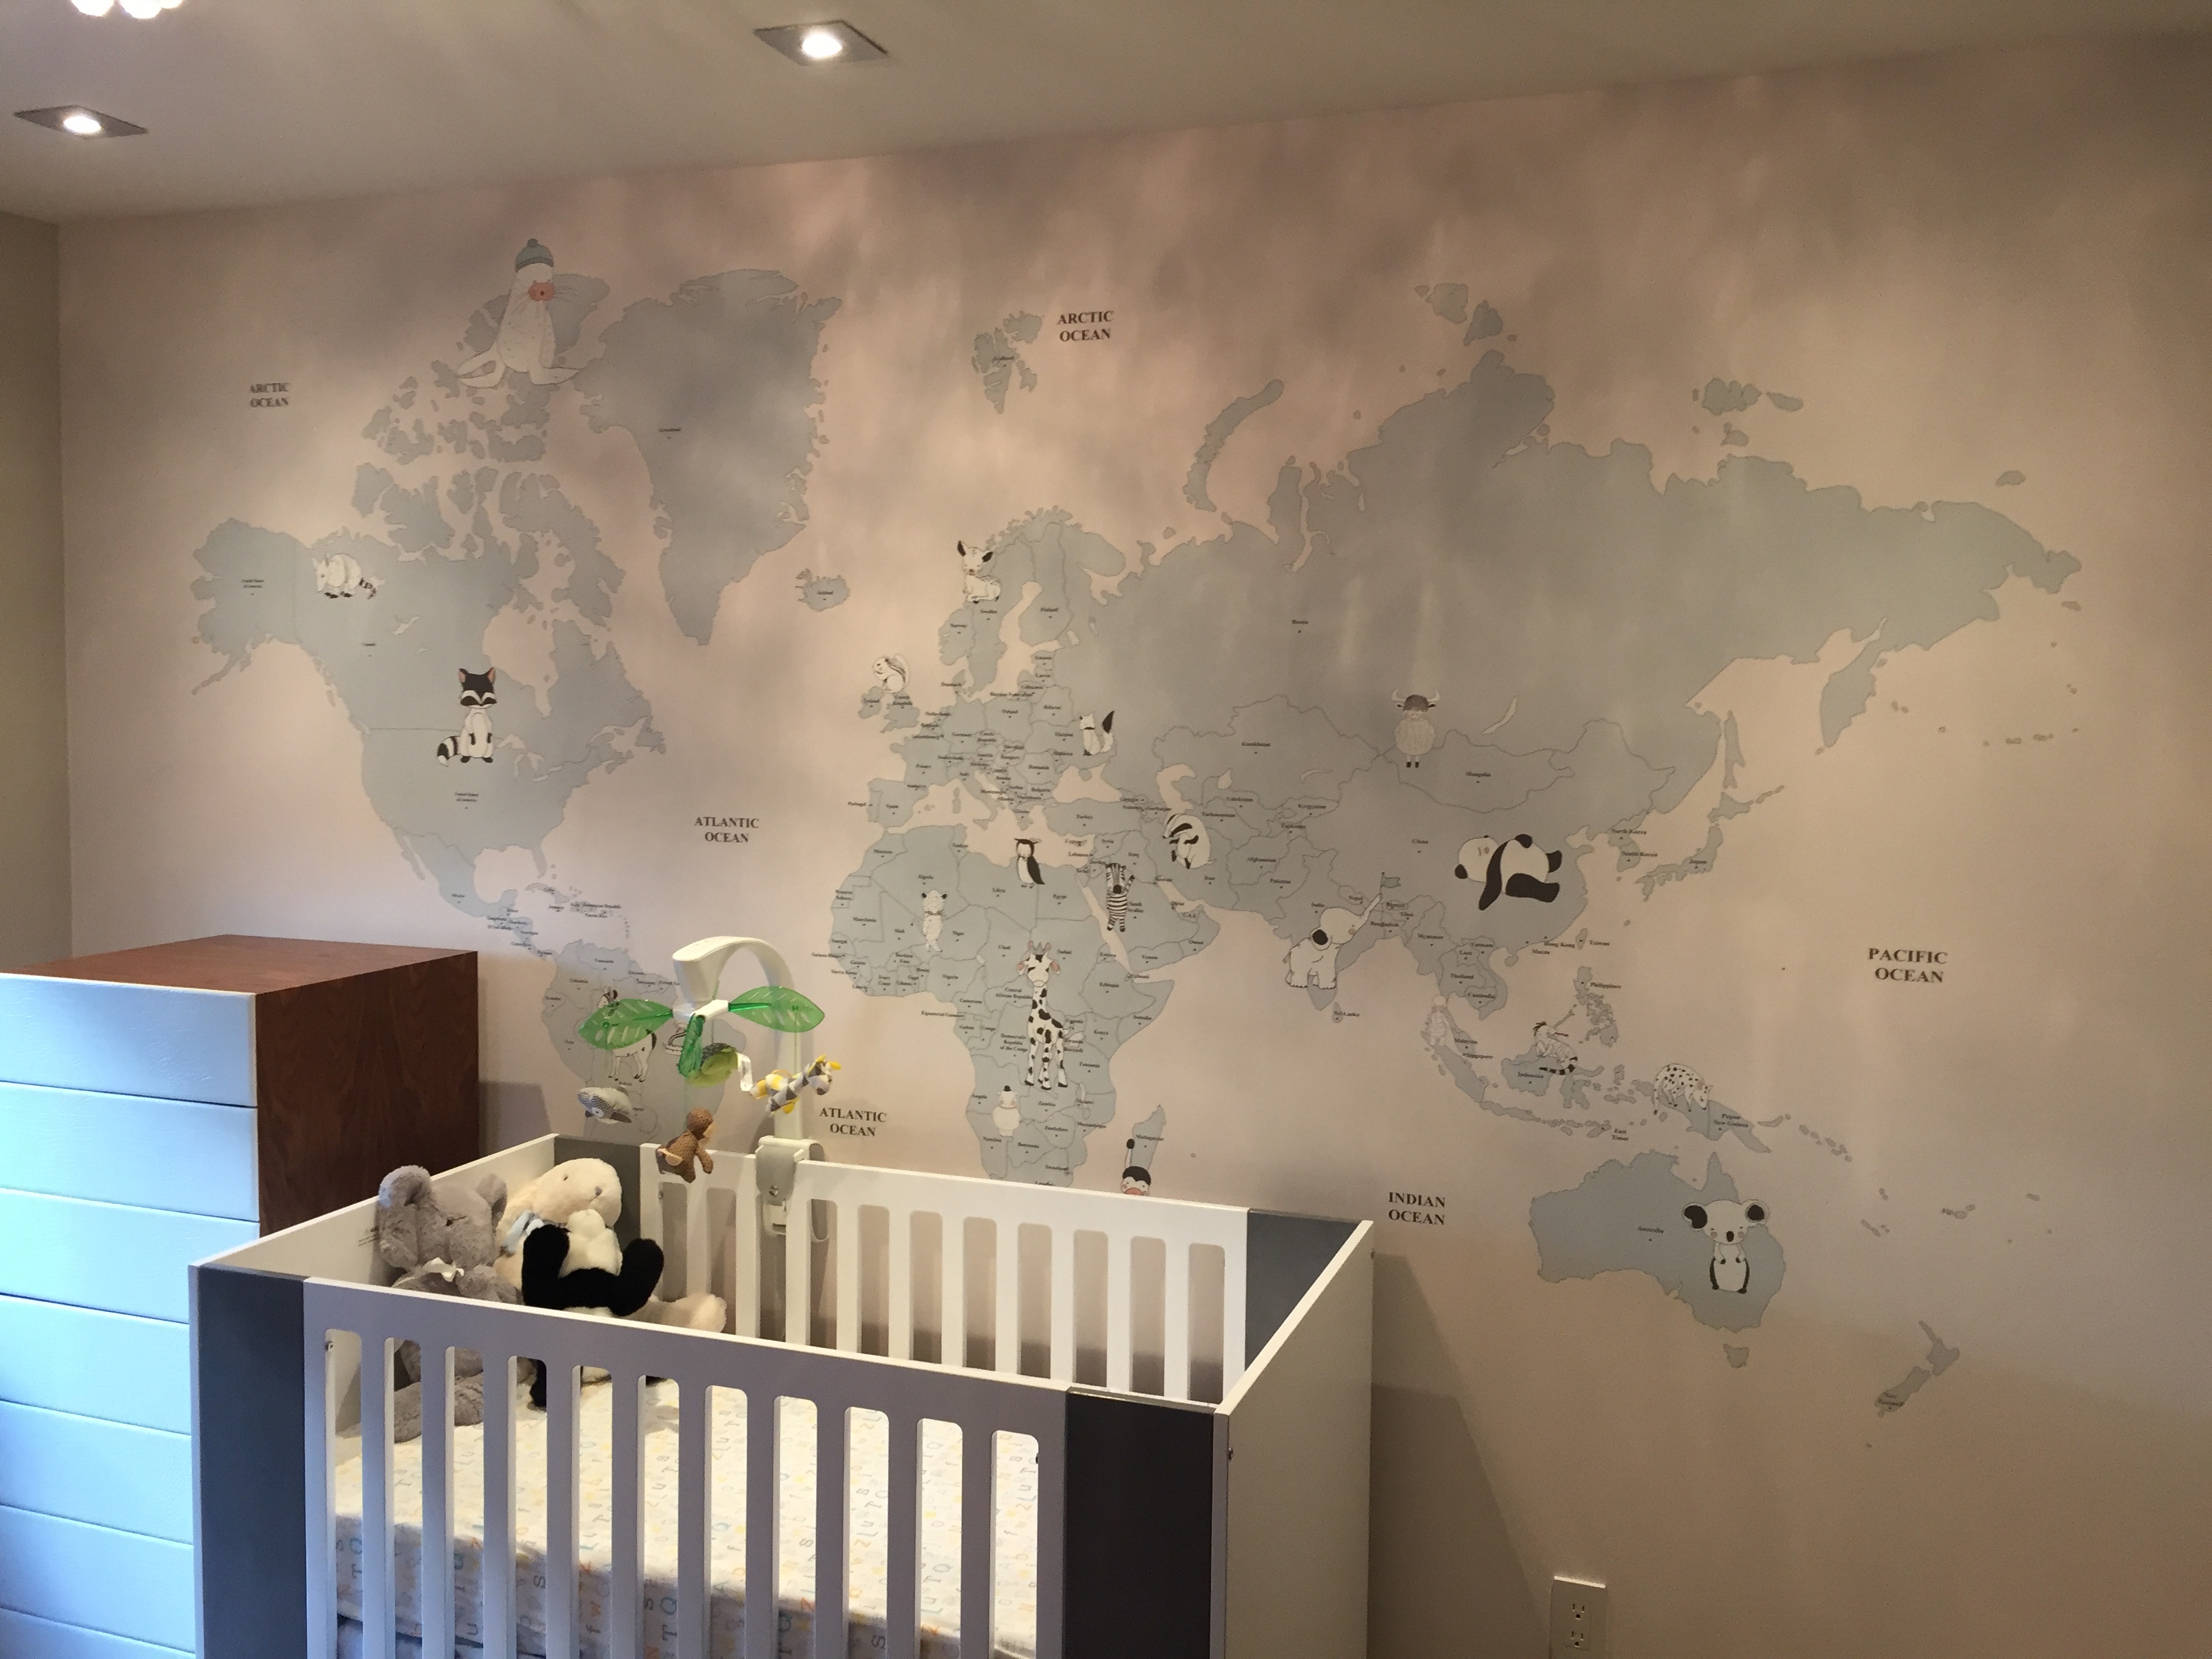
World map mural in a nursery
Therefore, you want to purchase a mural that’s bigger than the wall it’s going on. A good rule of thumb is to have at least a couple of inches of waste, but not more than a foot. Therefore, if your wall is 8’h x 10’w you’ll want something that’s in the range of 8’2″ to 9′ high by 10’2″ to 11″ wide.
Is there a different installation process?
Since there is no repetitive pattern to a mural, the picture is divided into numbered panels. The actual installation process is no different than normal wallpaper, in most cases it uses the same paste and the same techniques. However, there’s no room for error, because if a panel is ruined, there’s nothing to fix it with. Therefore, when it comes to the installation you want to select an experienced wallpaper installer, rather than a novice.
CAM Painters has taken on many mural installations and has the expertise to ensure your installation is done to the highest standards. Why don’t you book a quote? We’d love to Transform Your Home With Lasting Beauty!
As you probably are aware, a Stay-at-Home order was announced on April 7th. According to the regulations we are deemed an essential service and are allowed to continue, however we want to do so safely. Because your safety and the safety of our team are our primary concern.
Please review these safety protocols carefully and confirm that you agree before we book an in-person estimate or project start date.
We appreciate your business very much and thank you for your ongoing support during this challenging time.
In-person estimates:
We are available for in-person estimates but for the sake of safety let’s ensure the following:
All of us will be wearing masks
All of us will maintain a distance of 2m throughout the meeting
None of us is experiencing COVID-19 symptoms; noone has recently come into contact with someone who is COVID-19 positive
We are also offering virtual estimates! We can discuss your painting project via Zoom, FaceTime or Google Duo
Project protocol
Should you wish to proceed with your painting and/or wallpapering project, we will:
Arrive and complete the job wearing masks at all times
Have hand sanitizer with us at all times
Wipe down surfaces which we touch at the beginning and end of the day
Maintain a safe distance from you at all times
In the event that a team member feels symptomatic, or has recently come into contact with someone who has tested positive for COVID-19, we will postpone your project and ensure that he or she tests negative and isolates for 14 days before returning to work. We will reschedule your project for the next available date.
What we require from you:
Please wear a mask at all times in the presence of our team members
Make arrangements for the home to be vacant, if possible. If not, please ensure we have the workspace entirely to ourselves
Respect social distancing at all times
DO NOT have any other trades in your home while we are onsite
If you or a member of your household feels any COVID-19 symptoms, or has been exposed to someone confirmed with COVID-19, please advise us at the earliest opportunity so that we may reschedule your project
If for any reason our team members do not feel safe while in your home, we will address the issue with you immediately. If the issue is not resolved, we reserve the right to vacate the home and reschedule the project