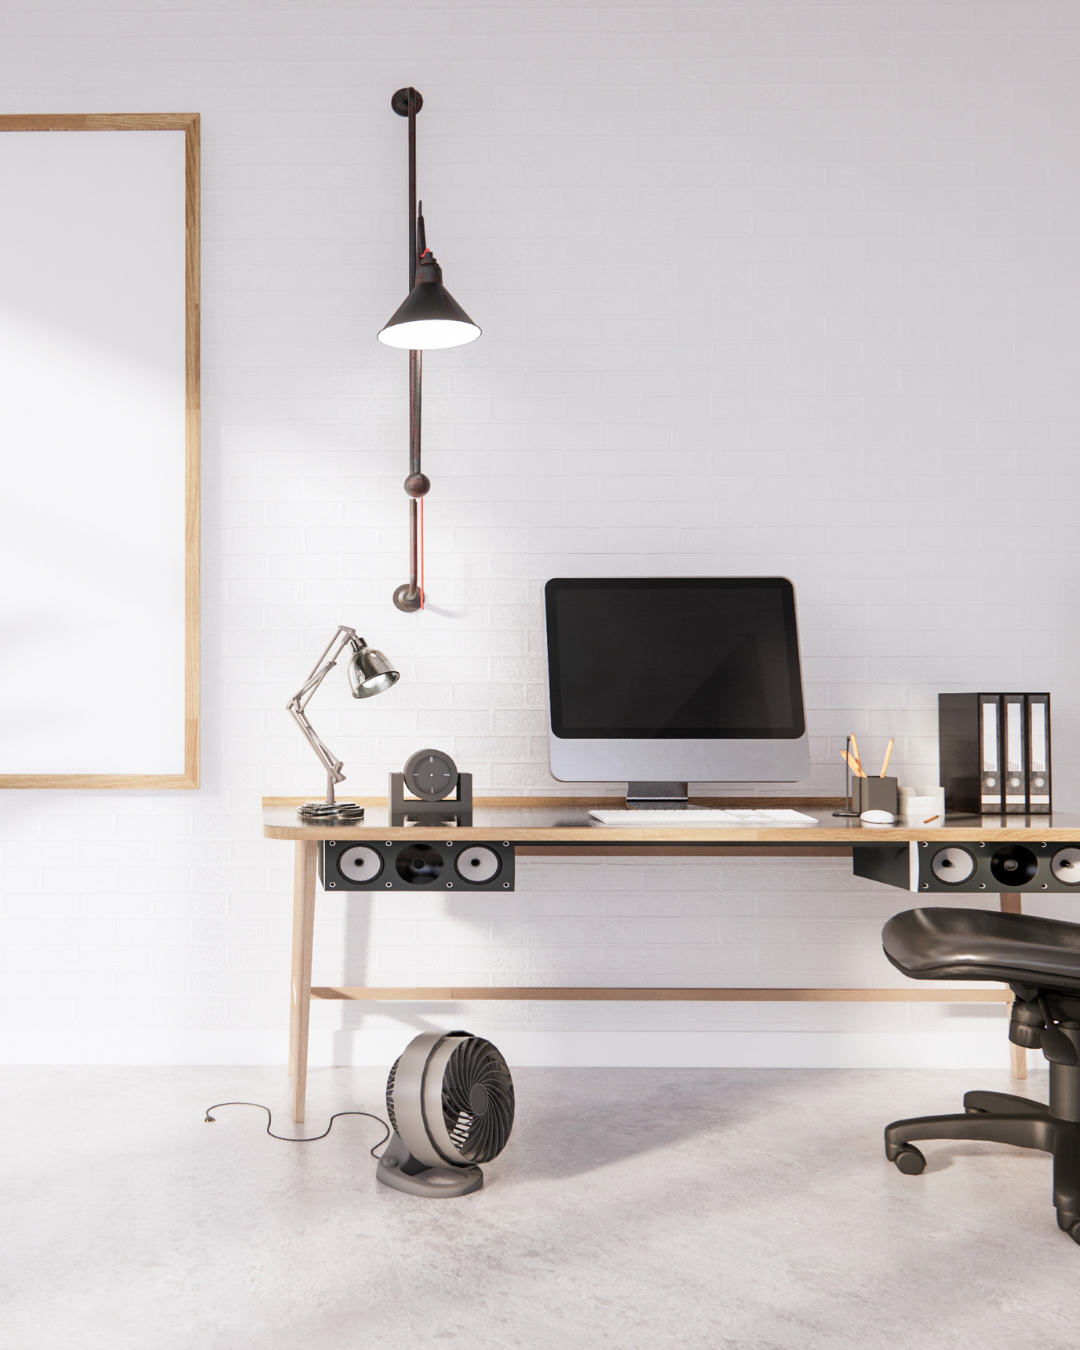
As we look ahead to 2027, Toronto businesses are continuing to rethink how their workplaces look, feel, and function. Whether you manage an office, retail space, restaurant, commercial building, or professional workspace, your environment can have a bigger impact than you might think.
A workspace isn’t just where business gets done. It’s also part of your brand, your employees’ experience, and the first impression you make on customers, clients, tenants, and visitors.
So, is your workspace ready for 2027?
A Fresh Space Can Make a Stronger First Impression
Walk into a space with scuffed walls, faded colours, chipped trim, or worn-out hallways, and those details can immediately make the property feel older than it really is.
On the other hand, freshly painted walls, clean finishes, and thoughtfully chosen colours can make a commercial space feel brighter, cleaner, and more welcoming.
For businesses, that first impression matters.
Your reception area, entrance, hallways, meeting rooms, and customer-facing spaces are often the first places people see. Giving these areas some attention can make a noticeable difference without requiring a major renovation.
When Was the Last Time Your Office Was Painted?
Commercial spaces experience a lot of wear and tear.
Employees move furniture. Customers walk through high-traffic areas. Doors and trim get touched constantly. Walls can collect marks, scuffs, and everyday damage.
Over time, even a well-maintained workplace can start looking tired.
If you can’t remember the last time your workspace was professionally painted, it may be worth taking a closer look.
Ask yourself:
Are your walls showing scuffs or marks?
Have your colours started to feel dated?
Does your reception area still represent your brand?
Are hallways and common areas looking worn?
Have repairs or renovations left areas that need repainting?
Does your workspace feel as professional as your business?
If you answered yes to any of these, a commercial repaint may be worth considering.
Paint Can Help Refresh Your Brand
Your workspace should feel connected to your business.
Colour can help reinforce your company’s personality while creating a more cohesive environment. Some businesses may prefer clean, neutral tones, while others may want stronger colours that reflect their branding.
You don’t necessarily need to repaint every wall in a bold colour.
Sometimes, a fresh neutral palette combined with an accent wall, updated trim, or carefully chosen feature area is enough to give a space a completely different feel.
Don’t Forget High-Traffic Areas
When planning a commercial painting project, it’s easy to focus on the main office or customer-facing areas and overlook the spaces that receive the most daily use.
Consider:
Entrances — Make a positive impression from the moment someone walks through the door.
Hallways — These areas can quickly show scuffs, marks, and general wear.
Reception areas — Your front desk is often one of the first things customers and clients see.
Washrooms — A clean, freshly painted washroom can contribute to the overall impression of your business.
High-traffic walls — Areas around doors, corridors, and shared spaces can benefit from a professional refresh.
Planning a Commercial Refresh Doesn’t Have to Mean a Major Renovation
One of the advantages of repainting is that it can create a noticeable transformation without the disruption and expense of a full renovation.
A professional painting project can help refresh an existing space while allowing your business to continue using the property.
For Toronto businesses, planning ahead can also make the process easier. Depending on your schedule, painting can sometimes be coordinated around evenings, weekends, business closures, or other convenient periods to help minimize disruption.
The Difference Is in the Preparation
A professional commercial painting project isn’t simply about putting new paint on the walls.
Proper preparation can make a major difference in the finished result.
That may include repairing damaged surfaces, filling holes, sanding rough areas, protecting floors and furniture, preparing previously painted surfaces, and creating clean lines around trim and other details.
Good preparation helps the new finish look better and last longer.
Looking Ahead to 2027
Your workspace says something about your business.
It tells employees, customers, clients, tenants, and visitors how much attention you give to the environment around you.
If your Toronto commercial property is looking a little tired, planning a refresh for 2027 could be a great way to start the year with a cleaner, more updated space.
You don’t necessarily need to change everything. Sometimes, a fresh coat of paint, updated colours, and attention to the areas that receive the most wear are all it takes to make your workspace feel new again.
Ready to Give Your Toronto Workspace a Refresh?
At CAM Painters, we provide professional commercial painting services for offices, commercial buildings, retail spaces, and other businesses throughout Toronto and surrounding areas.
From preparation and repairs to colour selection and the final finish, our goal is to make the process professional, organized, and as smooth as possible.
Is your workspace ready for 2027?
Contact CAM Painters to book your FREE estimate and let’s talk about your next commercial painting project.
CAM Painters Quality work. Professional service. Every time.
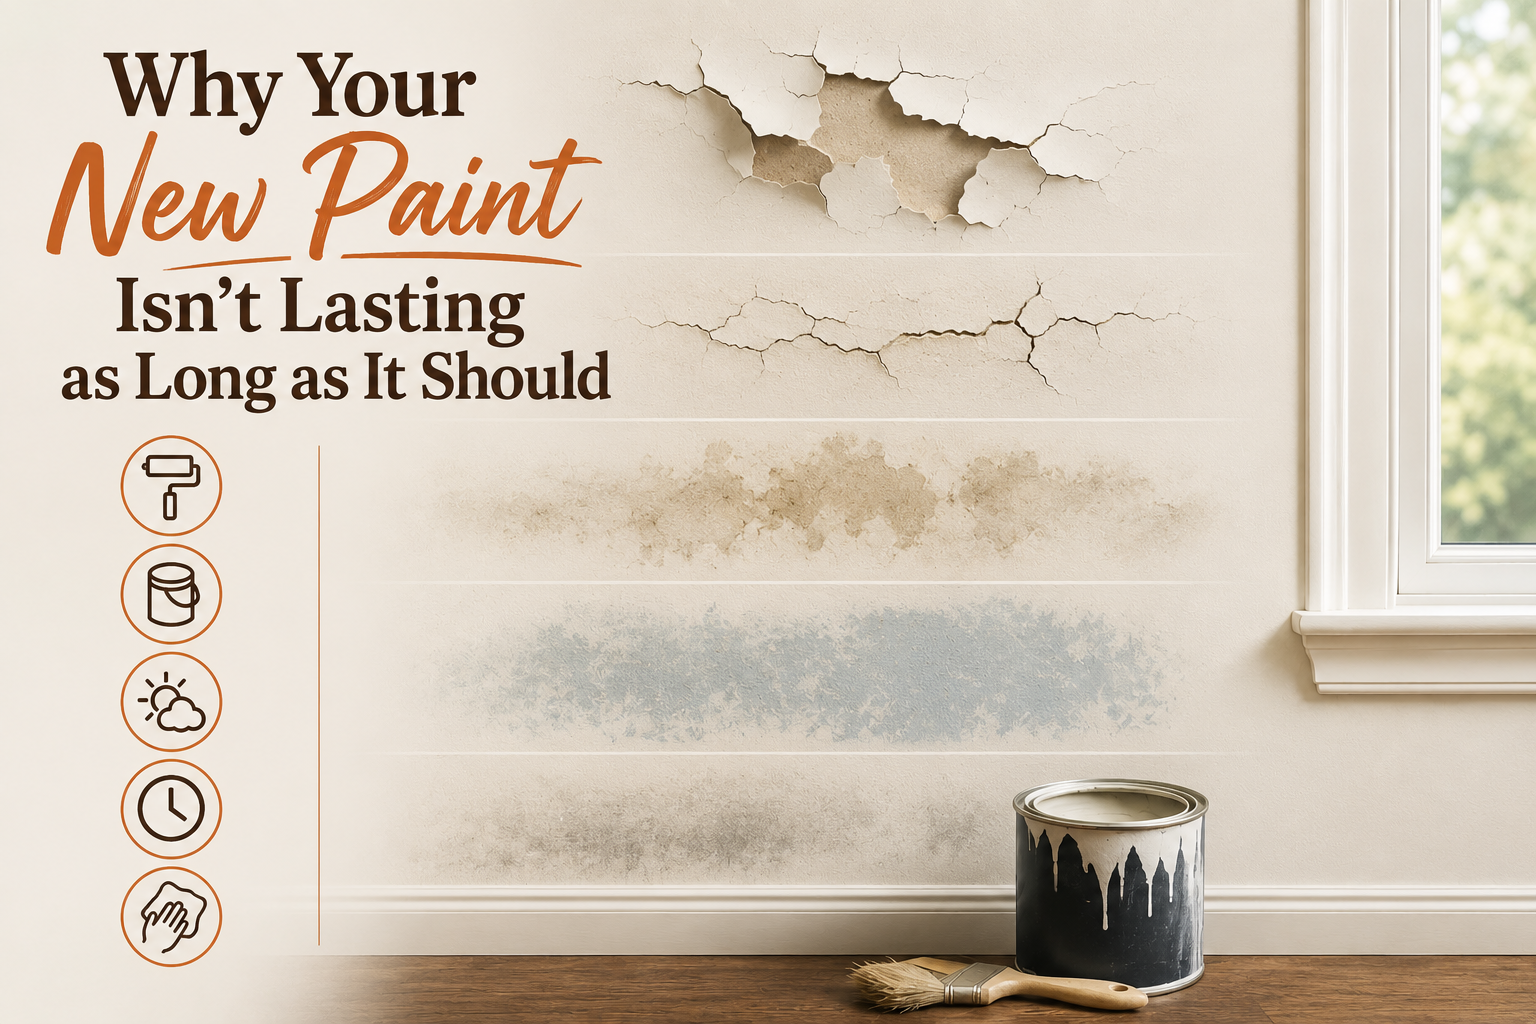
You just spent time and money giving your home a fresh new look. The walls looked smooth, the colour was perfect, and everything felt brand new.
Then, a year or two later, you start noticing scuffs, peeling, fading, cracking, or areas where the paint simply doesn’t look as fresh as it once did.
So, what happened?
The truth is, good paint is only part of the equation. How long your paint job lasts depends on much more than the product that goes on the wall.
At CAM Painters, we believe the difference is in the prep — and understanding what can cause paint to fail can help you protect your investment.
The Surface Wasn’t Properly Prepared
One of the biggest reasons paint doesn’t last is simple: the surface wasn’t ready for paint.
Painting over dirt, dust, grease, loose paint, cracks, or damaged surfaces can prevent the new coating from properly bonding.
Professional preparation may include:
Cleaning and degreasing surfaces
Filling holes and cracks
Sanding rough or uneven areas
Removing loose or peeling paint
Caulking gaps and joints
Priming when necessary
A beautiful finish starts long before the paintbrush or roller touches the wall.
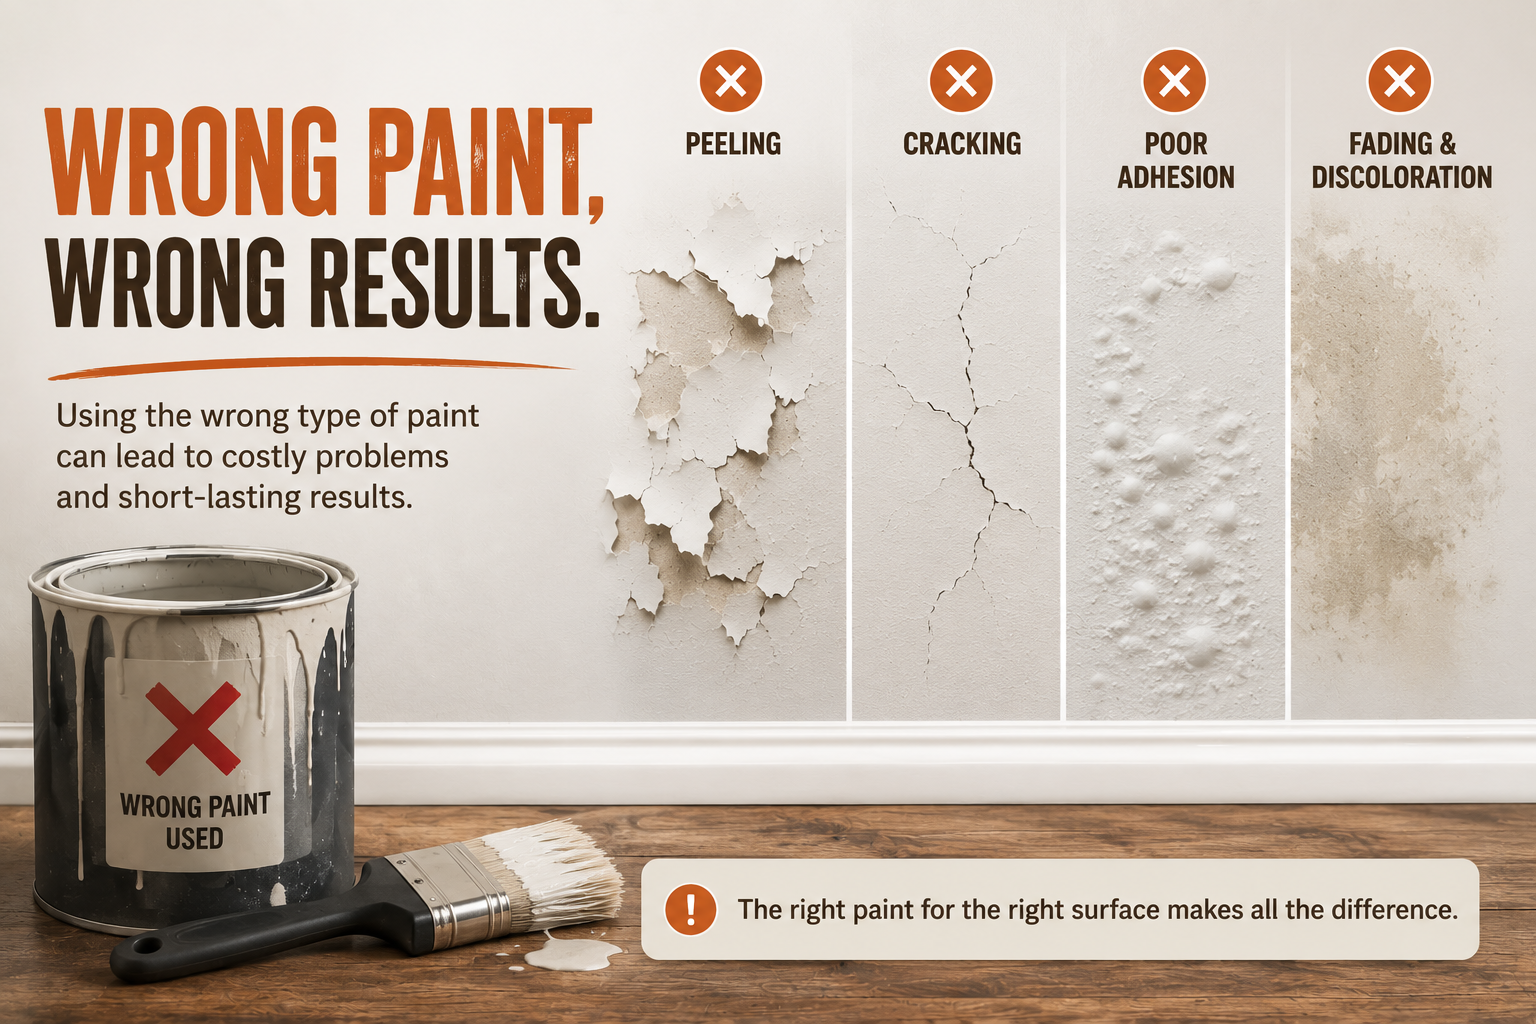
The Wrong Paint Was Used
Not every paint is designed for every surface or room.
A busy hallway, kitchen, bathroom, bedroom, exterior wall, and trim all have different demands.
For example, areas exposed to moisture, frequent cleaning, heavy traffic, or sunlight may require a coating specifically suited to those conditions.
Choosing paint based only on colour or price can lead to premature wear.
The right product for the right surface can make a significant difference.
Primer Was Skipped When It Was Needed
Primer isn’t simply an extra step designed to increase the cost of a project.
In the right situation, primer can improve adhesion, help create a more uniform surface, block stains, and provide a better foundation for the finish coats.
It can be particularly important when dealing with:
Bare drywall
Fresh repairs
Stains
Porous surfaces
Significant colour changes
Certain previously painted surfaces
Skipping primer when it’s needed can compromise the entire paint system.
Too Much Paint Was Put on Too Quickly
More paint doesn’t necessarily mean a better or longer-lasting finish.
Applying thick coats or recoating before the previous layer has properly dried can create problems with adhesion, curing, and the overall finish.
Professional painters understand that drying time and curing time aren’t always the same thing.
Patience between coats can be just as important as the application itself.
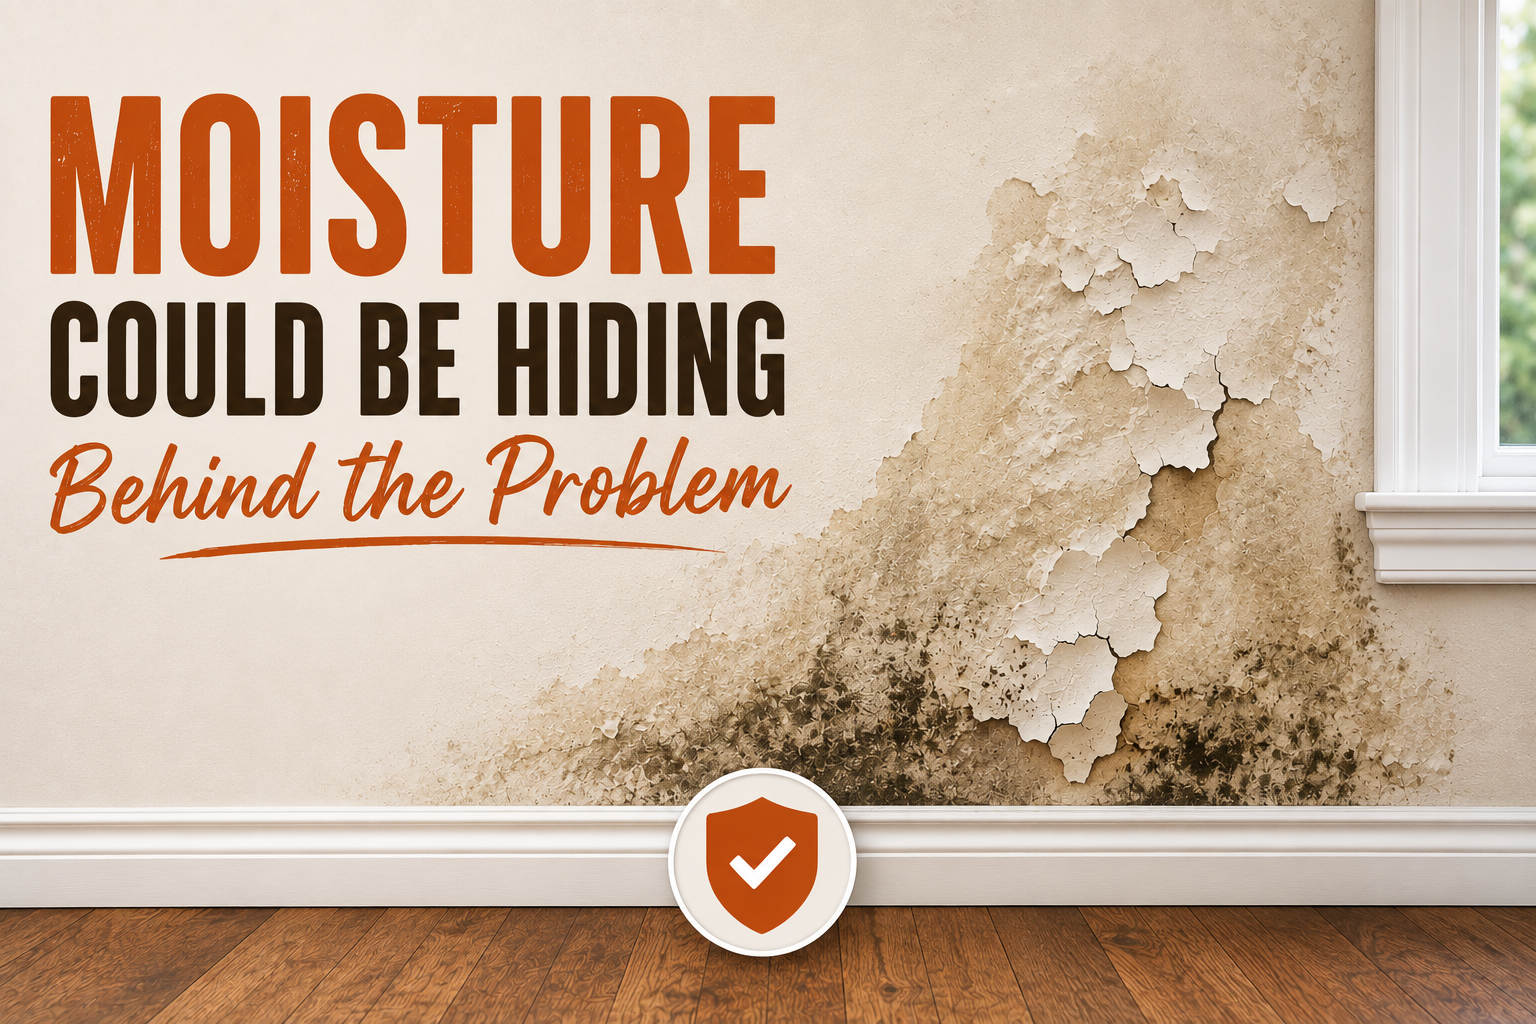
Moisture Could Be Hiding Behind the Problem
If paint is bubbling, blistering, peeling, or repeatedly cracking, the paint itself may not be the real problem.
Moisture can come from:
Leaks
Condensation
Poor ventilation
Exterior water intrusion
Plumbing issues
High humidity
Painting over a moisture problem may make the wall look better temporarily, but it won’t solve the underlying issue.
If the cause isn’t addressed, the paint failure can come right back.
Your Home Experiences More Wear Than You Realize
Paint has to withstand everyday life.
Kids, pets, furniture, cooking, cleaning, sunlight, humidity, and constant traffic all take their toll.
High-touch areas such as hallways, staircases, doors, baseboards, and kitchens can naturally show wear sooner than quieter areas of the home.
That’s why choosing the appropriate finish and product for the space matters.
Exterior Paint Has an Even Tougher Job
Exterior paint has to deal with Toronto’s changing seasons.
Sun, rain, snow, temperature swings, moisture, and freeze-thaw cycles can all affect an exterior coating over time.
If the surface wasn’t properly prepared, if moisture is present, or if the wrong product was used, premature peeling and fading can occur.
A long-lasting exterior paint job starts with understanding the surface and the environment — not simply choosing a colour.
The Real Secret to Long-Lasting Paint?
Preparation.
It’s easy to focus on the colour because that’s what you see.
But the work underneath the colour is what helps determine how that finish performs over time.
Cleaning. Repairing. Sanding. Priming. Caulking. Choosing the right products. Applying the right number of coats. Allowing proper drying and curing time.
These details may not be the most exciting part of a painting project, but they’re often what separate a finish that looks good temporarily from one that’s built to last.
Before You Blame the Paint, Look at the Process
If your new paint is already peeling, cracking, bubbling, fading, or wearing unusually quickly, don’t automatically assume you bought the wrong paint.
Ask:
Was the surface properly prepared?
Was the right product selected?
Was primer necessary?
Were the coats applied correctly?
Could moisture or another underlying issue be involved?
The answers can reveal much more than the paint label alone.
At CAM Painters, We Paint for the Long Run
At CAM Painters, we don’t believe in simply covering a wall with a new colour.
We take the time to understand the surface, identify potential problems, complete the necessary preparation, and select products suited to the project.
Because prep work makes the paint work.
And when you invest in repainting your home, you shouldn’t have to wonder how long the finish will last.
You should be able to enjoy it.
Thinking about repainting your home?
Before choosing a colour, let’s make sure your walls are ready for it.
If you’re planning to repaint your Toronto home, chances are you’ve asked this question:
“Do I really need to prime, or can I just paint?”
It’s a fair question. Primer can feel like an extra step—but in Toronto’s climate and with the variety of home surfaces we see, priming is often the difference between a paint job that looks great for years and one that starts failing far too soon.
Let’s break it down in a simple, homeowner-friendly way.
What Does Primer Actually Do?
Primer isn’t just watered-down paint. It’s specially formulated to:
Create a strong bond between the surface and the paint
Seal porous materials so paint absorbs evenly
Block stains, tannins, and odours from bleeding through
Improve durability so your paint lasts longer
In short, primer sets the foundation for a flawless finish.
Why Priming Matters in Toronto Homes
Toronto homes face unique challenges that make priming especially important:
1. Extreme Weather Changes
Toronto’s freeze–thaw cycles, humid summers, and dry winters cause surfaces to expand and contract. Primer helps stabilize the surface so paint adheres properly instead of cracking or peeling.
2. Older Homes & Mixed Materials
Many Toronto homes feature plaster walls, repaired drywall, brick, wood trim, or previously painted surfaces layered over decades. Primer ensures consistency across different materials.
3. Moisture & Humidity
Kitchens, bathrooms, basements, and older homes without modern ventilation benefit greatly from moisture-resistant primers that prevent mold and paint failure.
When You Absolutely Need Primer
You should never skip primer if:
You’re painting new drywall or plaster
You’ve done patching, repairs, or skim coating
You’re covering dark colours with lighter ones
There are water stains, smoke damage, or nicotine stains
You’re painting bare wood, metal, or masonry
You’re changing from oil-based paint to latex
Skipping primer in these cases often leads to uneven colour, flashing, peeling, or stains reappearing.
When You Might Be Able to Skip Primer
In limited situations, primer may not be necessary if:
The existing paint is in excellent condition
You’re repainting with a similar colour
The surface is clean, smooth, and properly prepped
Even then, many professionals still use a light primer coat to ensure uniform results—especially on high-visibility walls.
This is one of the most common misconceptions.
Paint-and-primer products are great for colour coverage, but they do not replace true primer when:
Sealing stains
Bonding to raw surfaces
Blocking moisture or odours
Painting problem areas
Think of them as a convenience product—not a universal solution.
The Professional Advantage
Professional painters don’t just ask if primer is needed—they determine:
Which type of primer (bonding, stain-blocking, moisture-resistant)
Where it’s needed most
How many coats are required
This tailored approach is what gives professional paint jobs their smooth finish and long lifespan.
So, Do You Need to Prime Your Toronto Home?
In most cases—yes.
Priming is an investment in:
Better colour accuracy
Longer-lasting results
Fewer touch-ups and repaints
Protection against Toronto’s climate
It may add a step, but it saves time, money, and frustration in the long run.
Thinking About Repainting?
If you’re unsure whether your space needs primer—or what type is best—it’s always worth getting expert advice.
A properly primed home doesn’t just look better on day one. It stays beautiful for years.
Ready to get started? Contact a professional painting team to assess your space and create a finish that lasts.
Keep your walls looking fresh, vibrant, and beautiful — season after season.
A beautiful paint job is one of the best investments you can make in your home — but keeping it looking fresh takes a little ongoing care. From everyday cleaning to seasonal maintenance, a few simple steps can make your walls last for years without losing their colour or finish.
Here’s your expert-approved, year-round care guide from CAM Painters, trusted Toronto painting specialists.
Spring: Refresh and Inspect
After a long winter, your walls might show signs of dryness, dust buildup, or minor cracking. Spring is the perfect time to give them a little rejuvenation.
Check for cracks or peeling: As your home adjusts to changing temperatures, walls can expand or contract slightly, leading to small cracks or peeling in the paint. Addressing these early prevents moisture from seeping in and keeps your paint finish smooth.
Clean gently: Mix mild dish soap with warm water and use a soft cloth or sponge to wipe your walls. Start at the bottom and work upward to avoid streaks. Always test a small area first, especially if your paint has a matte or eggshell finish.
Touch up when needed: Keep a small container of your wall color (labeled with brand and code, like Benjamin Moore Ivory Tower 2154-70). Dab small spots with a fine brush to instantly refresh worn areas without the need for a full repaint.
🪣 Pro tip: Never use abrasive pads or strong cleaners — they can dull your paint’s finish and leave uneven marks.
Summer: Protect from Sunlight and Humidity
Summer brings light, warmth, and — for your walls — potential fading and moisture buildup. A few preventive steps can keep them looking flawless.
Use blinds or curtains: Direct sunlight can cause paint to fade or yellow over time, especially lighter shades. Sheer curtains or blinds help filter sunlight while keeping rooms bright.
Control humidity levels: Bathrooms, kitchens, and basements are especially prone to moisture buildup. Use exhaust fans or a dehumidifier to prevent paint from bubbling, peeling, or growing mildew.
Wipe regularly: In high-use areas like kitchens, oils, steam, and fingerprints can dull the finish. Wipe these spots weekly with a soft, damp cloth to maintain that fresh-painted glow.
🌤 Pro tip: Satin and semi-gloss finishes are more durable for humid or high-traffic areas — perfect for kitchens and bathrooms.
Fall: Prep for the Cozy Season
As temperatures drop, now’s the time to tidy up, refresh, and prepare your home for the months spent indoors.
Dust baseboards and corners: Dust can cling to textured paint or baseboards, dulling the color and creating a grayish film. Use a microfiber cloth or soft brush attachment on your vacuum for easy cleaning.
Wipe away fingerprints and scuffs: Focus on high-touch areas like light switches, door frames, and hallways. A gentle wipe with warm, soapy water can make these areas look freshly painted again.
Plan your touch-ups before the holidays: Fall is an ideal time to schedule repainting — mild temperatures allow for smooth drying, and your home will look pristine for gatherings.
🎨 Pro tip: Consider cozy, nature-inspired fall shades like Benjamin Moore Baked Clay 034 or Crème Caramel OC-84 to create a welcoming seasonal glow.
Winter: Maintain and Moisturize
Indoor heating can cause walls — and the air around them — to become extremely dry. Prevent cracking and preserve your paint’s longevity with these steps.
Run a humidifier: Balanced indoor humidity keeps both you and your paint comfortable. Around 40–50% humidity is ideal for preventing cracks, peeling, or separation in paint layers.
Clean gently: Paint can become slightly more brittle in the cold months. When cleaning, use a soft cloth rather than scrubbing to avoid removing the finish.
Check for condensation and drafts: Areas near windows or exterior walls may collect moisture or feel cooler. Wipe away any condensation quickly to prevent discoloration or mildew.
🔥 Pro tip: If your walls are fading or chalking (leaving a white powder when touched), it’s time for a professional repaint to renew the surface and seal it for next year.
Consistent care keeps your walls looking beautiful — but sometimes, a little professional touch makes all the difference. That’s where CAM Painters stands apart.
Every interior paint job we complete comes with our 5-year warranty, which includes one free hour of touch-ups every year. That means if your walls, doors, trim, or baseboards get scuffed or dinged up — we’ll come by and make them look brand new again, at no extra cost.
It’s not just a warranty — it’s our promise to keep your home looking perfect year after year.
✨ Ready to give your walls a little love?
Let’s make your home feel fresh, bright, and season-ready all year long.
Warmer weather means that snow melts and moisture accumulates, so it’s a good practice to inspect the outside of your home. This ensure you can catch little problems before they become big ones.
As you walk around the outside of your home pay attention to these areas:
Wooden window sills – snow and water can accumulate on these, so they are usually the first place where paint starts to peel
Decks and railings – snow and rain can accumulate on these areas as well so they generally need a lot of maintenance
Foundations – look for any cracks in your foundation, when snow melts and water expands it can cause hairline cracks to get worse
Shady areas and areas of low ventilation – these are prime areas of mold and mildew growth
Eaves and downspouts – if ice has formed in these over the winter, as the ice thaws it expands and can damage both eaves and downspouts
The exterior painting season at CAM Painters
As the temperature rises we often think about all the outside projects we have to do, and painting is usually one of them. Well, at CAM Painters we’re gearing up for the exterior painting season, BUT we can’t rush things…
Why? Most surfaces need time to thoroughly dry after the spring thaw, and this can take a few weeks. Wooden surfaces especially can hold on to moisture for weeks!
2 things we look for before starting exterior painting:
Temperatures stay above 5C at night
Moisture content is at an appropriate level (for wood this means less than 15%)
This usually means that we don’t start exterior painting until mid May and we stop exterior painting usually in late September. This only gives us 4 and a half months of exterior painting, and then we have to deal with rain delays too!
So the prudent thing to do is, if you’re thinking of doing some exterior painting this year, now is the time toget an estimateand book the work in!
There has been a lot of talk about paint and primer in one products. Are these all they’re cracked up to be? Are they much different than regular paint?
Whenever I mention the need to prime before painting, many times I hear from my clients “what about the paint that has the primer built-in, why don’t you just use that?”
Is paint and primer in one any different than normal paint?
In a word, “no”, it’s no different than a good quality paint. A good quality paint is self-priming in all the situations that a “paint and primer in one” product is.
If the surface is previously painted a primer is not necessary in most cases. If the surface is glossy, a light sanding will allow the new paint to adhere properly, no primer needed.
When do I need a primer?
When there is a major colour change
Paint will get better coverage over a primer, than over a paint. Therefore, if you’re going from a light to dark colour a grey primer is recommended. If you’re going from a dark colour to a light colour a white primer is recommended. The primer makes the surface porous, so that when the finish coat goes over the top the coverage is better than if it was going over a paint (which is generally less porous).
Paint and primer in one, does not give any advantages in terms of coverage over that of a good quality paint.
When painting over unpainted surfaces
There are primers designed to adhere to certain surfaces. The sole purpose of these products is to adhere to the surface, they don’t have any protective elements in them, that’s the job of the finish coat.
Paint is designed to sit up on the surface and protect it. So when you have a system of a primer, followed by a paint, you have both adhesion to the surface along with protection of the surface.
When sealing out stains
Water stains, nicotine stains and wood knots/tannin bleed can come through the finish coat. What does that mean? You’ll paint the area and then as it dries, you’ll see the stain reappear–Not Good!
What that means is that you’ve got to use a specific stain-sealing primer. Generally these are oil-based or shellac-based, which can seal more stains than a latex-based product can.
In conclusion
As we can see, there’s not a great deal of difference between the performance of a high quality paint and a “paint and primer in one” product. There are many instances when a primer is necessary even when using a “paint and primer in one” product. Therefore, when your painting contractor recommends a primer they are not trying to upsell you, they just want to give you the best end result. The best end result is a job that looks great and can stand the test of time.
So if you want a painter that will give you a great looking and durable paint job, while giving you a great painting experience along the way, why don’t you book a quote? We’d be happy to Transform Your Home With Lasting Beauty!