by Craig | Feb 18, 2018 | Interior Painting, renovations
So you’re planning on renovating your Toronto home?
CAM Painters can help! Everybody loves a bit of home renovation, and the beauty in it is that there are so many ways you can go about renovating your home, even if it is just investing in new interior doors as you’re not really into the old design anymore or having new windows put in. Whether this is through installing a home security camera external or renovating a certain room, there are so many ways to improve a house. However, we believe that painting is at the heart of all home renovation projects! Especially if you like many have decided to get your house painted after replacing doors or windows or add an addition to your house using somewhere like www.majesticdesigns.co.uk. Not only can we do the painting, we can recommend the sequence of painting so that it’s done as efficiently as possible.
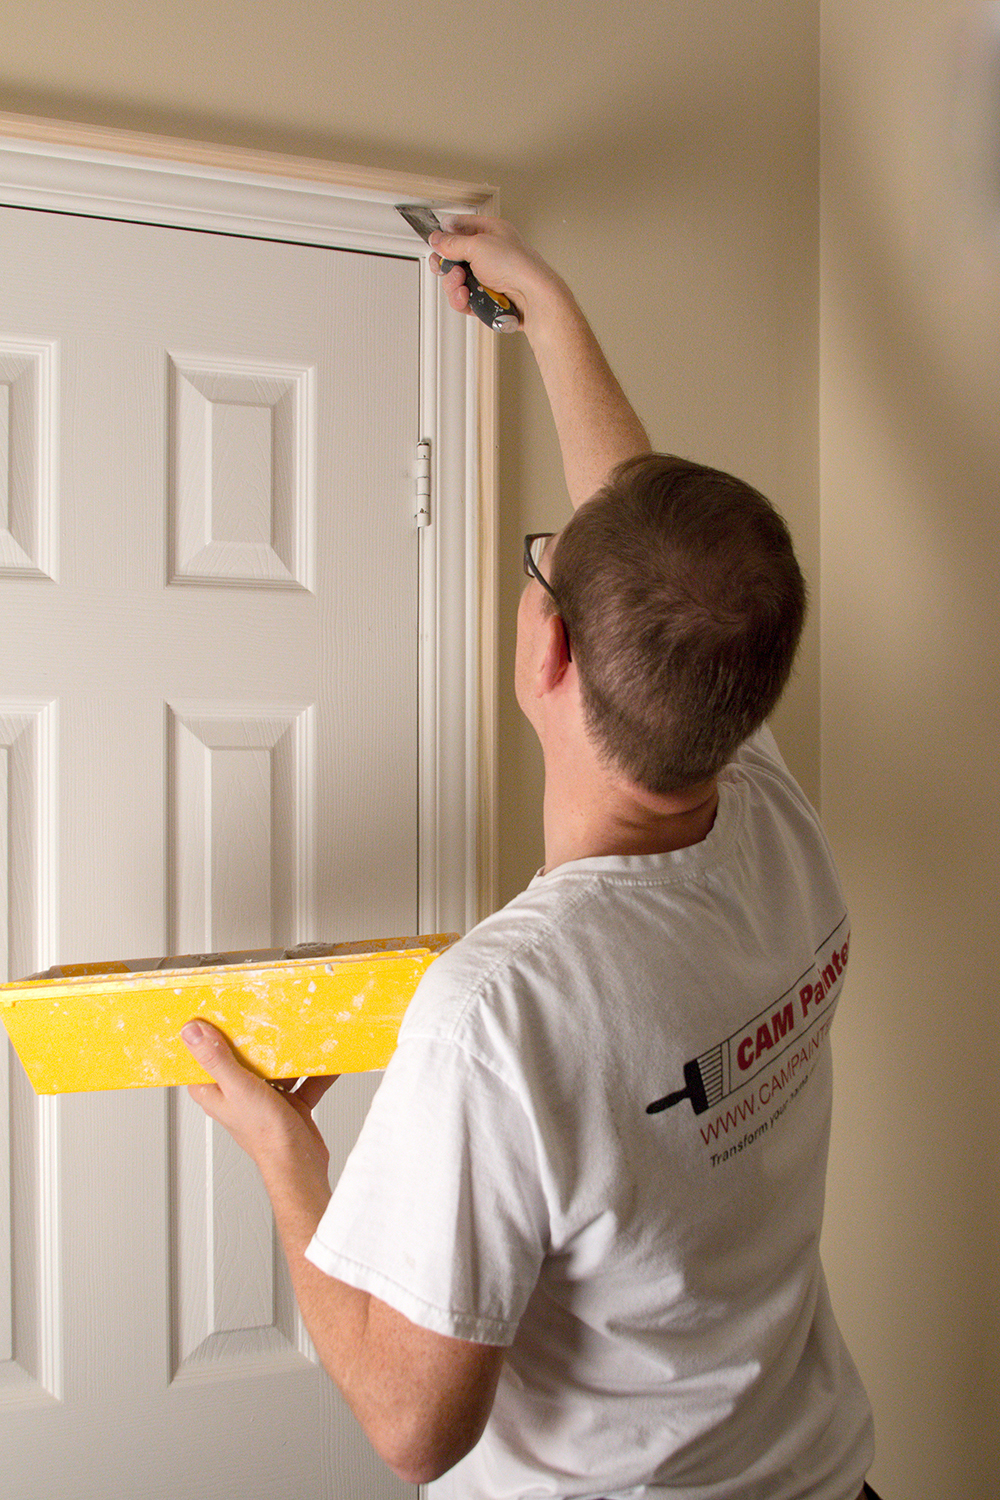
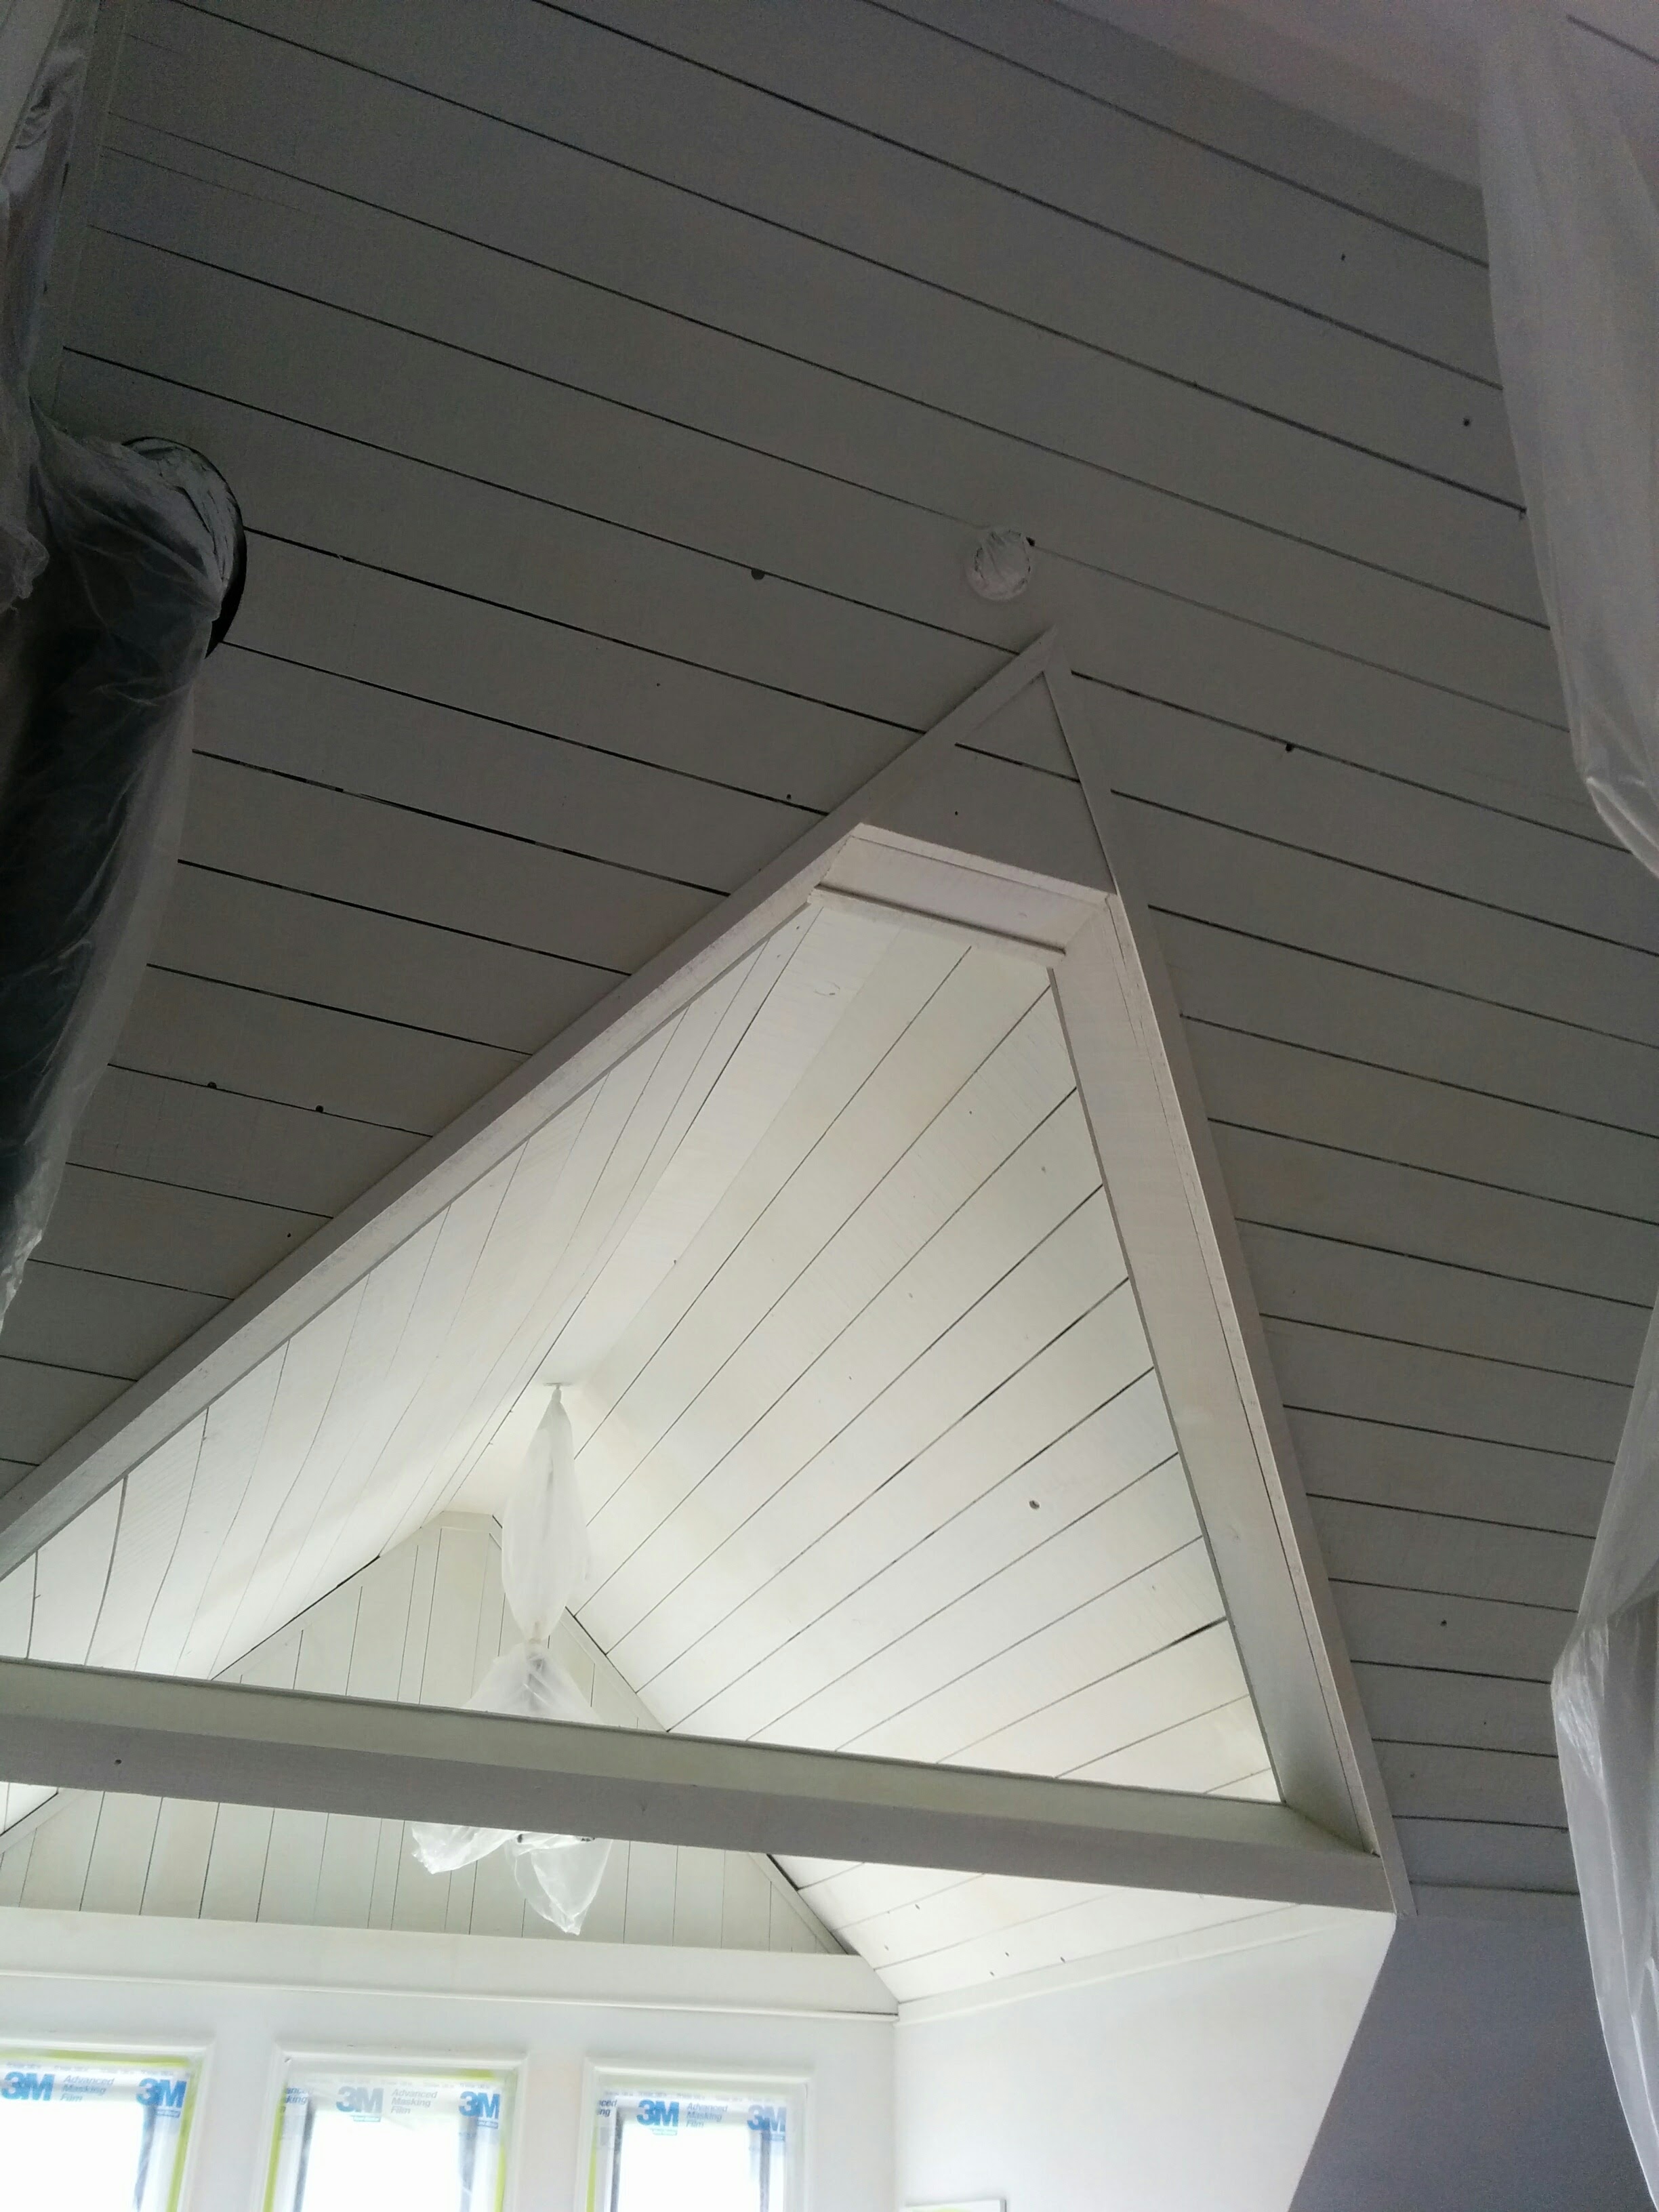
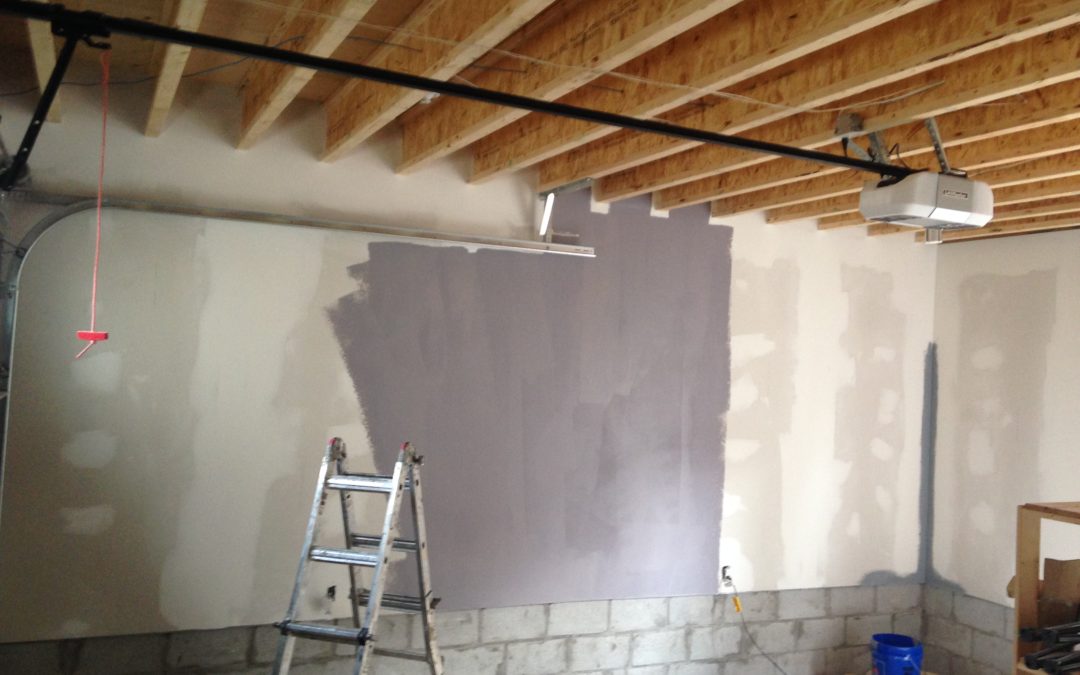
Step 1: After the drywall has been installed, taped and plastered
Prime walls and ceilings, Paint ceilings, Prime and Paint trim while it’s loose
Once the place has been drywalled, taped and mudded it’s a perfect time to have us in to prime and paint the ceilings. Ideally this can be done before flooring goes in. As an added bonus, if the trim and casings are onsite, we can prime and get a coat on those before they are installed.
The benefit of getting the ceiling and walls primed early on in the renovating process is that if there are any deficiencies by the drywallers, these can be seen and rectified. It’s better to have these deficiencies fixed before the floors, trim and other finishes go in.
Getting a coat of primer and paint on the trim while it is loose is more efficient than after it’s installed, so it saves time, which in turn saves money.
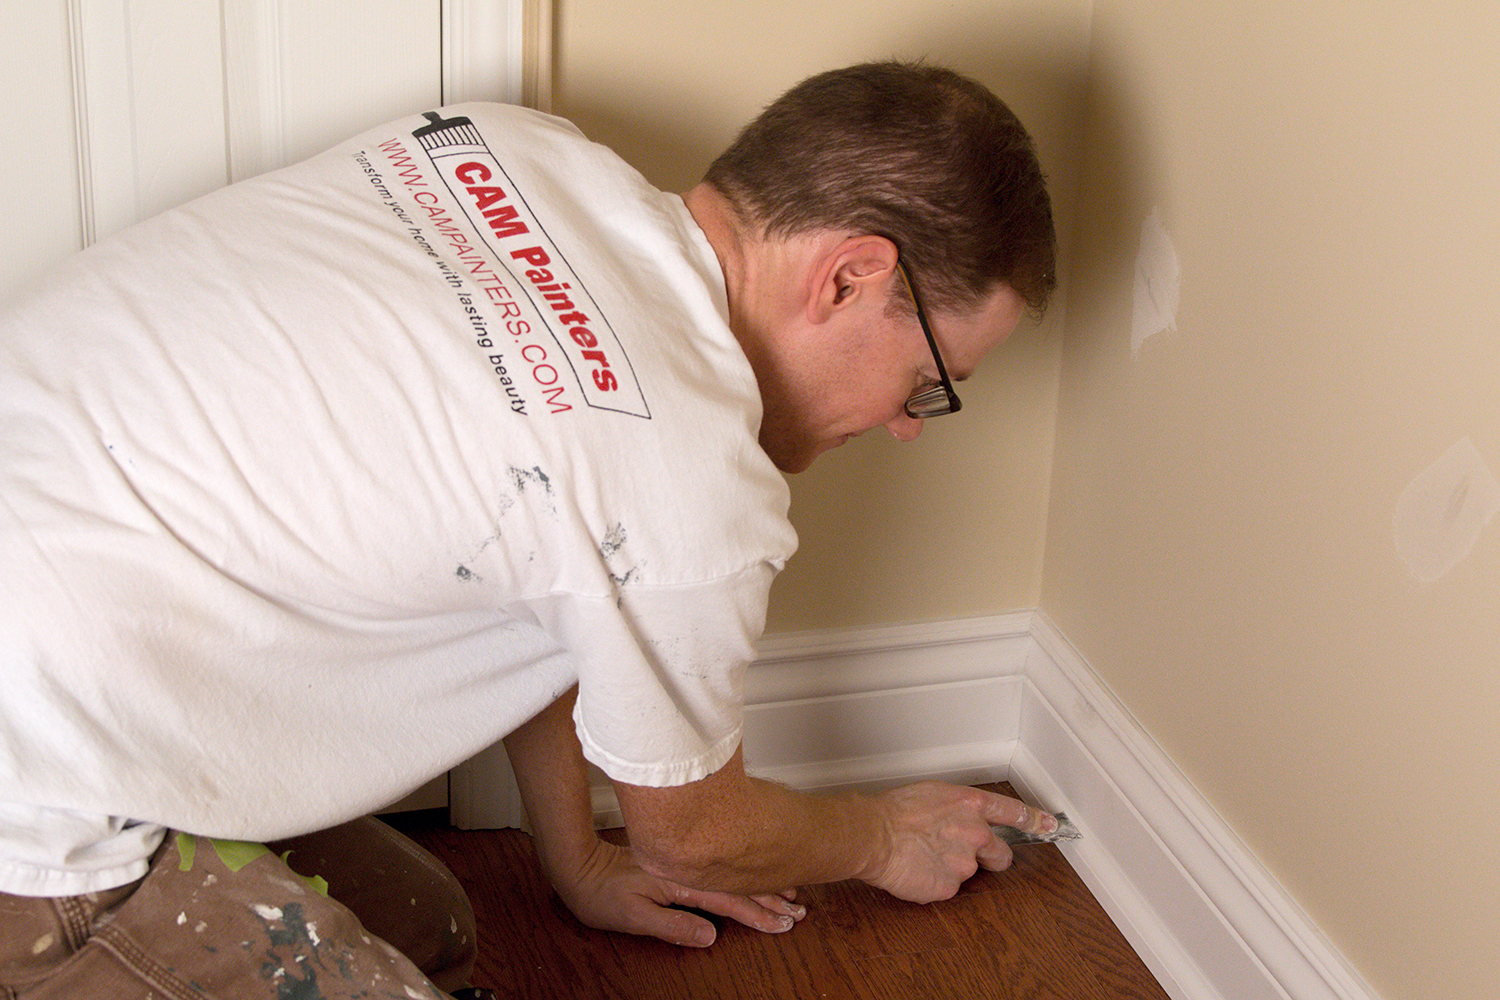
Step 2: After flooring and trim has been installed
The next phase of renovating would be to have us in after the flooring and trim has been installed.
This phase would consist of the following:
- Filing nail holes in the trim
- Caulking gaps between the trim and the wall
- Painting the walls – 2 coats
- Painting the trim – it already has 1 coat, so it just needs the final coat
At this point the project would be complete, except for touch ups
Step 3: Final touch ups after move in
Although most movers are careful, there is always some wear and tear from moving furniture back into a home. So we recommend allowing for a day of touching up the paint, which can be scheduled shortly after you move in.
Final thoughts to consider when planning your renovation
You should allow enough time in your renovation schedule that painting can occur when there are no other trades. As careful as other trades are, the more of them that are onsite, the more damage that is likely to happen to the paint.
Your contractor should ensure that the HVAC system is running properly prior to having any painting. If a house is too cold, or too dry, it can have a negative impact on how the paint dries. If your HVAC system isn’t working then you need to hire a professional who can help Repair Air Conditioning & Heating System for you. 
Your contractor should also ensure that there is a laundry sink and that water is available to use. We need water to clean brushes, mix patching compound and wet rags to clean off surfaces.
Also, please make sure your contractor has the wood casings and trim are on site a week before painting starts. This allows the wood to acclimatize to the house and do any expansion or contraction before primer and paint is applied.
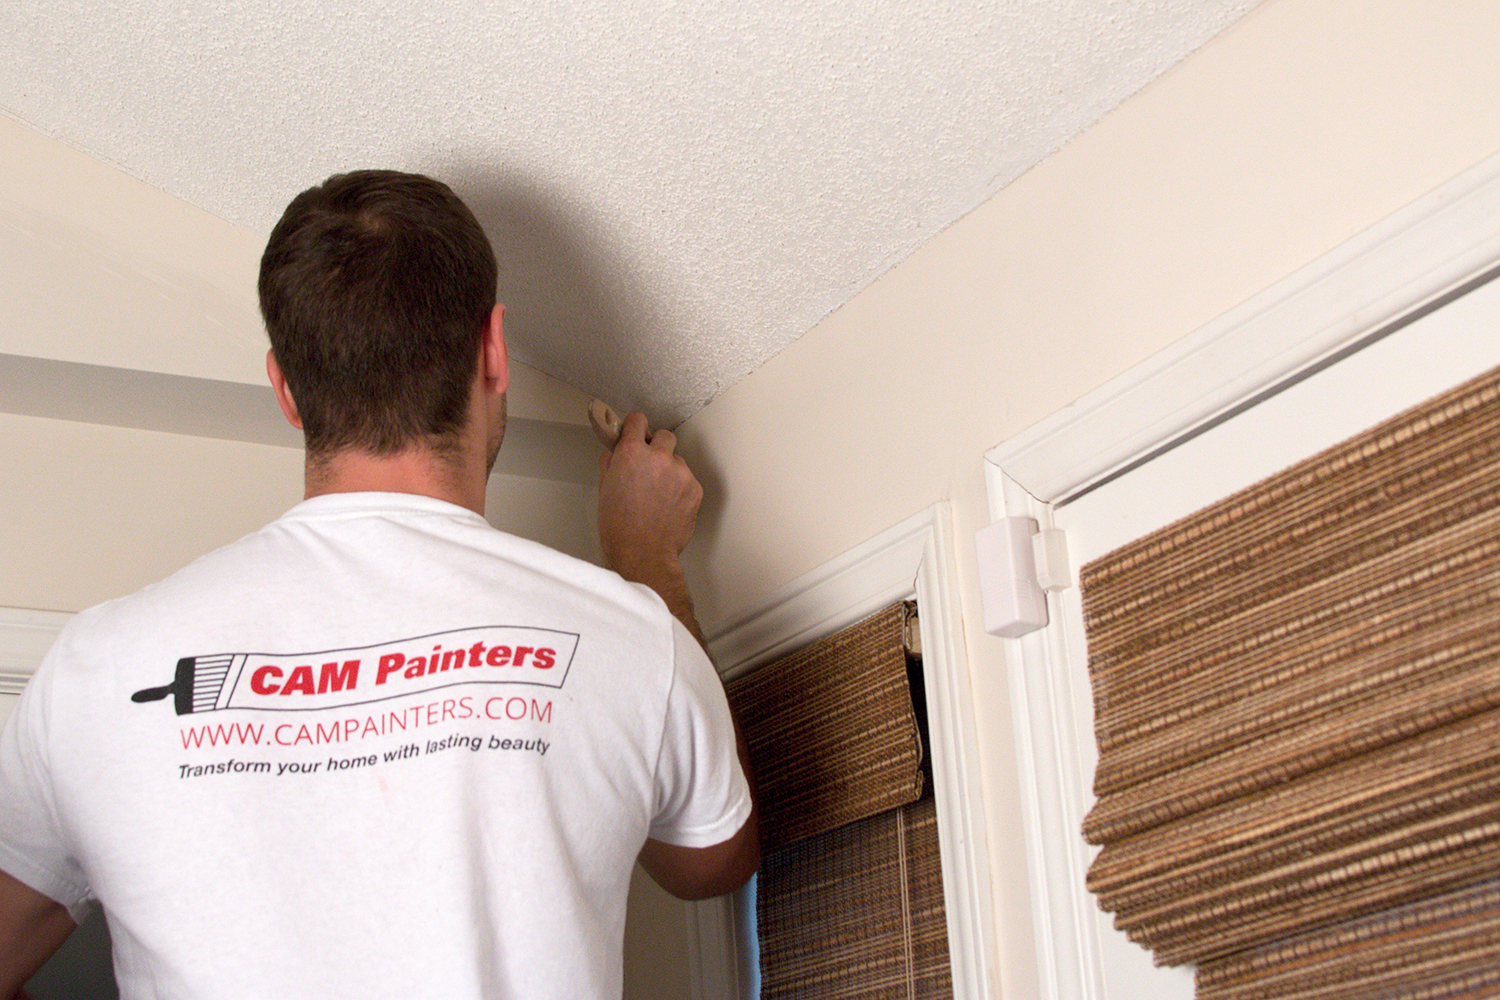
If you’d like to have CAM Painters handle the painting portion of your renovation project why don’t you book a quote? We’d be happy to Transform your home with lasting beauty!
by Craig | Feb 9, 2018 | DIY, Interior Painting
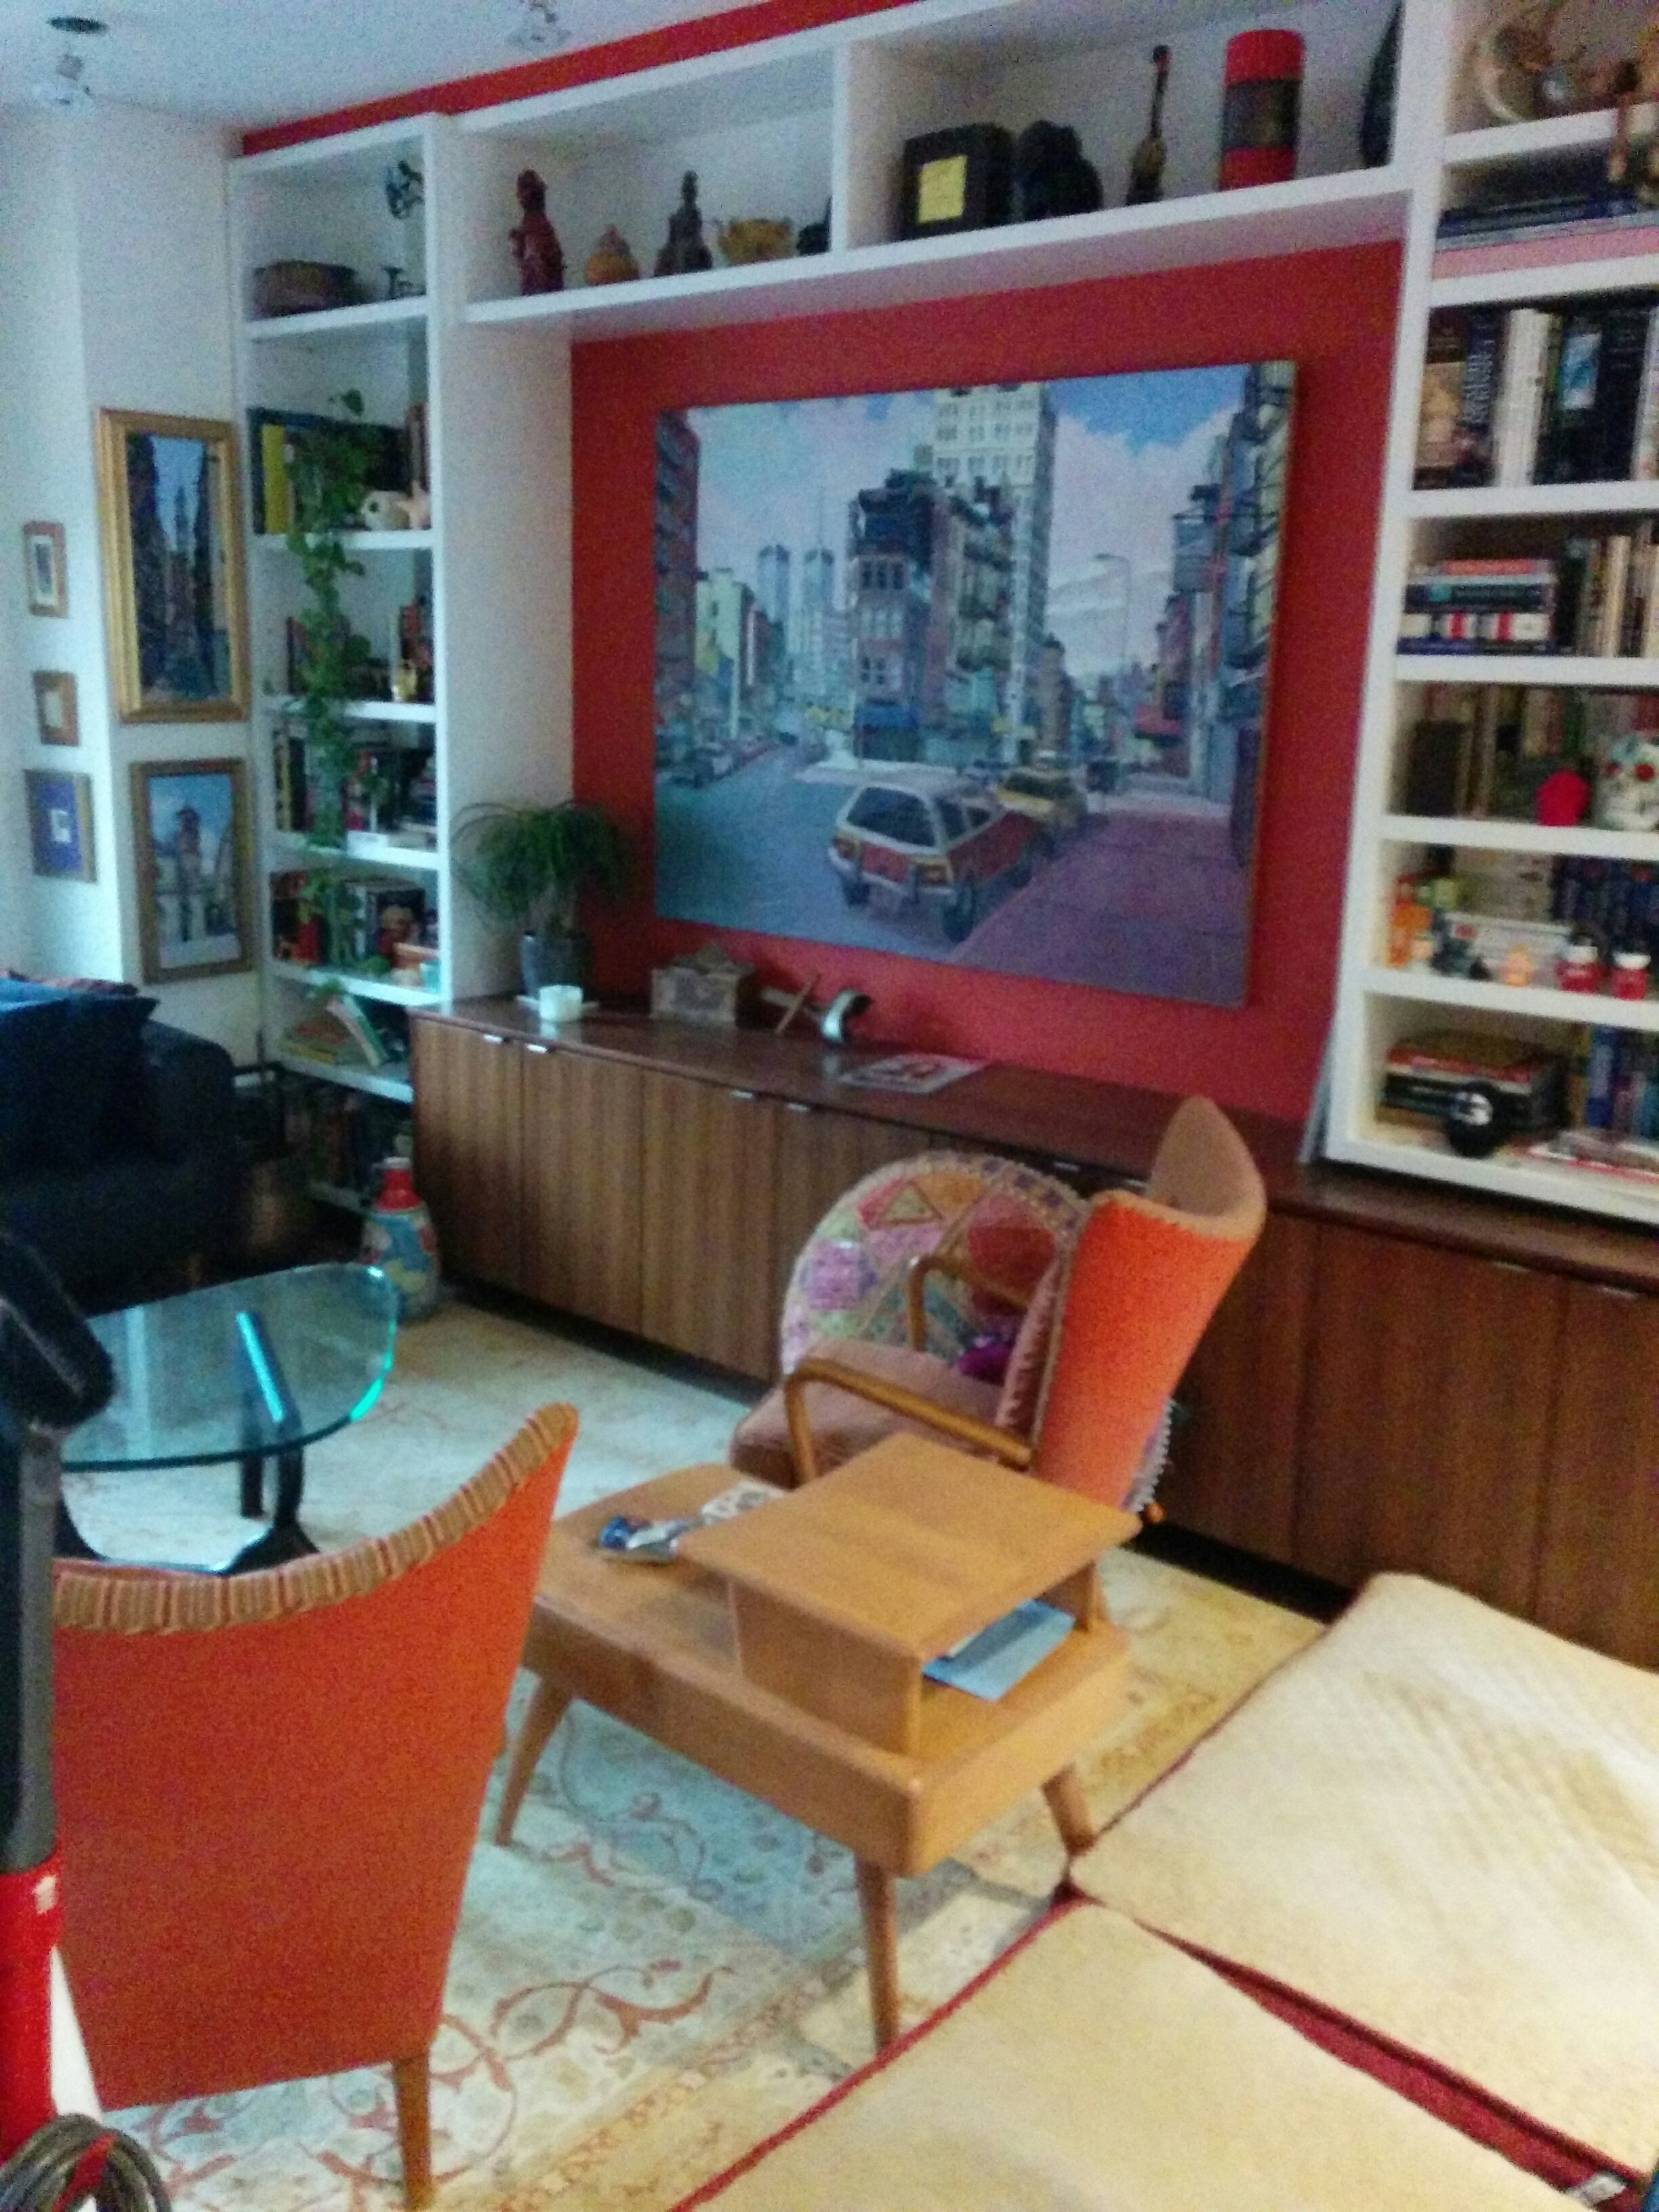
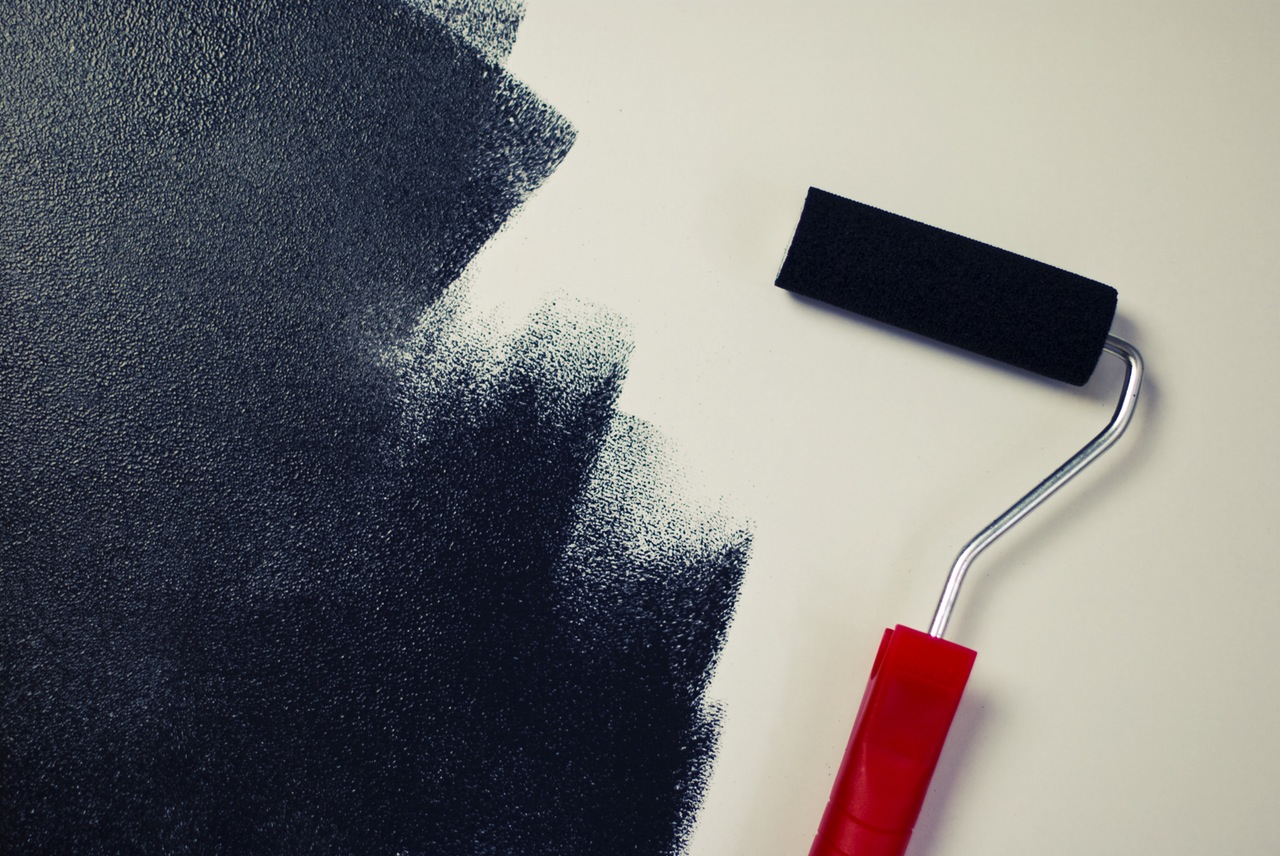
So you’re thinking about bold colours for your Toronto home? Bold colours can be tricky to paint with, so here’s our list of tips to make sure that it goes smoothly.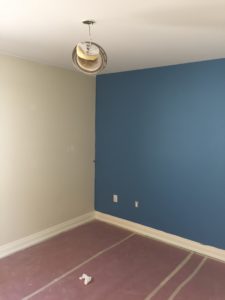
Coverage
Intense colours are notorious for bad coverage. I’ve heard many stories about certain intense colours taking 7, 8 or more coats, and they still don’t look right.
First, let’s explore why this is so. Paint comes in different bases starting with a white base, all the way to a clear base. To these bases tint is added to achieve the desired colour. For a very light colour, not much tint is needed and the the paint is able to get a lot if it’s coverage from what’s in the can of paint.
As we go to more intense colours, such as bright reds, bright blues, oranges, bright yellows a clear base is used. If a white base was used, the colour would be muted and not bright at all. When a clear base is used, the paint is getting all it’s hiding power from the tint alone. Therefore, in most cases the paint looks almost translucent and requires many coats to cover.
There are some steps you can take to minimize the number of coats required and end up with a better finished product.
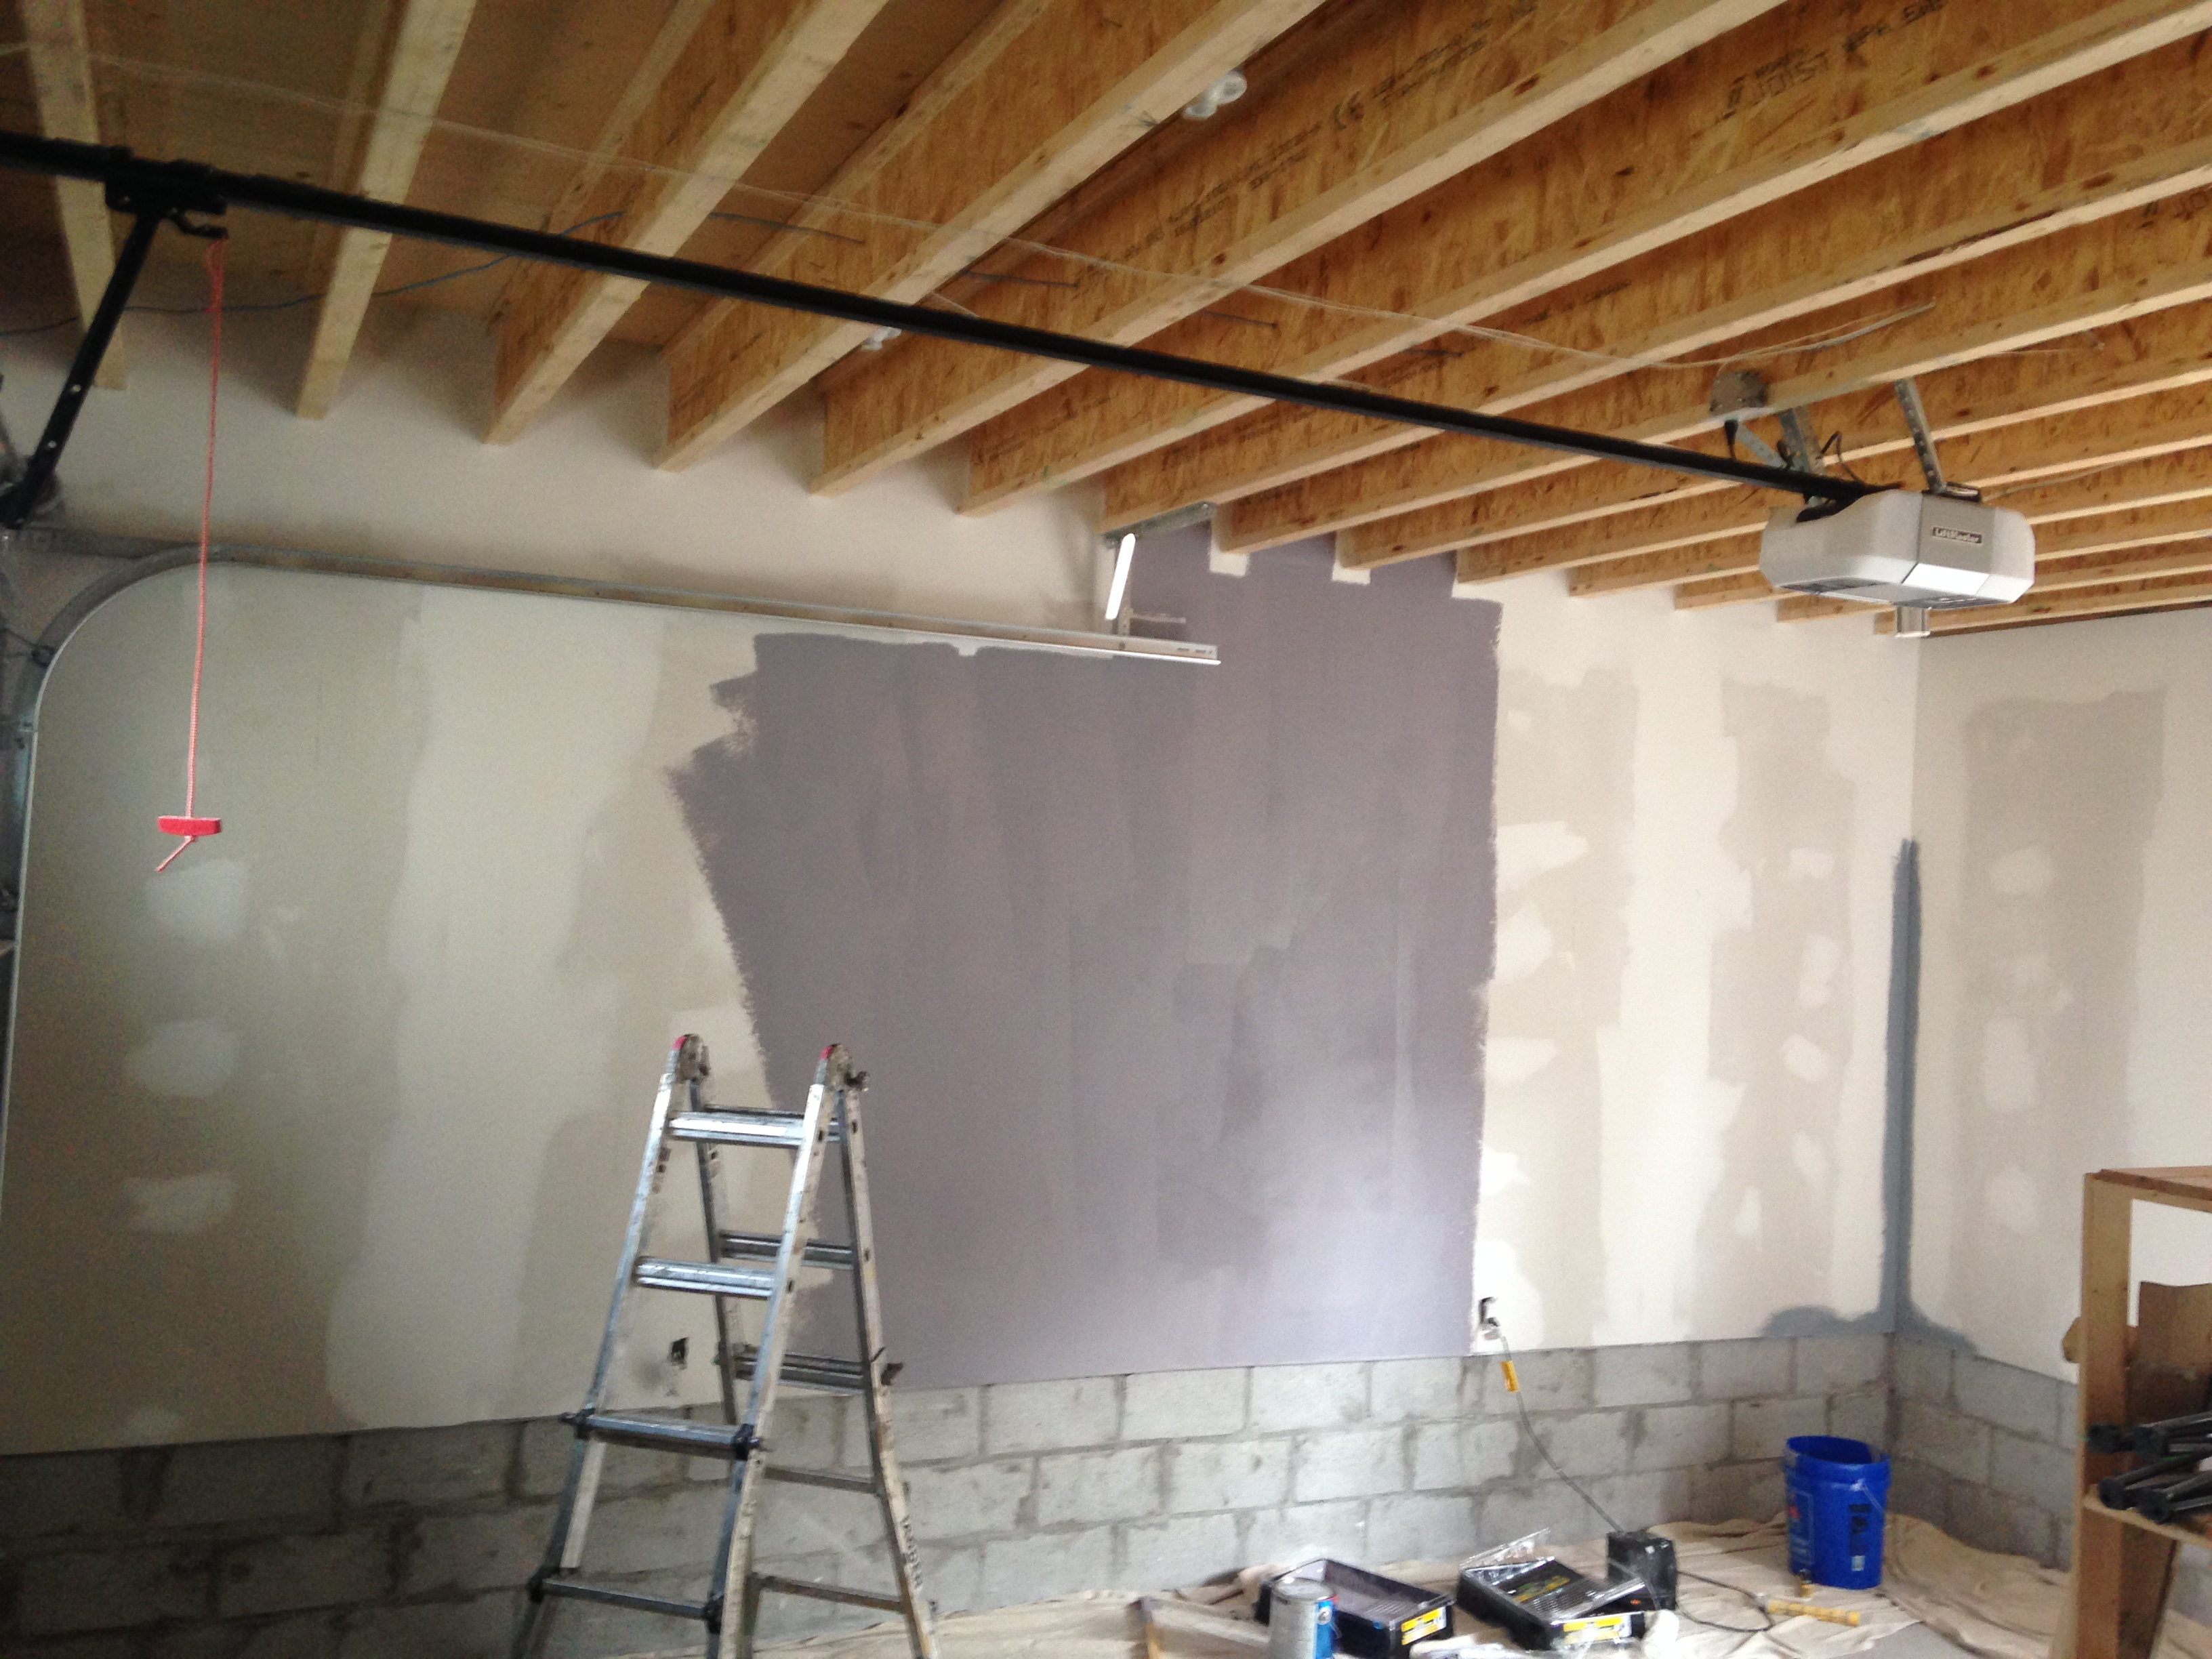
First, Use a grey primer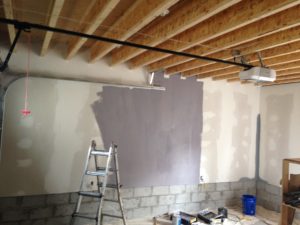
If you use a grey primer, you’ll be further ahead than just painting over the previous paint, or using a primer of any other colour. The depth of grey should be matched to the depth of the topcoat colour – any reputable paint store should be able to advise on the particular depth of grey primer to use.
Second, Be careful when choosing level of sheen
Tint gives the paint more sheen, which doesn’t matter for most colours. However when dealing with bold colours with a lot of tint, the effect can be that an eggshell looks closer to a semi gloss, or a flat looks closer to an eggshell. So choose your sheen level wisely and perhaps choose a less glossy sheen than you would otherwise.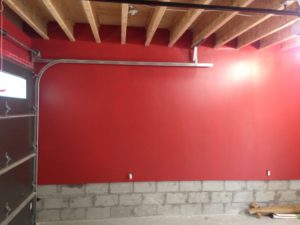
Third, Be careful with your brushing and rolling technique
The extra tint can cause the paint to leave more texture, or stipple than normal. Basically, you’ll want to be extra careful that you’re not leaving any unevenness in the paint when you roll it out. I would also brush and roll one wall at a time, just to be on the safe side, rather than brush the entire room and then roll.
Expect that you might need an extra coat with bold colours
Even with all these steps, you still might need a 3rd or even a 4th coat. So make sure you’ve given yourself enough time that you can come back the next day for another coat or two.
Some product recommendations
When it comes to bold colours we find that Benjamin Moore Aura offers the best coverage. However this paint can be a little difficult to work with, be sure to follow all the directions on the can and ask the paint store clerk if you have any questions.
READ MORE: Colour Selection 101
Finally
Bold colours can really transform a space! If you’d rather leave the application to someone else why don’t you book a quote? We’d be happy to transform your home with lasting beauty!
by Craig | Jan 22, 2018 | Interior Painting
Many paints advertise “paint and primer in one” and this can potentially be a time saver. However, there are certain situations when priming will greatly help a paint job, either in terms of efficiency or durability and sometimes both.
Here is our definitive list of when to prime!
Primer is recommended for drastic colour changes
Certain primers are designed to have higher coverage than paint. Therefore, these primers are handy in a few different situations:
- When going from a dark colour to a light colour. A white primer can hide the dark colour better than the finish coat can. We recommend 1 coat of primer for most deep colours, and in some instances we’d recommend a 2nd coat for very dark colours. After the surface is primed you can usually get the finish coat to cover in 2 coats
- When going from a light colour to a dark colour. The primer can be tinted close to the finish coat colour. Usually 1 coat of primer will suffice, and then 2 coats of the finish paint and you’re done!
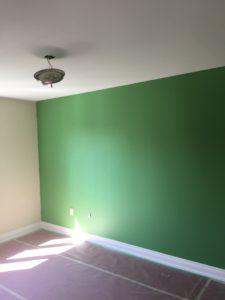
- When using an especially vibrant colour. Many bright reds, yellows, greens and blues can have coverage issues. To ensure good coverage a grey primer is recommended. A reputable paint store will be able to recommend the specific depth of grey that’s needed.
Helpful tip: If a paint store recommends a lighter version of a vibrant colour as a primer, don’t listen to them! A grey primer is essential under any vibrant finish coat!
Our recommendation for this application is Sherwin Williams Multi-Purpose Water-Based Acrylic-Alkyd Primer. This particular primer has great coverage so it’s perfect as an undercoat for colour changes.
 Primer is recommended when adhesion might be an issue
Paint has trouble adhering to certain surfaces, these include:
- Glossy surfaces
- Bare drywall patch
- Bare metal
- Bare wood
Glossy surfaces can be either sanded to de-gloss, primed, or both sanded and primed. Sanding breaks open the surface and allows the paint to penetrate deeper and get a better bond with the surface.
Bare surfaces, such as bare patches, bare wood or metal should be primed as well. Priming acts as an intermediary step, it bonds to the surface and then gives a porous surface for the finish coat to bond to.
 Priming is recommended where there are potential problems with stain bleeding
These areas include the following:
- Mould-prone areas such as bathrooms
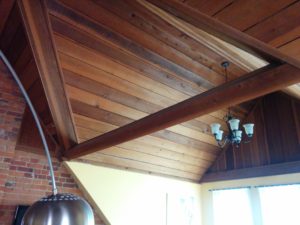
- Wood where sap from knots are staining the surface
- Greasy areas such as kitchens
First off, what is stain bleeding? Paint has trouble covering certain substances, such as grease, sap and mould. Consequently when these are painted over, the stain discolours the paint and “bleeds” through the surface.
Greasy and stained areas should be washed first with TSP to clean the grease off the surface. However, even after cleaning there can still be a little bit of residue remaining, especially if there’s extensive staining. To completely eliminate the potential of the stain bleeding through one can use an alcohol-based primer.
Finally
If you’d prefer CAM Painters to take care of your painting needs why don’t you book a quote? We’d love to Transform your home with lasting beauty!
by Craig | Jan 16, 2018 | Interior Painting, painting experience
If you take a few simple steps to prepare your Toronto home you can have a great painting experience! The painting experience can run very efficiently and be done with minimal inconvenience, however, there are things that you should do to make this a reality. In this post, I’ll give you a checklist of the things that should be done to prior to painting.
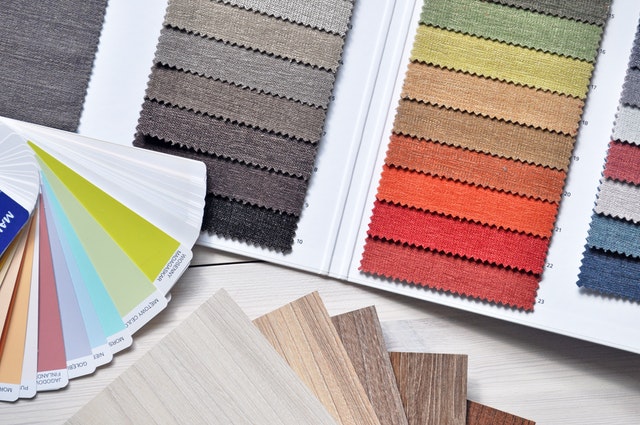
Ensure that your colours are chosen well in advance
Colours are tricky, they can look different on your walls than on the paint chips. Also, they can look different on various surfaces and at varying times of day. 
What we recommend at CAM Painters is to have a colour consultation from an interior designer. We can even recommend interior designers based on your budget and location. A good interior designer will save a lot of time and frustration in the colour selection process, so it’s definitely a good investment! If you’re looking for a good selection of premium paints, visit your nearest Benjamin Moore paint dealer.
READ MORE: 3 Reasons to have a colour consultation prior to painting your Toronto home
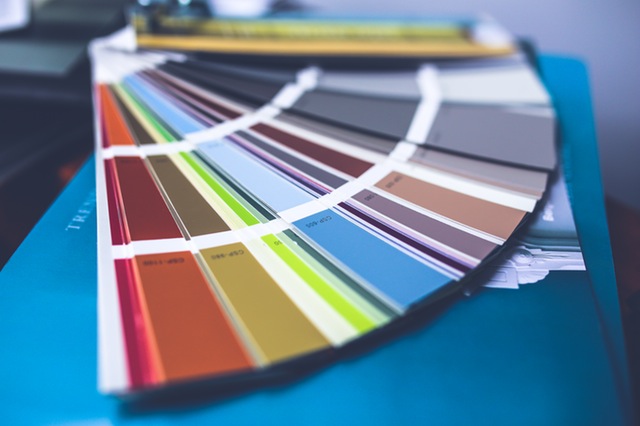
If you’re wanting to do colour selection yourself, at least buy some tester pots of the colours you’re thinking about so that you can test them on the walls. A rundown of the procedure is here:
Colour Selection 101 for your Toronto Home
We usually like to pick up colours a few days before the job starts. If you can prepare your final colour selections a week before the job starts, that would be best.
Arrange access to your home with us
Our hours of work are generally 8:30 to 4:30. We don’t need someone on site with us in order for us to do our work, but we do need access into your house. If you are not available, we have lock boxes that you can leave a house key in. If you’d prefer to meet us in the morning to let us in, that’s fine too.
Make arrangements for your pets
 We are pet-friendly at CAM Painters, so if your dog or cat wants to say hello, that’s fine with us. However, once we start working it’s best if pets are not in our workspace for their own safety. It’s best if they can be shut off in another area of the house, so they don’t get into our tools or wet paint. Yes, we have had cats get wet paint on their paws and track it all over the floor!
Prepare your rooms for painting
This is not as daunting as it sounds. All we are asking is that you remove any small, fragile objects from the room and remove pictures from the walls. If you are planning on putting the picture back in the same place please leave the picture hook in the wall. If you are planning on repositioning or leaving off the wall altogether, please remove the picture hook and we’ll be sure to fill in the nail holes.
We don’t mind moving a couple of pieces of furniture per room, which we cover with plastic to make sure it’s protected.
There are a couple of items that we prefer not to move, which you should make arrangements for before the painting begins:
- Wall-mounted TVs
- Fridges – these can damage floors if the wheels don’t move freely, and fragile water lines can break too
- Washers & Dryers – brittle hoses and vent ducts can be damaged during moving
So if you can arrange for these items to be moved that would be great!
Finally,
We at CAM Painters want to give you a great painting experience and if you follow these guidelines you can ensure that is what you get! Feel free to book a quote! We’d love to Transform your home with lasting beauty!

by Craig | Nov 27, 2017 | General posts, Interior Painting
During the holidays you give gifts to relatives that you don’t really like – so how about giving a gift to your Toronto home?
Your Toronto home protects you from the harsh elements, keeps you warm in the winter and cool in the summer. So why don’t you show it some love this holiday season? If your Toronto home could talk, I guarantee these things would be on it’s holiday wish list
A wallpapered powder room…
Much like you gals have a fancy scarf, or guys have a cool neck tie, your home wants a shot of colour and drama. In this case, a little pop of colour can go a long way, so try a bold patterned wallpaper in your powder room! Because it’s a small area you can make a very dramatic choice vs. Wallpapering the entire main floor, for example.
Or a few wallpapered accent walls
For the very same reasons listed above, accent walls are a great way to add a shot of colour and drama to an otherwise lifeless room. If you have reservations, start with the guest bedroom, or if you want to go all in, go for the master bedroom.
A painter for a day
Over time your house experiences some wear and tear. When that happens, it doesn’t necessarily need a full paint job from top to bottom, but just a freshening up. Why don’t you book a Painter for a Day? This program gives you a fully stocked professional painter for up to 8 hours to take care of those areas that need  a little freshening up.
In fact, you could book a Painter for a Day before the relatives come over for the holidays, so that your home can look it’s best.
Conversely, I know some of you have rambunctious nieces and nephews! So maybe you want to book a Painter for a Day after the holidays, to fix the wear and tear that the little hooligans have inflicted on your home!
Read more about our Painter for a Day Program
A consult with an Interior Designer or Professional Organizer
If you’re not happy with your home, maybe you don’t need a new home, maybe all you need is to reorganize the way your home works for you.
If you have a consultation from an interior designer, maybe they can suggest some simple steps for you to enhance the look and/or the functionality of your home. If you’re feeling overwhelmed with all the stuff that’s lurking in your home, perhaps a professional organizer can help make your home less cluttered and more functional.
Hiring a professional is always wise, because the savings in time and aggravation more than pays for the service itself, and you reap the benefits for a long time after the consultation.
A final word on your home’s holiday wish list
Although this gift guide is not exhaustive, we have offered some suggestions to get you thinking about your home. I’d suggest that your home wants a splash of colour, to be well maintained and be organized, so that it works for you.
Why don’t you buy your home a gift and book a quote with CAM Painters, we’d love to Transform Your Home with Lasting Beauty!
by Craig | Nov 22, 2017 | General posts, Interior Painting
This is a familiar scenario: You have the flooring redone in your Toronto home and then realize that the staircase doesn’t match the new flooring. We can help!
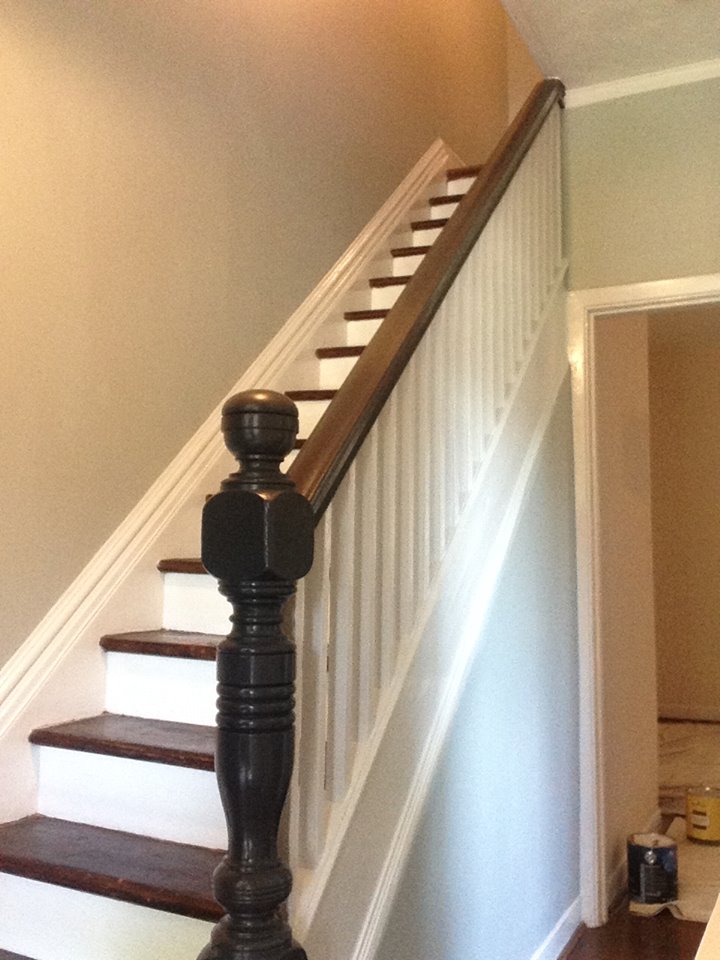
Many people are painting the wood on their staircases in a two-tone colour scheme and it looks fantastic! Or they paint everything but the stair tread – on that area they have it stained and varnished to match the flooring.
I’ll go through the process shortly. But first, let’s define the anatomy of a staircase: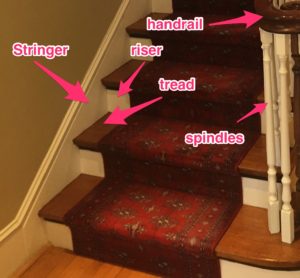
- Railing: This consists of the handrail – what your hand rests on, spindles and posts
- Stair tread: the part that your foot walks on
- Stair riser: the part that your toe inadvertently kicks when running up the stairs
- Stair stringers: the piece on either side of the stairs that holds the whole assembly up
What are our options?
If we want to paint the stairs, here is a typical colour scheme:
dark colour: Handrail, posts, stair tread
light colour: spindles, stringers, risers
If you want to do both stain/varnish and paint, the stair tread would be stained and varnished and the rest of the colours could be similar to the above scheme.
How do you ensure that the staircase is durable?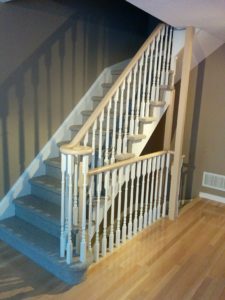
As you can imagine, stairs take a beating and it’s essential to have the most durable paint on them.
First thing, proper preparation is key:
If the stairs are currently varnished and we want to paint them it’s essential that we scuff sand the surface, this gives the primer something to grip on to.
After sanding we vacuum the surface to ensure all the dust is off the surface
We prime the surface with low odour alkyd primer – latex primers don’t stick good enough for foot traffic and constant abuse.
If We’re Staining and Varnishing
When staining and varnishing the stair tread we need to remove the existing coating all the way down to the bare wood.
Finish Coats:
If We’re Painting the Treads
We apply two coats of finish – low odor alkyd paint on the stair tread, which is suitable for walked on surfaces, on the other areas we use a latex enamel suitable for trim.
If We’re Staining and Varnishing the Treads and Painting the Rest
Generally we need to apply two coats of stain to get the wood to the right colour. After we apply the stain we put two coats of varnish on the tread, with a light sand in between coats.
On the other areas we put two coats of latex enamel suitable for trim.
READ MORE:
In conclusion
We’d love to update your staircase, so why don’t you book a quote? CAM Painters will Transform your Home With Lasting Beauty!