by Craig | Apr 14, 2018 | painting experience, Pricing/Value
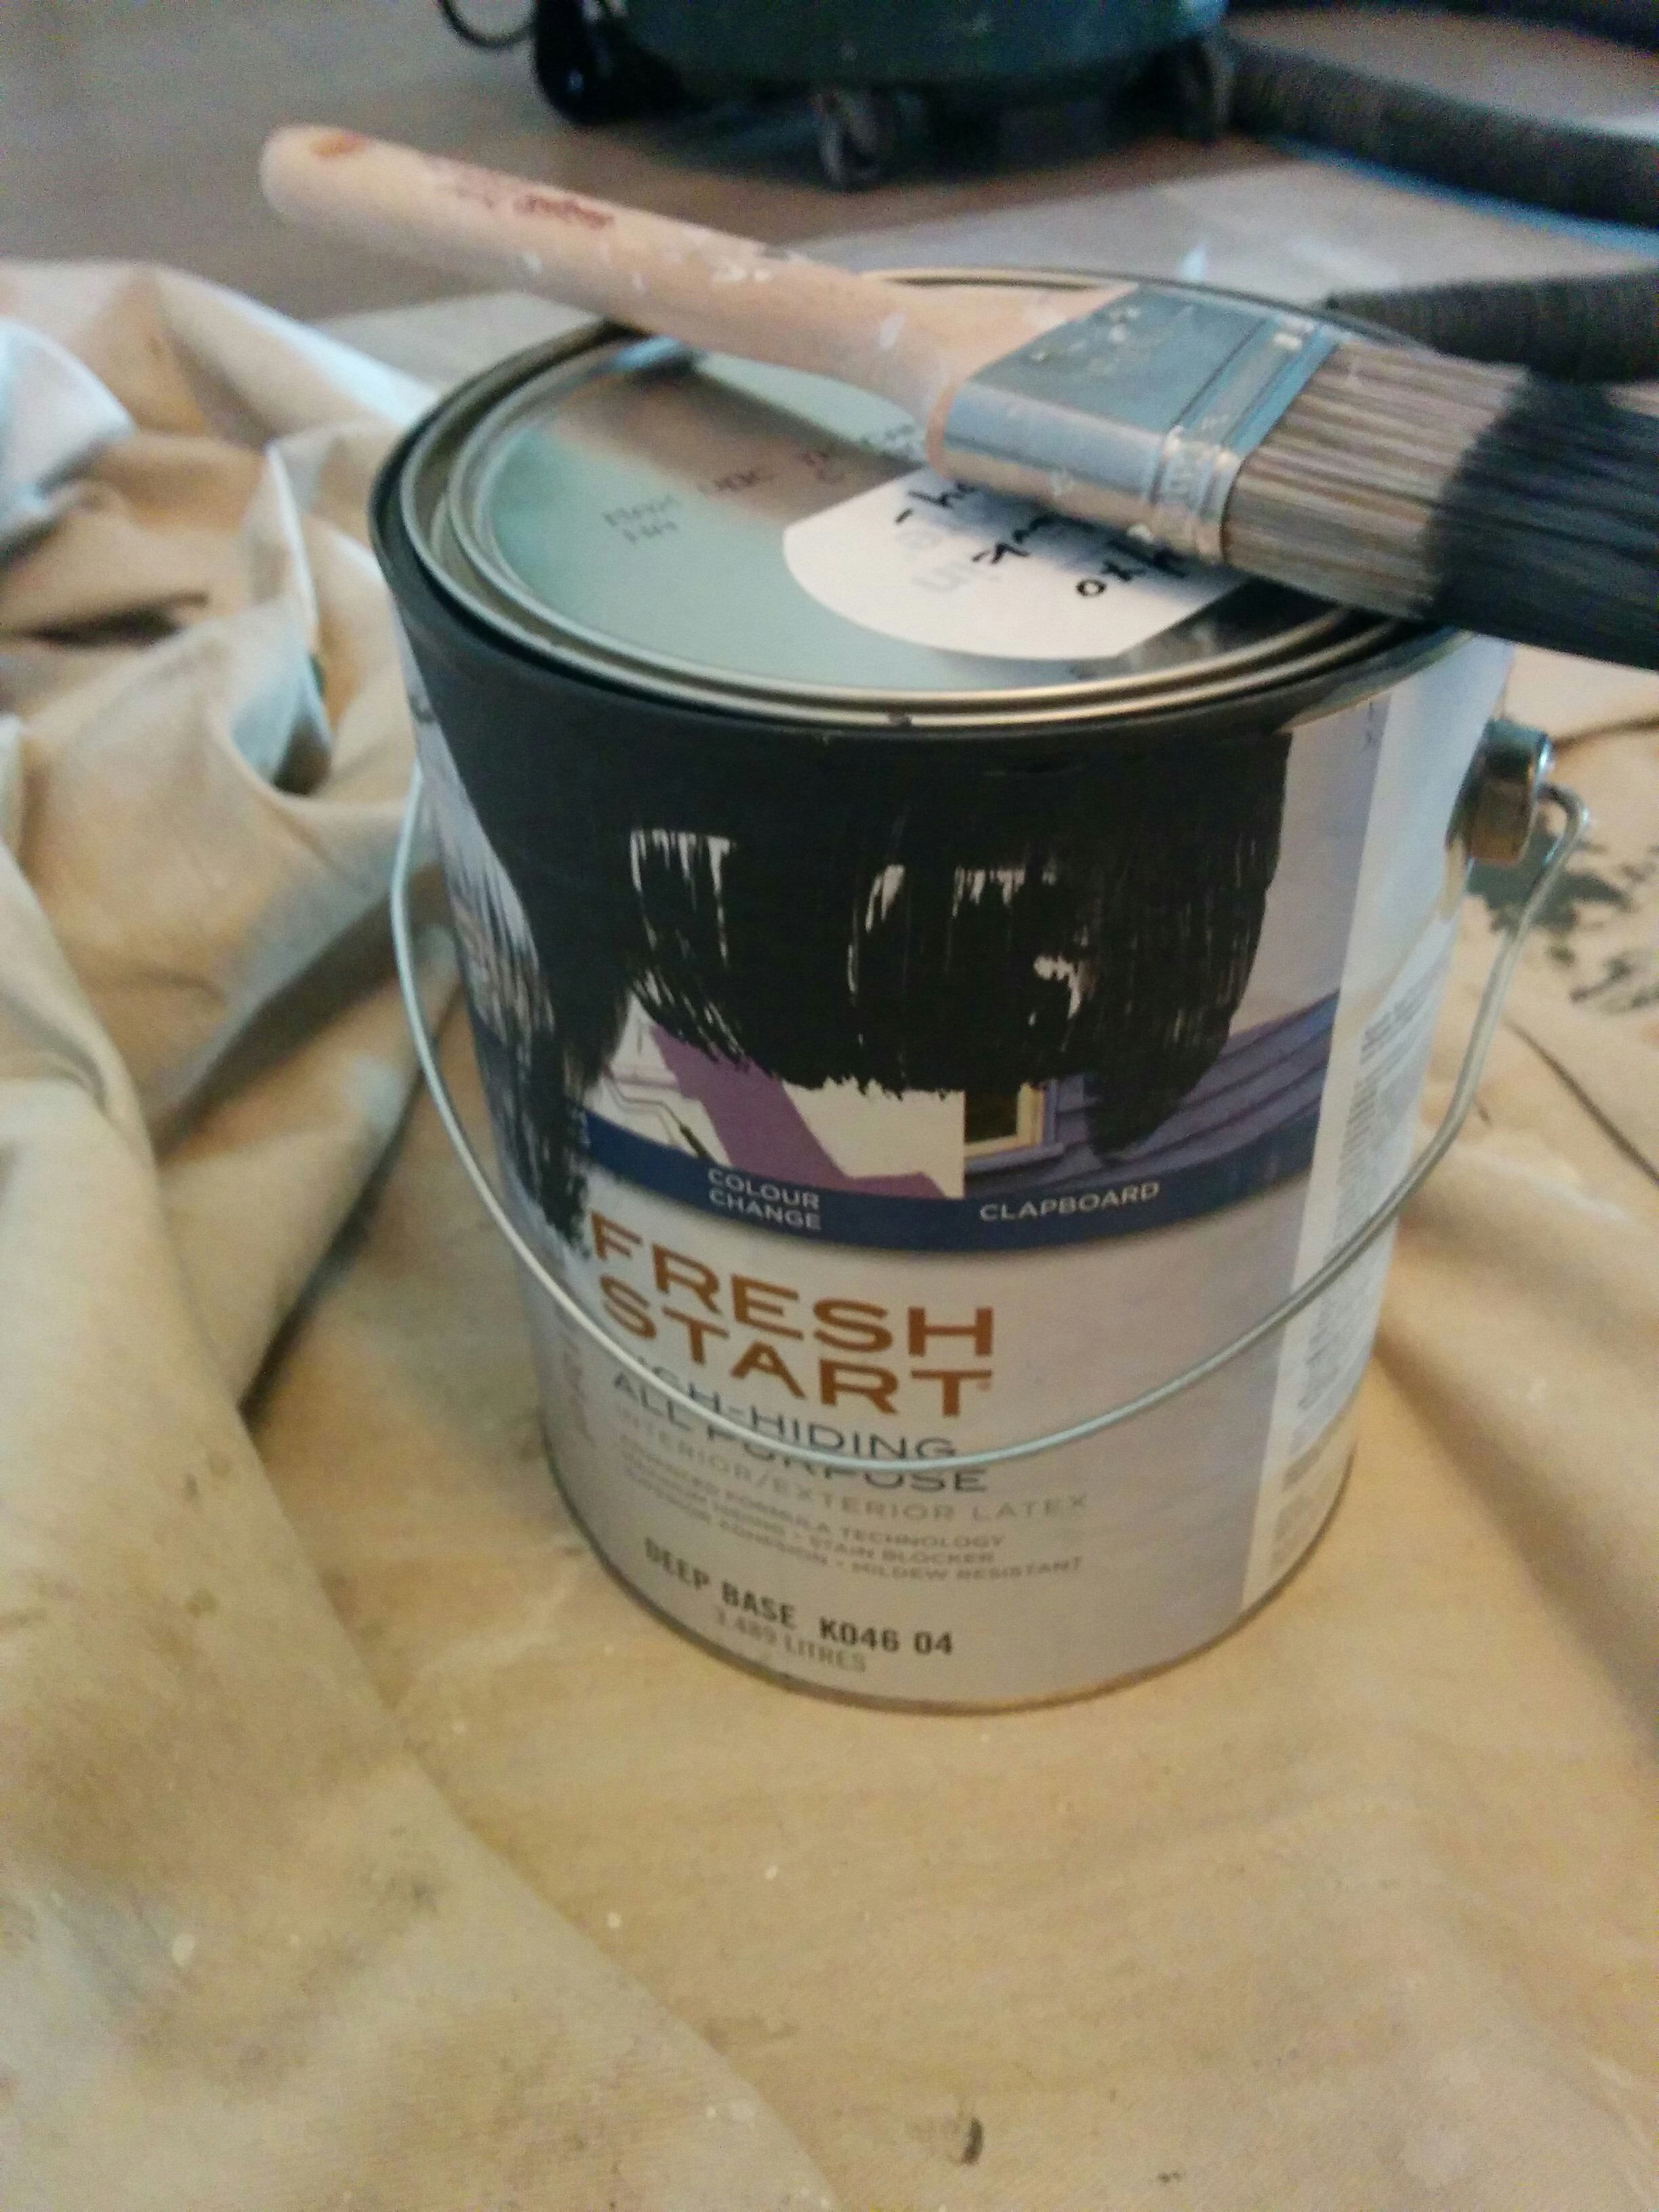
I was in a paint store in the east end of Toronto and I overheard a conversation between the associate and a homeowner. The basic gist of the conversation was this “I had a quote from so and so

painter and he’s supplying X brand paint. I think the reason that he’s using X brand paint is that he’s getting a big kickback from them.”
The homeowner seemed to be implying that his painter was using inferior paint, and getting a big kickback from the manufacturer for doing so. His solution was to supply the paint himself, and just have the painter price out his labour.
Is supplying your own paint the best approach? Are painters getting kickbacks from the paint store? Well let’s find out….
It’s true, painting contractors get volume discounts on paint
Just like any other business, if you buy a lot of product you get a volume discount. A typical homeowner might buy a few hundred dollars of paint every few years. A painting contractor typically buys thousands of dollars worth of paint each year. This amount of business is very valuable to a paint store, so volume discounts are offered typically between 15-30% depending on the product.
 What should a painting contractor do with those “kickbacks”?
Some painting contractors mark up the paint, so that the end client is paying more for the paint than if they supplied it themselves. This is quite common, and in the free market system, a business should be able to quote whatever price they deem fair.
At CAM Painters we pass on some of the discount to our clients and keep some of it. Why don’t we pass on the entire discount? Our clients don’t have to go to the paint store to pick up their own paint, using their own gas and time. They don’t have to research all the products to select which one is the best for their particular application.
Keep in mind that this time and effort on the part of the homeowner is on top of paying full retail for their paint.
Because it’s our time going to the paint store, it’s our gas that we use to pick up the paint, and it’s our time spent researching products, we feel that keeping a portion of the discount compensates us for this.
So why don’t we let customers supply the paint? Are we simply doing that to get a discount or kickback? Actually, when we supply the paint we can offer the best customer experience, let me explain…
We use the best quality paint so we can offer an excellent  warrantee
Even if a homeowner was to supplies us with top-line paint from a reputable manufacturer that we’d typically use there can still be potential issues. We can’t be sure how long it’s been sitting around, or if it was stored at below freezing temperatures, or anything else that could affect its integrity.
When we supply the paint, we can confidently stand behind our warranties, which is 3 full years for exterior work and 5 full years for interior work. This also includes 1 hour of free touch ups each year, to keep your home looking its best!
It makes sense for us to supply the most durable product so that it will hold up for the duration of our warrantee.
It allows the work to flow efficiently
When we supply the paint, we can accurately calculate out how much paint we need. This saves a homeowner purchasing extra gallons which aren’t used.
On the reverse side, if we don’t have enough, we can go out and get more, and the price to our client doesn’t change. Consider this, if a homeowner purchases the paint and doesn’t purchase enough they have to go out and get more. What if the painter runs out of paint in the middle of the day, either the homeowner has to leave work to go get more paint, or the painter has to wait until the following day to get more paint. How inefficient is that?!?!
We know what products work
Painting is what we do. We know which products work better than others because we are the end users. We also have strong relationships with paint stores, so we can get the best advice. So our clients get their homes transformed with products that have been selected collaboratively by both the applier and the manufacturer, which is the best of both worlds.
In conclusion
In order for us to provide the best painting experience for our wonderful clients, it’s essential that we supply the paint for our painting projects. So if you’d like us to Transform Your Home With Lasting Beauty why don’t you book a quote?
by Craig | Mar 29, 2018 | Wallpaper installation
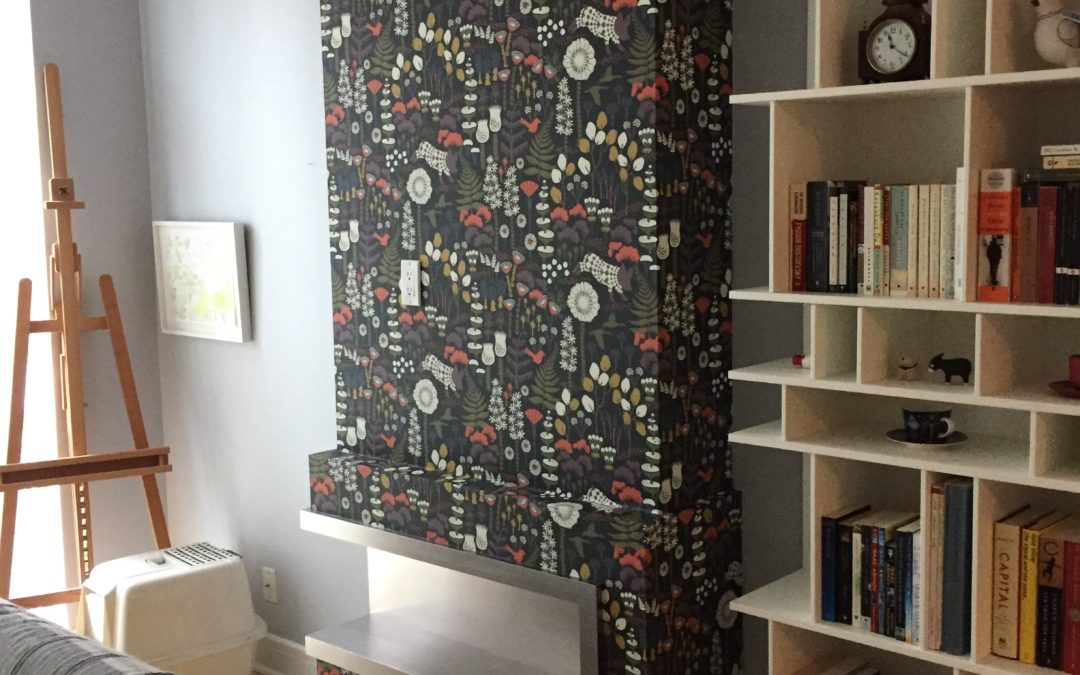
You’re in love with wallpaper, however, many older Toronto homes are plagued with uneven walls. Many renovations and DIY projects have left corners less than square. Plaster walls can look a little lumpy and humpy in parts. What’s a homeowner to do? Can wallpaper still be installed?
Yes it can! Here are some guidelines that will make it look it’s best….
Here’s how to see if your corners are square
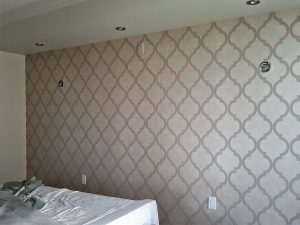
An example of a geometric pattern
Get a straight edge, the longer the better. If you hold it in the corner, you’ll be able to tell if the wall curves in or curves out.
Next, get a level and place it in the corner. This will show you if your corners are level.
If the corners are both straight and level, congratulations! Any wallpaper that you choose should look great once installed.
If your corners are not square or level: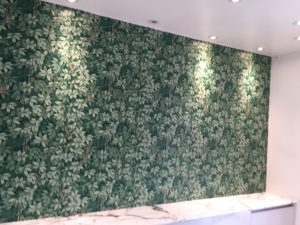
Try an accent wall
The problem with uneven corners is that in order for the wallpaper to be level both going into the corner and then level going out of the corner, the paper can’t match all the way from top to bottom. However, if you’re just wallpapering an accent wall you eliminate this problem.
Be aware of the pattern that you’re choosing
Geometrical patterns can be problematic when dealing with uneven corners. Uneven corners are highlighted because it’s very obvious that the pattern doesn’t match.

Paper with a lot of background space
Abstract papers can work well, because the match isn’t as obvious.
Papers with lots of background space can work well, as well.
Always use a top-notch wallpaper installer
With experience comes tricks of the trade. An experienced wallpaper installer knows how to make your wallpaper look it’s best. They can arrange the pattern so that the effect of uneven corners are minimized.
So if you’d like a quote for your wallpaper installation, why don’t you book a quote? We’d love to Transform Your Home With Lasting Beauty!
by Craig | Mar 6, 2018 | painting experience
On first glance when I tell customers that I average around $50 per painter per hour on my quotes, people are sometimes taken by shock. One prospective customer even told me that it’s like paying someone $100000 per year for painting (based on 2000 hrs working per year)! Unfortunately no, this simply isn’t the case, so allow me to explain why we have a $50/hr charge rate (as of this writing in March 2018) for our services.
The painters that work in your home are skilled craftspeople
Our painters are skilled craftspeople with an eye for detail that the average person simply does not possess. Some people think of painting as a low skill minimum wage type job, but if you pay low skill labour, you get low skill results.
Currently (as of March 2018), our average wage rate is in the low to mid $20s per hour.
However, we have employees, so we have additional costs that are incurred. We pay WSIB on our employees, we pay EI, CPP and other source deductions. We also offer health benefits to keep our team happy and healthy!
Why do we do this? We could just use all subcontractors, like many other painting businesses. Well, it adds value for you, the end client. Employees are covered under our WSIB and Liability Insurance policies, whereas subcontractors are not. This gives you peace of mind, that if (heaven forbid) any injuries or accidents occur while on your property you are not liable.
So, when all is said and done, our average wage rate plus our labour burden puts our cost per hour at an average of $28.
We don’t skimp on the extra job-related costs
With any paint job there are little extra job costs. A roll of plastic to cover furniture. A roll of paper to cover floors. Caulking and patch to fill holes and gaps. Drywall tape to ensure that cracks are repaired correctly and don’t return. Roller sleeves and brushes. These are all little in and of themselves, but they add up to 5% of the overall cost of the job
We invest in our business to make it a great experience for our clients
Any business has overhead expenses. Just because we don’t have a retail space, doesn’t mean that we don’t have overhead.
We have ladders! We have step ladders, extension ladders, ladders that will fit into stairwells, extension ladders that will fit into elevators for condo work, ladders for uneven ground.
We want to make sure that we can access all parts of your home in the safest and most efficient manner. We easily have thousands of dollar invested into many different ladders, so that we can transform your home.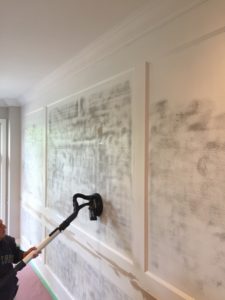
We have proper tools. Painting tools aren’t just a brush, roller and roller tray. We have dropsheets, drywall repair tools like mud pans, drywall knives.
We have dust extractors so that when we sand dust doesn’t get through your home. We have air cleaners that filter the air in a 400 square foot room every 10 min. One dust extraction system that we use is worth over $3000.
We have vehicles to transport equipment to your home. For us, the average cost of running a vehicle is in the range of $8000 – $10 000 per year
We have a storage unit to put our equipment in when it’s not in use. This costs us another $2400 per year.
When we total up our numbers for the year, our overhead generally runs 20% of sales when all is said and done.
So how do the numbers shake down?
$50 per hour charge rate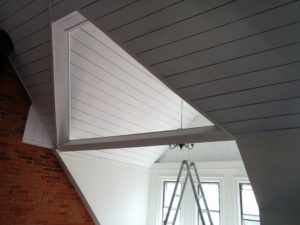
Minus $28 per hour average labour cost (wages plus associated costs)
Minus 5% for assorted sundries, which equals $2.50 per hour
Minus 20% for overhead, which equals $10 per hour
So when you do the math we net out an average of $9.50 per hour profit, which gives us a profit margin of 19%. So, if we do $300 000 in sales in a year our net profit is just under $60 000.
Why should you as a client be concerned if we’re profitable? Profit keeps us running our business and doing excellent work for our wonderful clients. When we stay in business we can honour our warranties and stand behind our work.
So if you’d like CAM Painters to Transform your home with lasting beauty, why don’t you book a quote?
by Craig | Feb 18, 2018 | Interior Painting, renovations
So you’re planning on renovating your Toronto home?
CAM Painters can help! Everybody loves a bit of home renovation, and the beauty in it is that there are so many ways you can go about renovating your home, even if it is just investing in new interior doors as you’re not really into the old design anymore or having new windows put in. Whether this is through installing a home security camera external or renovating a certain room, there are so many ways to improve a house. However, we believe that painting is at the heart of all home renovation projects! Especially if you like many have decided to get your house painted after replacing doors or windows or add an addition to your house using somewhere like www.majesticdesigns.co.uk. Not only can we do the painting, we can recommend the sequence of painting so that it’s done as efficiently as possible.
Step 1: After the drywall has been installed, taped and plastered
Prime walls and ceilings, Paint ceilings, Prime and Paint trim while it’s loose
Once the place has been drywalled, taped and mudded it’s a perfect time to have us in to prime and paint the ceilings. Ideally this can be done before flooring goes in. As an added bonus, if the trim and casings are onsite, we can prime and get a coat on those before they are installed.
The benefit of getting the ceiling and walls primed early on in the renovating process is that if there are any deficiencies by the drywallers, these can be seen and rectified. It’s better to have these deficiencies fixed before the floors, trim and other finishes go in.
Getting a coat of primer and paint on the trim while it is loose is more efficient than after it’s installed, so it saves time, which in turn saves money.
Step 2: After flooring and trim has been installed
The next phase of renovating would be to have us in after the flooring and trim has been installed.
This phase would consist of the following:
- Filing nail holes in the trim
- Caulking gaps between the trim and the wall
- Painting the walls – 2 coats
- Painting the trim – it already has 1 coat, so it just needs the final coat
At this point the project would be complete, except for touch ups
Step 3: Final touch ups after move in
Although most movers are careful, there is always some wear and tear from moving furniture back into a home. So we recommend allowing for a day of touching up the paint, which can be scheduled shortly after you move in.
Final thoughts to consider when planning your renovation
You should allow enough time in your renovation schedule that painting can occur when there are no other trades. As careful as other trades are, the more of them that are onsite, the more damage that is likely to happen to the paint.
Your contractor should ensure that the HVAC system is running properly prior to having any painting. If a house is too cold, or too dry, it can have a negative impact on how the paint dries. If your HVAC system isn’t working then you need to hire a professional who can help Repair Air Conditioning & Heating System for you. 
Your contractor should also ensure that there is a laundry sink and that water is available to use. We need water to clean brushes, mix patching compound and wet rags to clean off surfaces.
Also, please make sure your contractor has the wood casings and trim are on site a week before painting starts. This allows the wood to acclimatize to the house and do any expansion or contraction before primer and paint is applied.
If you’d like to have CAM Painters handle the painting portion of your renovation project why don’t you book a quote? We’d be happy to Transform your home with lasting beauty!

by Craig | Feb 9, 2018 | DIY, Interior Painting
So you’re thinking about bold colours for your Toronto home? Bold colours can be tricky to paint with, so here’s our list of tips to make sure that it goes smoothly.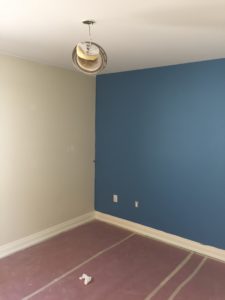
Coverage
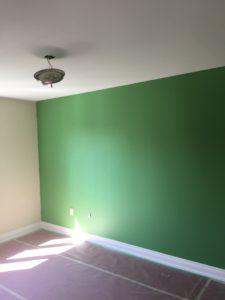
Intense colours are notorious for bad coverage. I’ve heard many stories about certain intense colours taking 7, 8 or more coats, and they still don’t look right.
First, let’s explore why this is so. Paint comes in different bases starting with a white base, all the way to a clear base. To these bases tint is added to achieve the desired colour. For a very light colour, not much tint is needed and the the paint is able to get a lot if it’s coverage from what’s in the can of paint.
As we go to more intense colours, such as bright reds, bright blues, oranges, bright yellows a clear base is used. If a white base was used, the colour would be muted and not bright at all. When a clear base is used, the paint is getting all it’s hiding power from the tint alone. Therefore, in most cases the paint looks almost translucent and requires many coats to cover.
There are some steps you can take to minimize the number of coats required and end up with a better finished product.
First, Use a grey primer
If you use a grey primer, you’ll be further ahead than just painting over the previous paint, or using a primer of any other colour. The depth of grey should be matched to the depth of the topcoat colour – any reputable paint store should be able to advise on the particular depth of grey primer to use.
Second, Be careful when choosing level of sheen
Tint gives the paint more sheen, which doesn’t matter for most colours. However when dealing with bold colours with a lot of tint, the effect can be that an eggshell looks closer to a semi gloss, or a flat looks closer to an eggshell. So choose your sheen level wisely and perhaps choose a less glossy sheen than you would otherwise.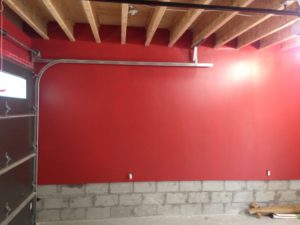
Third, Be careful with your brushing and rolling technique
The extra tint can cause the paint to leave more texture, or stipple than normal. Basically, you’ll want to be extra careful that you’re not leaving any unevenness in the paint when you roll it out. I would also brush and roll one wall at a time, just to be on the safe side, rather than brush the entire room and then roll.
Expect that you might need an extra coat with bold colours
Even with all these steps, you still might need a 3rd or even a 4th coat. So make sure you’ve given yourself enough time that you can come back the next day for another coat or two.
Some product recommendations
When it comes to bold colours we find that Benjamin Moore Aura offers the best coverage. However this paint can be a little difficult to work with, be sure to follow all the directions on the can and ask the paint store clerk if you have any questions.
READ MORE: Colour Selection 101
Finally
Bold colours can really transform a space! If you’d rather leave the application to someone else why don’t you book a quote? We’d be happy to transform your home with lasting beauty!

 What should a painting contractor do with those “kickbacks”?
 warrantee


