by Craig | Aug 14, 2016 | DIY, Interior Painting
 A common question I am asked from my Toronto home painting clients is, “What’s the best brush and roller to use for a painting project?” It really depends on what you’re painting and the finish you want to achieve.
Last post I talked about brushes, this post let’s talk about rollers.
In order to know what is best let’s talk about what you’re planning on painting.
Ceilings and Walls – roller for no texture
These are wide-open spaces that you want to cover as evenly and efficiently as possible. Typically we use a 9″ roller, however, if we’ve got a lot of the same colour to roll out (ie. a big room or multiple rooms of the same colour) we’ll use a big 18″. The advantage of the 18″ is that paint is rolled out twice as quickly, without any sacrifice in the quality of the final product.
What about thickness? For flat walls and ceilings I generally use a 15mm roller, which is a medium thickness roller. If we go with a thinner roller we have to dip it in the paint too often, which is inefficient, or the paint ends up being too thin. If we go with too thick of a roller it puts too much paint on the walls which can result in drips and sags.
I really like microfibre rollers, I find that they produce the smoothest finish with the least amount of texture, or “orange peel”.
Pro tip: Even if a roller says that it’s lint free, it can still leave lint on the surface. To minimize this wet the roller with water and give it a spin with a roller spinner before using. This will take off any loose fibres, so they don’t end up on your freshly painted walls.
READ: How to Have a Great Painting Experience
Ceilings and walls – roller for textured surface
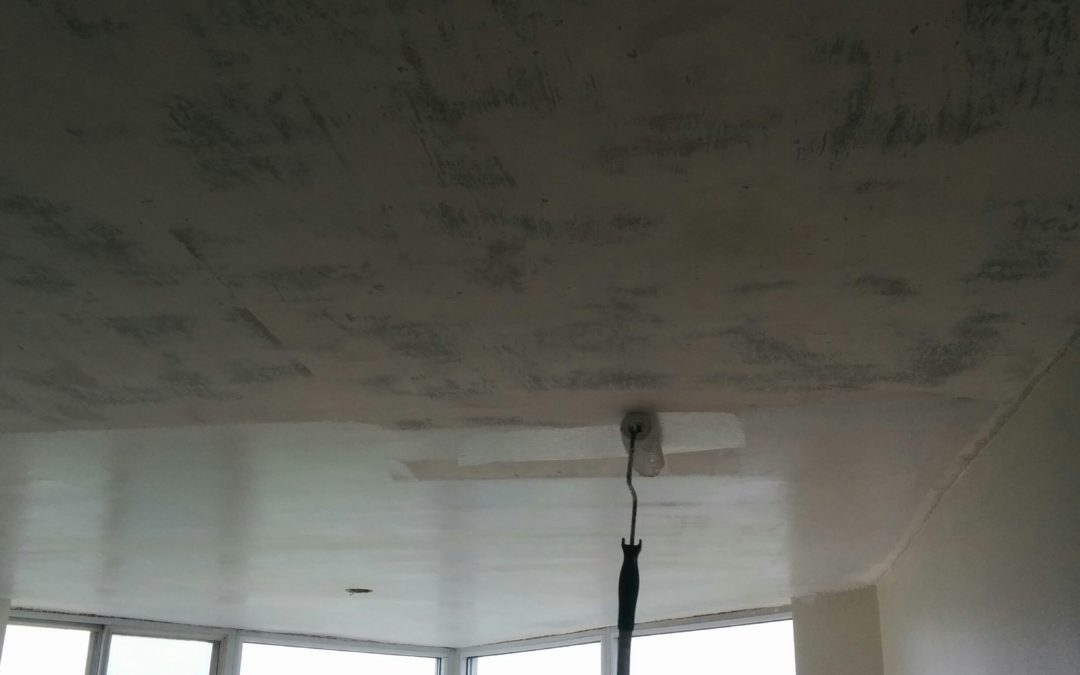
Many ceilings in Toronto homes have stucco or popcorn texture. For these surfaces, I would use a thicker version, perhaps 20mm or even 25mm. More thickness is needed to get into all the nooks and crannies of the texture.
2 words of caution:
Popcorn ceilings give off a lot of spray and paint splatter, so be prepared for this and cover everything in the room. If it’s not properly covered it will get paint on it. Also, you’ll get paint on the bottom of your shoes so be careful when exiting the room after painting!
Check to see if the popcorn ceiling has been painted before. If it is unpainted you will have to use alkyd paint. I’ve written a post on painting popcorn ceilings, click here.
READ: How much does it cost to paint my interior in Toronto?
Trim
Trim painting involves a lot of brush work, however, the process can be streamlined with the use of a mini roller. Also, a very smooth finish can be achieved with a mini-roller.
For doors, cabinets and other flat surfaces I use what’s called a flocked foam mini roller. It’s foam with a flocked covering on the outside. Foam lays paint out very flat, however, they can leave bubbles in the paint. With the flocked foam, the flock pops the bubbles, leaving the smooth surface with no bubbles!
To use a roller on trim, first, brush out what it won’t be able to reach and then roll the areas that are left. Always brush before rolling to ensure the smoothest end result.
If you’d like a quote on your next painting project feel free to book a quote online. We’d be happy to Transform your home with lasting beauty!
by Craig | Aug 7, 2016 | DIY, General posts
I often get asked by people who enjoy DIY projects, “what kind of brushes and rollers do you use?”
In this post, I’d like to talk about brush selection, and in a subsequent post I’ll talk about roller selection.
Quality is key.
A low quality brush will only give you frustration and slow the painting process down. How do we select a quality brush? Take the brush out of the package and place it against a wall with a little bit of pressure, as if you’re applying paint. If the bristles come to a nice point, that’s the sign of a good quality brush, you’ll be able to apply the paint in a nice clean cut line. If when you place the brush against a wall and the bristles are going many different directions – select another brush, or use it as a dust brush!
The type of brush is dictated by the task you are doing.
There are two main types of brushes; angle sash and straight sash.
Angle sash brushes are cut at an angle, so that the bristles come to a point. These brushes are good for all tasks, especially when cutting straight lines, for example, brushing the top edge of a wall, or painting a window.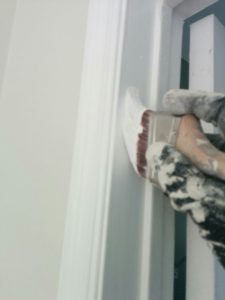
Straight sash brushes are squared off at the bottom. These brushes are not as good at cutting a straight line as an angle sash. They are good, however, for painting clapboard siding and decks.
The size of the brush should be determined by the task that you are doing.
If you are painting walls, I’d recommend a 2.5″ or 3″ brush. These brushes will hold more paint so you will not have to be dipping your brush in the paint as often. This allows you to do longer, more even strokes, which will result in a better, smoother, finish.
 Most trim I use a 2″ to 2.5″ brush. This would include baseboards that are over 3″ (which most are these days), window and door casements, doors, etc.
If you are painting fine trim, such as a french door, you could opt for a smaller 1.5″ brush. This will ensure that you don’t get too much paint on the smaller surface. Too much paint on the surface and you will get drips and sags.
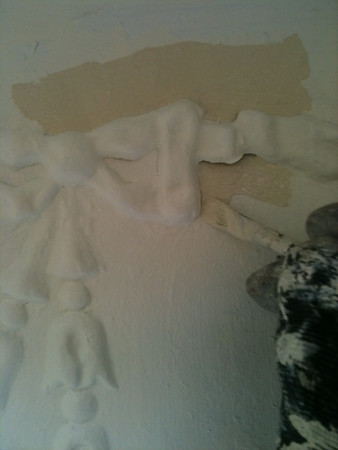
Sometimes there are times when an artist brush comes in handy. These are great for detail work! Here’s a tip to keep the brush steady while doing fine detail work; touch the surface with your pinky and ring finger while you hold the brush with your thumb, index and middle finger. The pinky and ring finger anchor your hand and minimize any hand shakiness.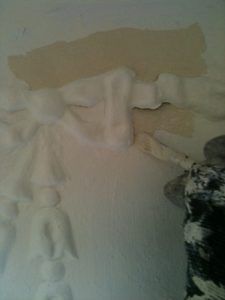
What brands of brushes are good?
This is all a matter of personal preference, of course, but I’ll give a few suggestions to start you off. You can look for Purdy brushes, Wooster brushes, these are pricy brushes, but you get what you pay for, if you take care of them, they’ll last for a while. Other good brush brands are Piccaso (which can be found at some Benjamin Moore stores). If you’re looking for a more economical brush, Sherwin Williams has a contractor grade brush that has a lot of bang for the buck.
If you’re project is bigger, or more involved than you’d like to take on, please book a quote! We’d be happy to come over and give you a quote and help you Transform your home with lasting beauty!

by Craig | Jul 29, 2016 | Colour selection, General posts
Many people find choosing a colour for their home to be a very daunting task. Here are a few tips to make sure that you’re happy with your colour selection.
Start by looking at design magazines or design websites
Leaf through some design magazines and see what pictures you like. When you see a picture that you like, cut it out and put it on a board. Or if you’re online save it to a “colour ideas” folder in Evernote, or some similar app.
As you accumulate some pictures you’ll see what colours you’re drawn to and that will give you a starting point for the next two suggestions.
Use a colour consultant.
Most interior designers offer colour consultation services. Also, some paint stores have colour consultants on staff who will do an in-home visit. We at CAM Painters have trusted colour consultants that we can refer you to if you need a recommendation.
These are wise investments, why?
- you can be more confident with your colour selection,
- you can step outside your comfort zone with your colour choice and still have the assurance that your colour selections will work with your existing furnishings,
- having to repaint an entire room due to a bad colour choice will be more expensive than hiring a colour consultant in the first place.

Always do test patches
Get a sample paint tester from the paint store. Most paint stores offer paint testers, which are small containers of paint (less than a quart). They are usually priced around $10.

Once you get your colour sample it’s important to do the following:
- Do a sample that’s large enough – make it at least 1’x1′
- Apply 2 coats – you want to make sure that the colour is showing true and that the colour underneath is not showing through
- Put samples on different walls – light hits each wall differently, even in the same room, so you’ll want to put a sample patch on a couple of different walls
- Look at the samples at different times of day – morning light, afternoon light and artificial light make colour look different, so you’ll want to make sure you look at the sample in different lights
Once you’ve taken these steps you should feel very confident with your colour selection!
If you need any assistance with the colour selection process let us know, and why not schedule a quote for your painting project? CAM Painters will Transform your home with lasting beauty!
by Craig | Jun 25, 2016 | Interior Painting
Many clients want to do have both Soleil Floors – Flooring Professionals doing their floors and the painting projects at the same time.

Keep those nice hardwood floors clean!
So the question is, “what’s the best way to sequence those projects?”
There are advantages to laying Kahrs Engineered flooring first, and there are advantages to doing the painting first. I’ll give you both sides and then you can make an informed decision.
Let’s do the painting first.
The Advantages:
The painting contractor does not have to cover the floors, which saves time. With the time savings there can potentially be a cost savings as well. Some flooring is very delicate and hard to clean (click here for some of the best vacuuming advice for wooden floors), so painting first can leave less cleaning once the floor goes in.
The Disadvantages:
Removal of the old flooring can be dusty, and result in dust getting on newly painted walls. As well the installation of the new flooring can create dust as well, resulting in dust getting on the newly painted walls.
Some flooring material can be cumbersome to move around. Despite the flooring contractor being careful, sometimes the flooring material can mark walls, especially when they bring it around corners or up stairwells, etc.
When the flooring contractor is working with hardwood, or similar materials they need to install a shoe moulding or quarter round at the bottom of the baseboard. Most of the time the painter has to come back to paint these.
If a flooring contractor is sanding and revarnishing hardwood floors the sanders can nick the quarter round or shoe moulding. This means that the painter has to come for a return trip to touch up these pieces of trim.
In summary, if the painting is done first, count on the painter having to come back to do some touch ups after the flooring contractor is done. For most projects we would need less than a day to do these touch ups.
What happens if the flooring is done first?
The advantages:
The painter can do the project from start to finish, there are no return trips for touch ups.
The area can be dusted and cleaned for painting, so that newly painted walls don’t get dirty
The disadvantages:
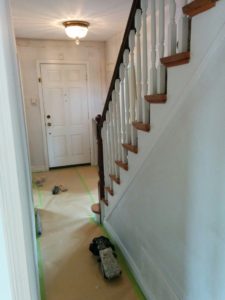
Cover those floors!
If you’ve just secured one of the great deals on vinyl flooring, you’re going to want to make sure it is properly protected. To protect the new flooring will take a lot of time and effort. For hard surfaces such as hardwood, laminate and tile we use tape and kraft paper to ensure that the surface is properly protected. This can add 1 to 3 hours of labour depending on the size of the room.
In summary, I generally recommend that we paint after flooring so that newly painted ceilings, walls and trim stay clean and beautiful. If we have to paint before the flooring is done, I like to plan on doing some touch ups after the flooring goes in so that your paint job looks as good as your new floors!
Why not book a quote online and Transform Your Home With Lasting Beauty!
by Craig | Mar 4, 2016 | General posts, Pricing/Value
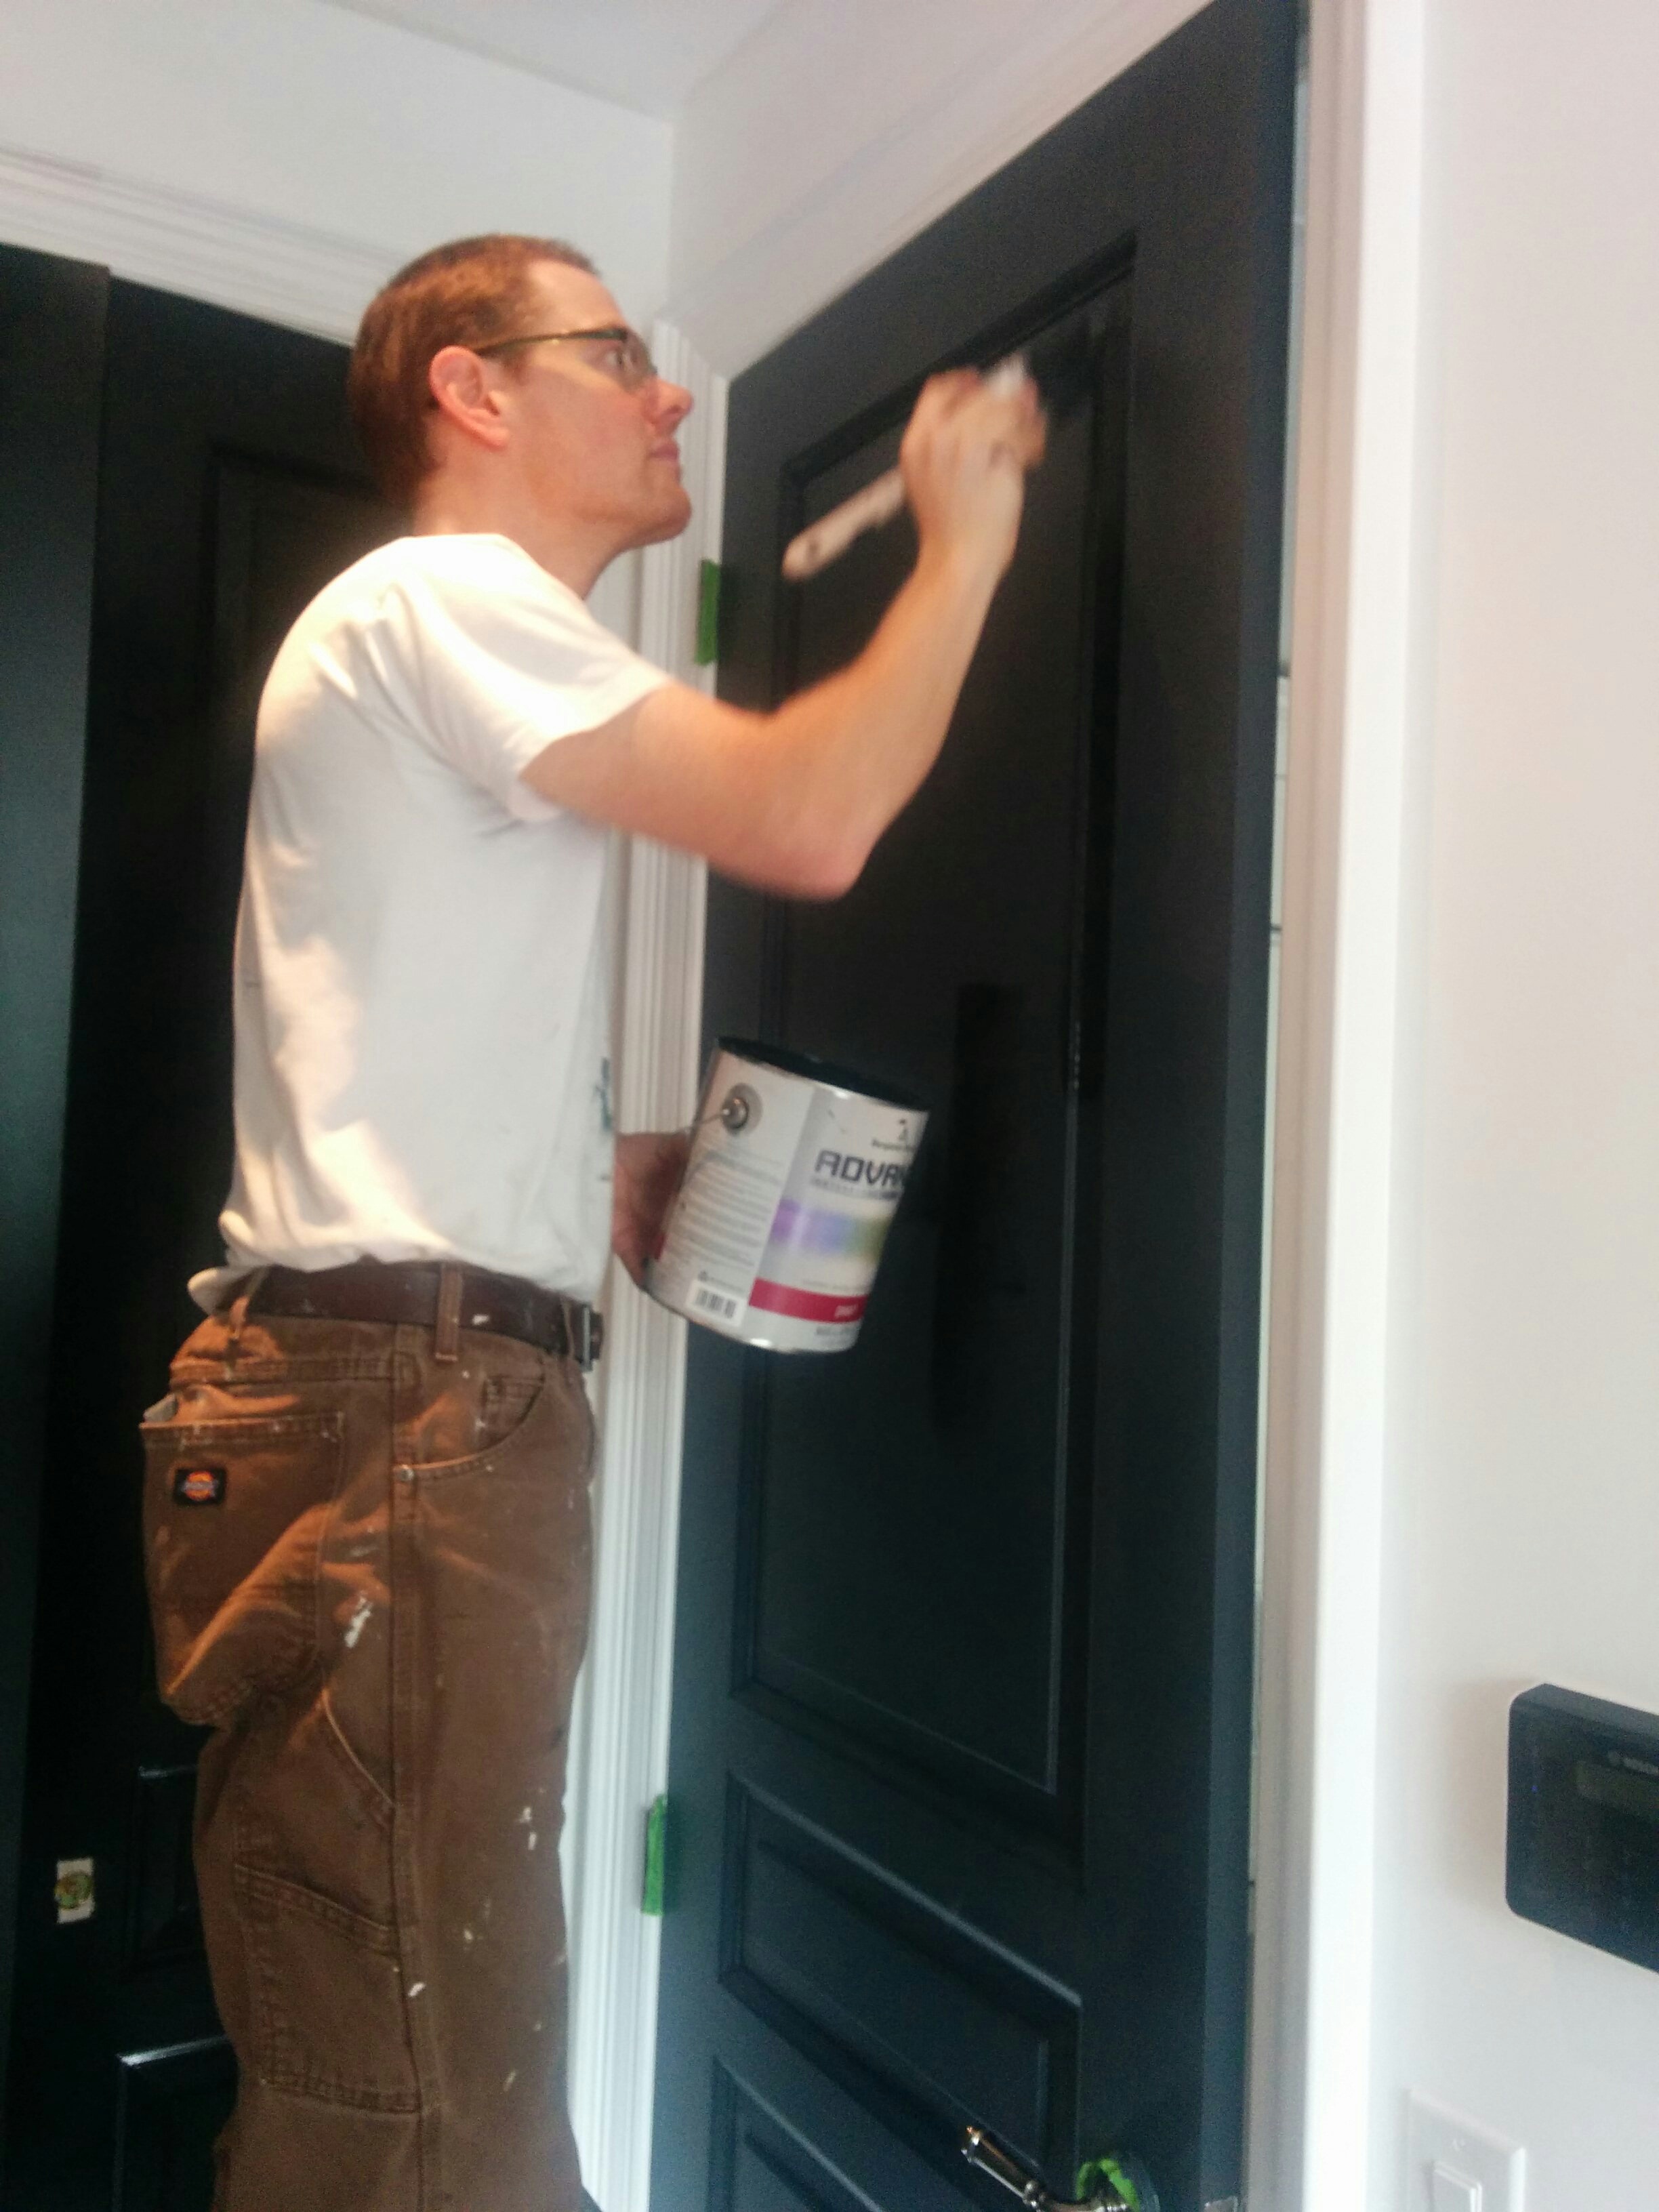
 As the owner of CAM Painters many times I am asked when I do a quote whether I’m the one doing the work or not. I run a fairly small operation, so I’m able to be on site much of the the time. However, there are times when I can’t be on the job site. I’ve got to be out quoting on new work, for example.
Here’s how I ensure that you have a great painting experience, even when I’m not on site…
I hire great people.
I place an emphasis on hiring people that have good manners and are respectful. I want you to feel comfortable with my painters while they are working in your home.
We utilize shared to-do lists and annotation software.
This ensures that your expectations are clearly communicated with the entire crew.
To-do lists allows us to plan our work-flow and ensure that all tasks are completed and nothing is missed. Here is a screenshot of a recently completed project that was managed through our shared to-do list app named Wunderlist. As you can see as tasks are done, they are crossed off the list.
In addition, we attach annotated photos in the notes section of the to-do list app to ensure that colours go in their correct places. We believe the saying “a picture is worth a thousand words” is especially relevant in the painting industry. As you can see by the following pictures we’re given some complex colour schemes from time to time and it helps to have pictures to guide us through the process. These were done through Skitch.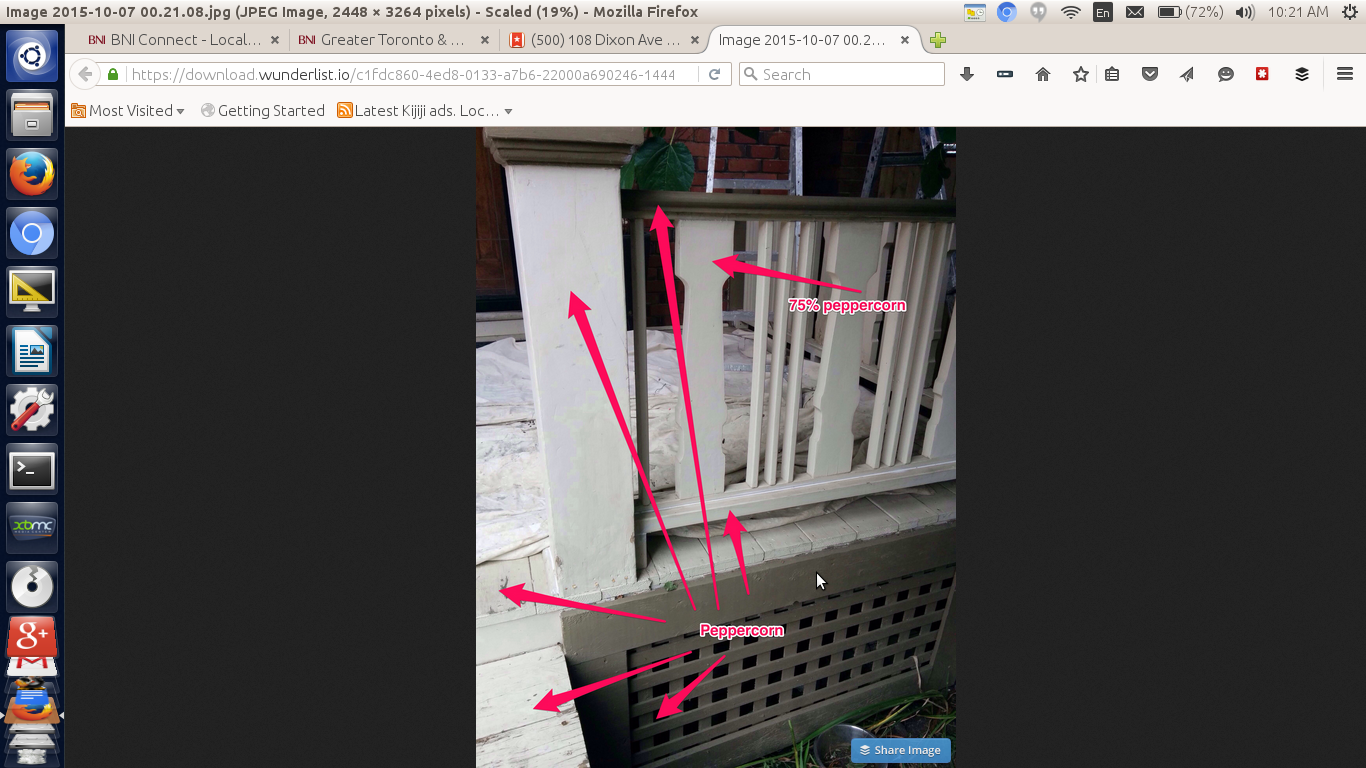

Why do we go to this amount of trouble? Because we want you to have a great painting experience. Part of that is getting things right the first time, part of that is clearly communicating your expectations to everyone on our team. Having a project management system in place allows us to do that.
Why don’t you schedule a quote so that CAM Painters can Transform your home with lasting beauty!

 A common question I am asked from my Toronto home painting clients is, “What’s the best brush and roller to use for a painting project?” It really depends on what you’re painting and the finish you want to achieve.


