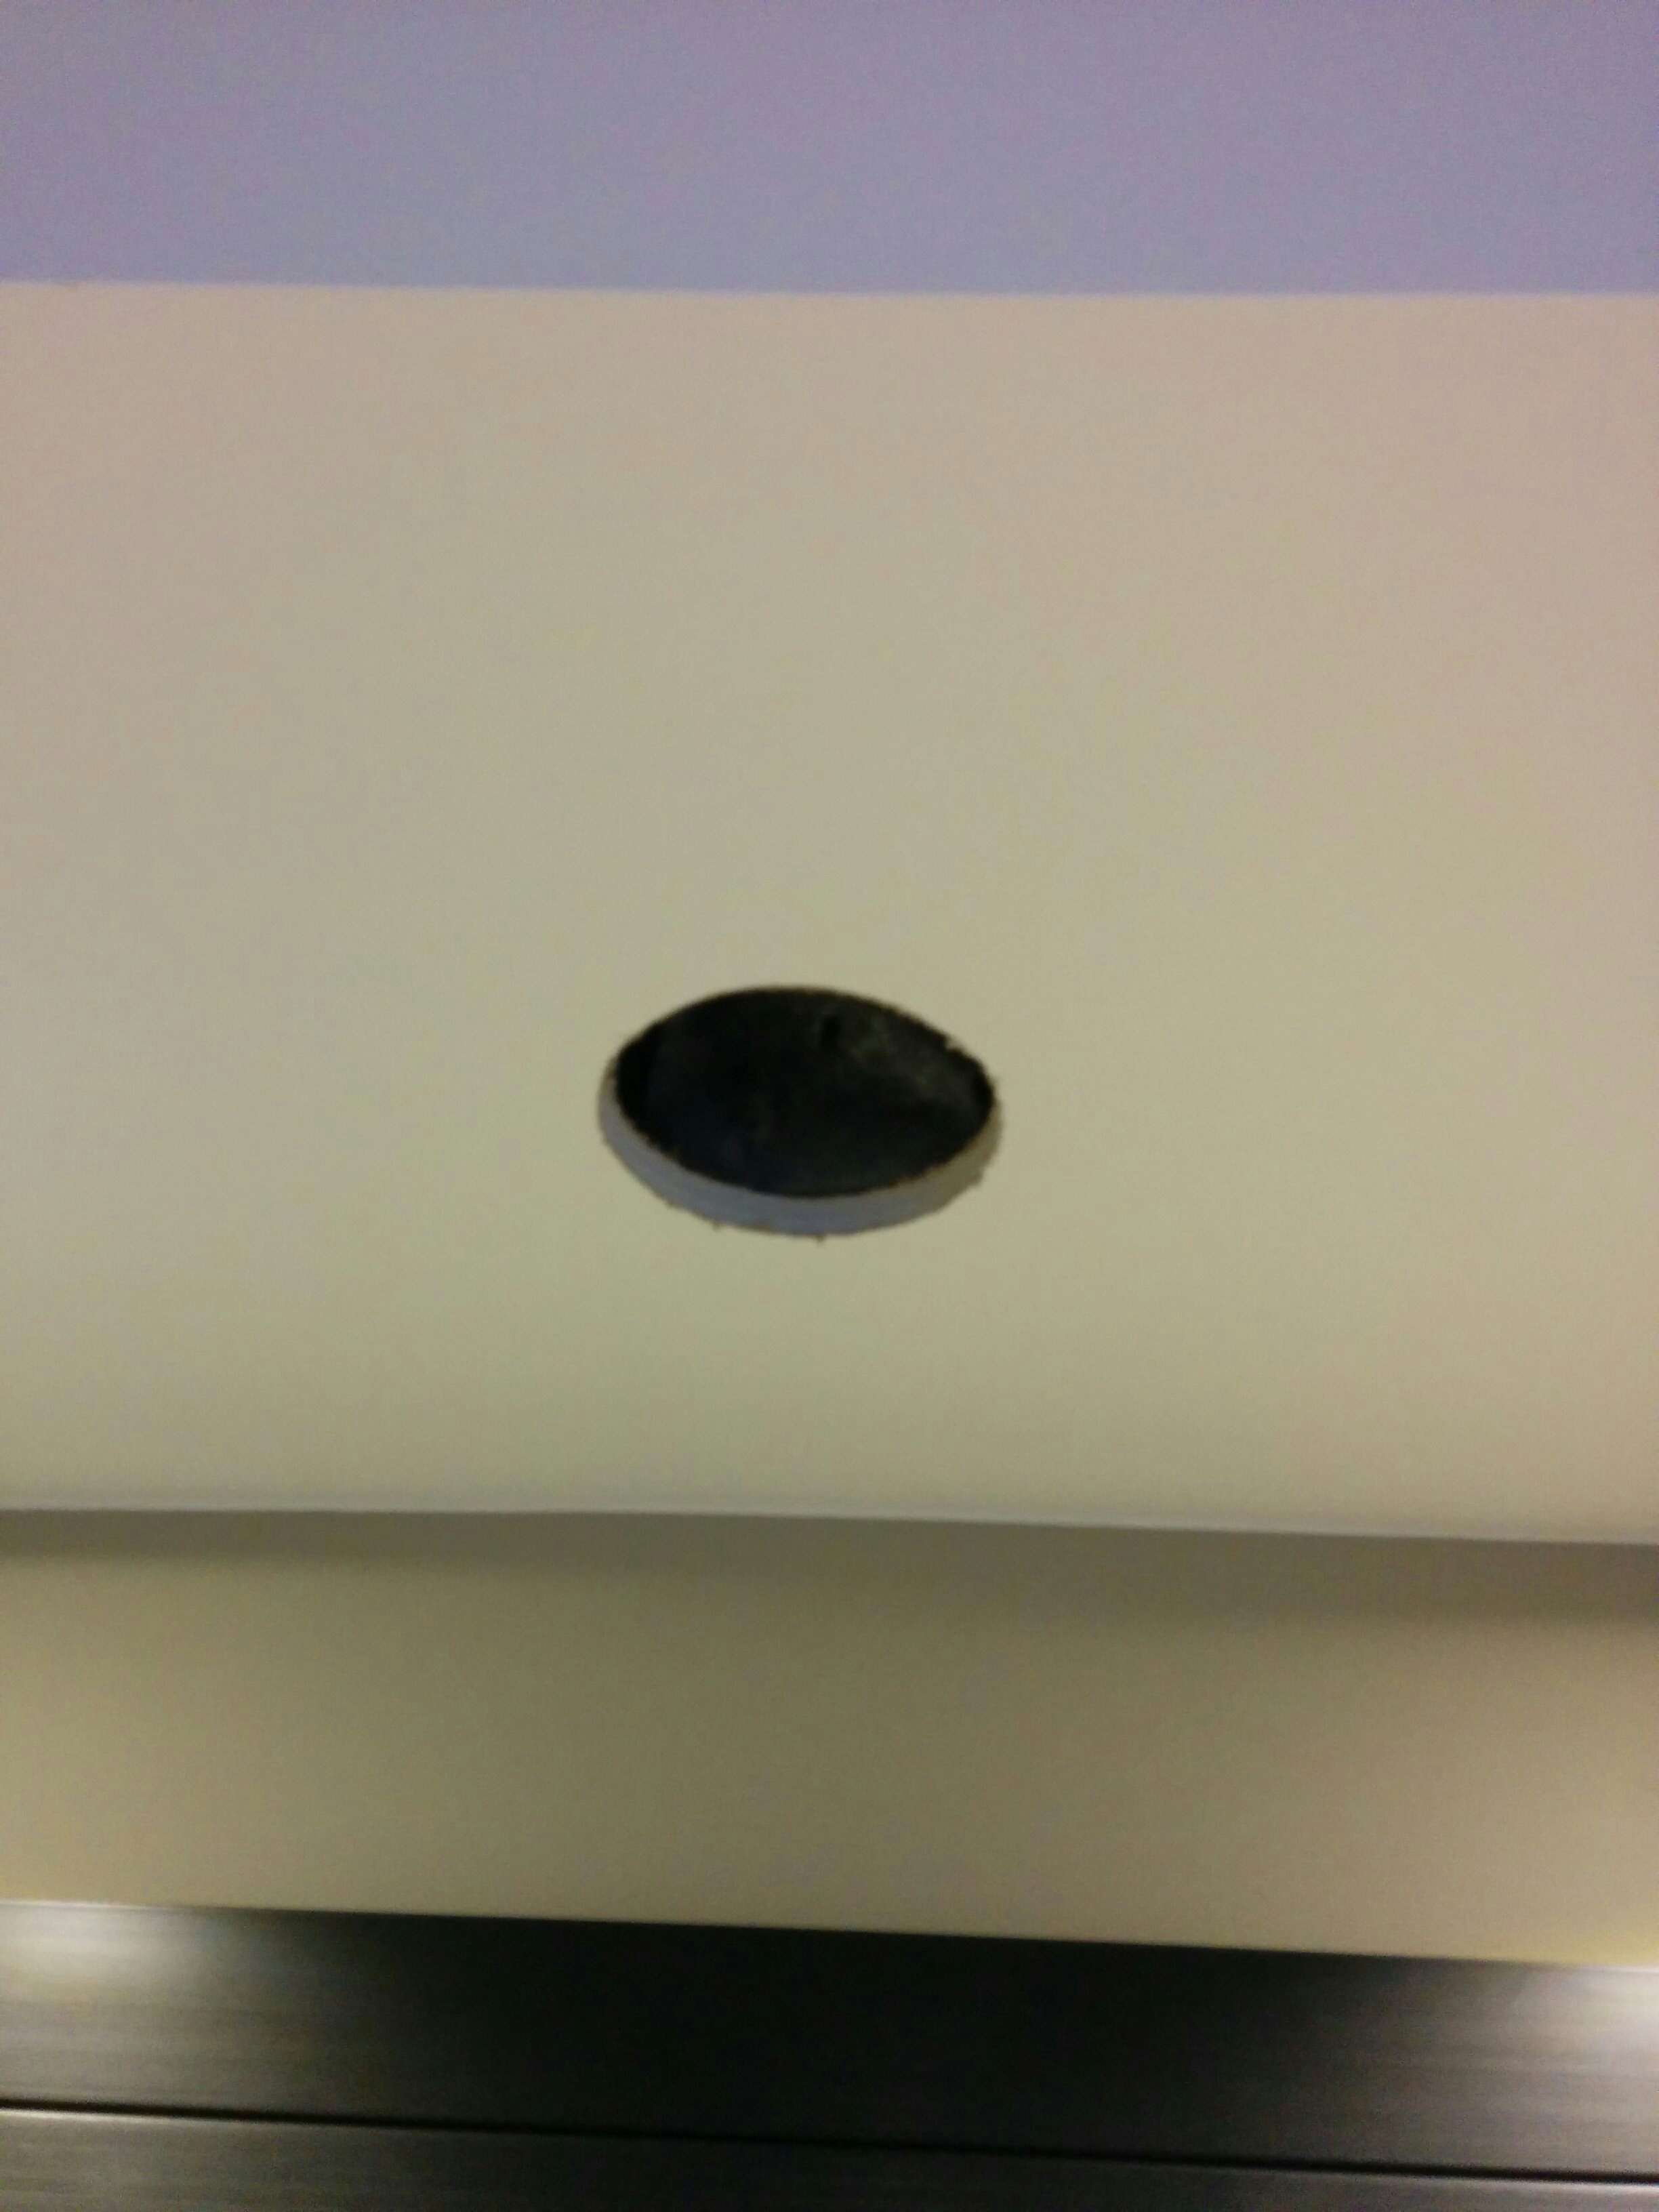
Patching a hole in the wall in your home is a simple task if you’re handy with DIY projects. I’ll outline how I usually tackle these projects.
Materials needed for the patching a hole:
- drywall
- 1″x2″ piece of wood
- screws
- drill
- mesh tape
- drywall compound – powder or premix
Step 1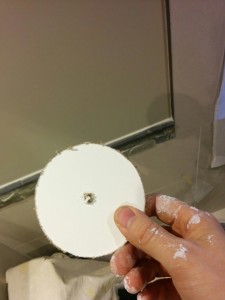
Either cut a piece of drywall the same size, or use the piece left behind by the contractor (if they are nice they will leave this for you).
Step 2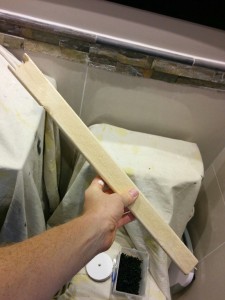
Get a piece of 1×2 lumber and cut it so that it extends past the hole by a few inches on either side.
Step 3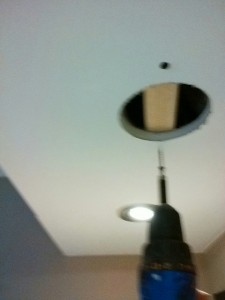
Insert wood into the hole and fasten it with screws on either side.
Step 4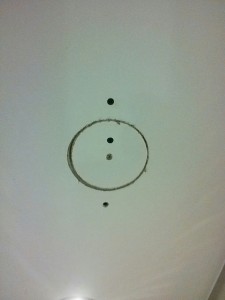
Insert drywall piece into hole and fasten it in position with a screw or 2.
Step 5
Apply mesh tape around the edge of the patch. However, in this case, the patch is small, so I’ve just mesh taped the entire area.
Step 6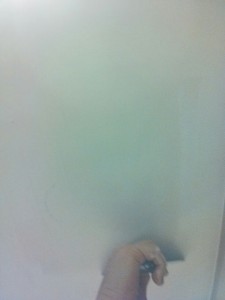
Apply a coat of mud over the patch and allow to dry overnight. Usually I will use the premix mud either in the bucket or box.
Final Steps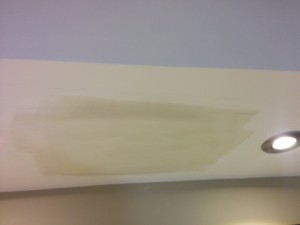
When the patch is dry, sand, give one more thin coat of mud, sand again and paint.
Usually for the final skim coat I will use Sheetrock 20 powder because it dries fairly quickly so I can sand and paint the same day.
There you have it, step-by-step instructions on how to do an effective and durable drywall patch.
If you need any help on your painting projects please schedule a quote, we’d be happy to help you out!

