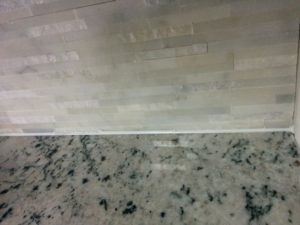
Caulking is a flexible compound designed to seal out water and is most commonly found around sinks, counter-tops, bathtubs. It seals the area so that water can’t seep in behind and rot out the wallboard behind.
It’s a good idea to periodically inspect your kitchen and bathrooms to make sure these areas are properly sealed.
If you discover a crack in your existing caulk or an area that hasn’t been caulked in the first place here are the steps to rectify the situation and get a professional looking result:
Tools list:
- Painter’s tape (typically green coloured)
- Caulking gun
- Caulking
- X-acto knife
- Putty knife
- Rags
- Goof off
Step 1 – remove the old caulking
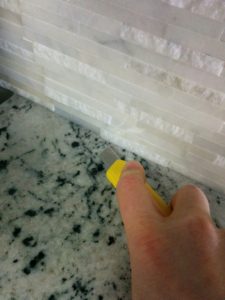
If there is old and cracked caulk it’s best to remove as much as possible. I generally will cut it out with an x-acto knife
Step 2 – clean the surface
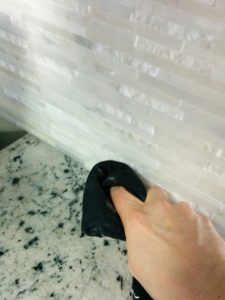
Wipe the surface with a wet rag to ensure that the surface is clean. Sometimes if the surface is especially dirty I will wet my rag with goof off, a solvent based cleaner
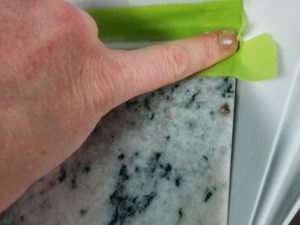
Step 3 – apply tape to both sides of the surface
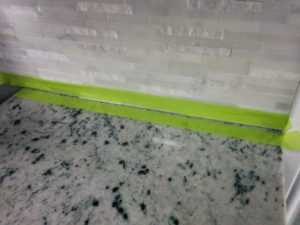
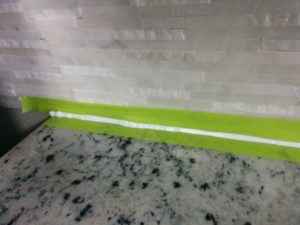
I’ll lay in tape to either side of the area I want to caulk. Ensure that the tape is firmly pressed down so the caulking doesn’t get underneath the tape
Step 4 – Lay in the caulking
Step 5 – Smooth the caulking
I generally smooth caulk using my finger, rather than using some sort of tool.
Step 6 – Remove the tape
I remove the tape immediately after I’ve smoothed it, before it has a chance to dry.
Done! There is your perfect bead of caulking!
Caulking is one of the many things we do to ensure that your home is properly prepared for painting.
Why not book a quote and Transform your home with lasting beauty!

