by Craig | May 27, 2017 | DIY, Interior Painting
The mark of a great paint job for your Toronto home is straight, sharp lines. This can be beneficial if you are doing stripes on a wall, or just want a clean line between walls and ceiling.
Many times when we are painting, we will do our “cut” lines freehand, just following the corner between the wall and, or the groove between trim and wall. However, there are many situations where a professional painter needs tape to ensure a clean sharp cut line.
Here are a list of best practices to get the sharpest line possible.
Select a good painter’s tape
The beige tape is not painter’s tape. Beige tape is too sticky and usually peels paint off the surface.
This particular tape is usually green or blue and is clearly labeled “painter’s tape”. The best is Frog Tape, but it’s one of the most costly painters tape as well.
Apply the tape correctly
Even if a high quality painter’s tape is used all is for nought if it’s not applied correctly. If the edges aren’t properly sealed then paint will seep underneath the tape and wreck any possibility of a sharp straight line.
How do you seal the edges of the tape?
If you are using Frog Tape, you have to make sure that the edge is firmly pressed down. Either use your finger and run it along the edge of the tape, or some people will use a plastic putty knife and run that along the edge of the tape. Once that’s done there should be no paint seeping under the tape and you’ll get a sharp line.
If you have an ordinary painter’s tape a sharp line can still be achieved. Once again, firmly press the tape down, either with your finger or a plastic putty knife. However, an extra step after this is needed to ensure that the edge is properly sealed, this can take the form of:
- a thin bead of caulking along the edge of the tape
- some of the base colour along the edge of the tape
- a clear flat varnish along the edge of the tape
Any of these methods will seal the edge of the tape.
Removing the tape
Either remove the tape right after you paint, or wait until the paint is fully dry. If the paint is partially dry it can lift off the surface.
How you remove the tape is important as well:
- go slowly
- keep the tape at an obtuse angle, ie. close to the surface as you pull
There you have it! Clean beautiful paint lines!
If you’d rather leave the clean, beautiful paint lines to the professionals why don’t you book a quote? We’d be happy to Transform Your Home With Lasting Beauty!
by Craig | Feb 21, 2017 | DIY, General posts
Many paints are advertised as paint and primer in one, however there are still situations where you’ll want to use a separate primer for your Toronto home, we’ll go through them in detail here…
Any Situation Where Adhesion is a Concern
There are primers that are specifically designed to adhere to glossy surfaces. A couple of our favorite high adhesion primers are Sherwin Williams Multi-Purpose Water-Based Acrylic-Alkyd Primer and Benjamin Moore Advance Primer
Think of it like this:
If you have a glossy floor and you put a cloth on top of it, slides easily, doesn’t it?
Put that same cloth on top of a slab of unfinished concrete, doesn’t slide so easy, right?
It’s analogous to paint:
Paint has trouble adhering to glossy surfaces, so there needs to be an intermediate step. We accomplish this by deglossing the surface by sanding, by priming the surface with a high adhesion primer, or by doing both. This is especially necessary when dealing with oil paint, so please read:
How do I know if the paint in my Toronto home is oil or latex?
Sealing out Stains
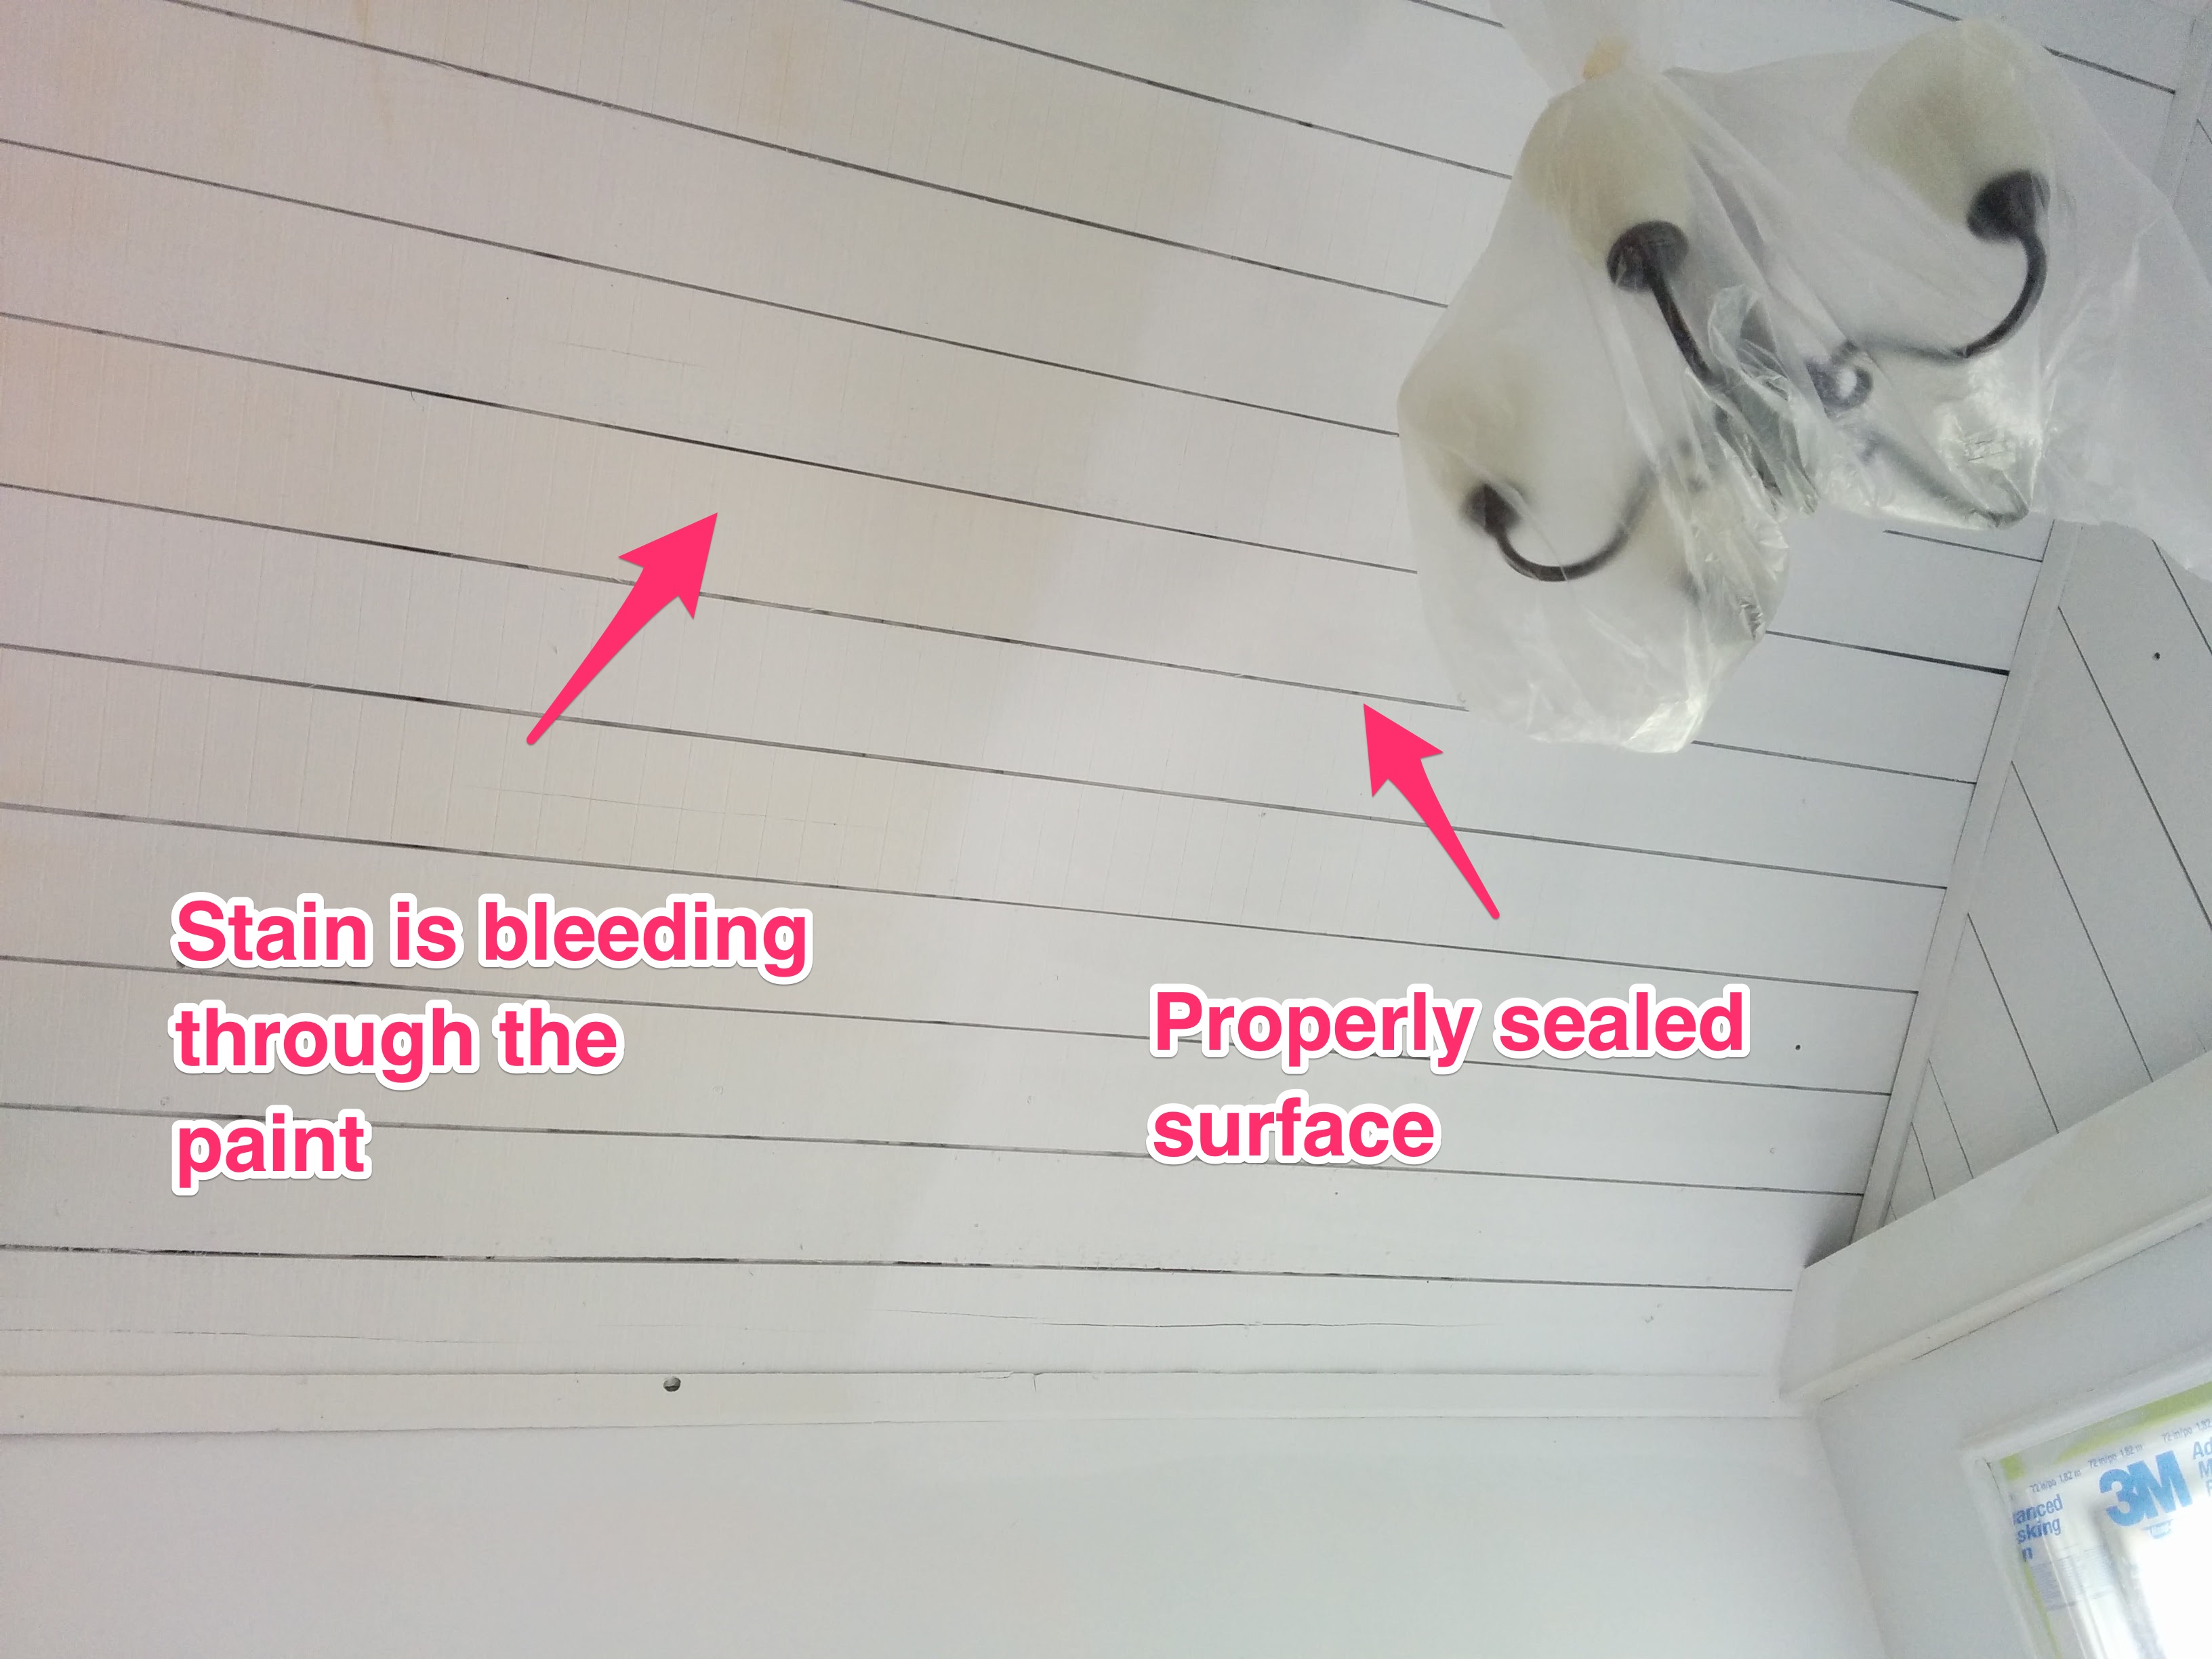
Many stains will bleed through latex paint, so a stain sealer is needed. Stains include pen marks (shame on you for drawing on your walls), mildew, water stains, knots in wood, nicotine, etc. A good shellac-based primer will seal these monstrosities out and allow you to topcoat with your choice of paint. One of our favorite shellac-based primer/sealers is Zinsser BIN, it’s like the Buckley’s of paint, “it smells awful, but it works!” Please use a respirator with shellac-based paint
Big Colour Changes
There are high-hide primers that streamline the task of big colour changes. If you are going from a mid-tone colour to an off-white using a high-hiding white primer is a great idea. High-hiding primer is cheaper than most finish coats, and it hides better than most finish coats.
Conversely, If you are painting a deep or intense colour, getting a grey primer will make the job that much easier. A good paint store will be able to advise you what shade of grey to use under the finish coat.
Porous Surfaces
A primer will soak into a surface better than a finish coat, so it’s advised to use a primer over new drywall and new drywall patch. Too often finish coat won’t penetrate deep enough into a drywall patch and that area will end up peeling over time, so if we use primer we can prevent that.
Are there any situations where I can use a “paint and primer in one” product?
Sure, if the surface is
- clean
- not too glossy
- there’s not a big colour change
- no stains
- not much patching – maybe a couple of nail holes and that’s it
If this sounds like your painting project then a “paint and primer in one” product is a great choice.
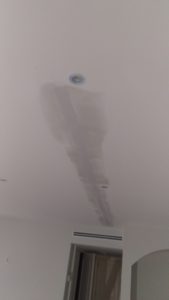
by Craig | Jan 23, 2017 | DIY, drywall repair
Homes expand, contract, and shift with time, especially given how widely the temperature can vary season to season in Toronto. Because of this shifting drywall seams can crack over time. Cold weather can also lead to pipes bursting, causing water damage to drywall and you may need to go to somewhere like Apollo Plumbing (check it out here) to find a plumber to fix it. However, minor damage can be repaired with some DIY, so here’s what to do:
Supplies List:
- Dropsheets
- Flexible putty knives 1″, 6″, and 10″ or 12″
- Mud pan
- Drywall tape – I prefer FibaFuse
- Drywall screws
- Stud finder
- Durabond 90 or 45
- Sheetrock 45
- Sandpaper & sanding block
- Brush, roller, tray etc. for repainting after the crack is patched
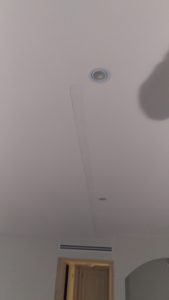
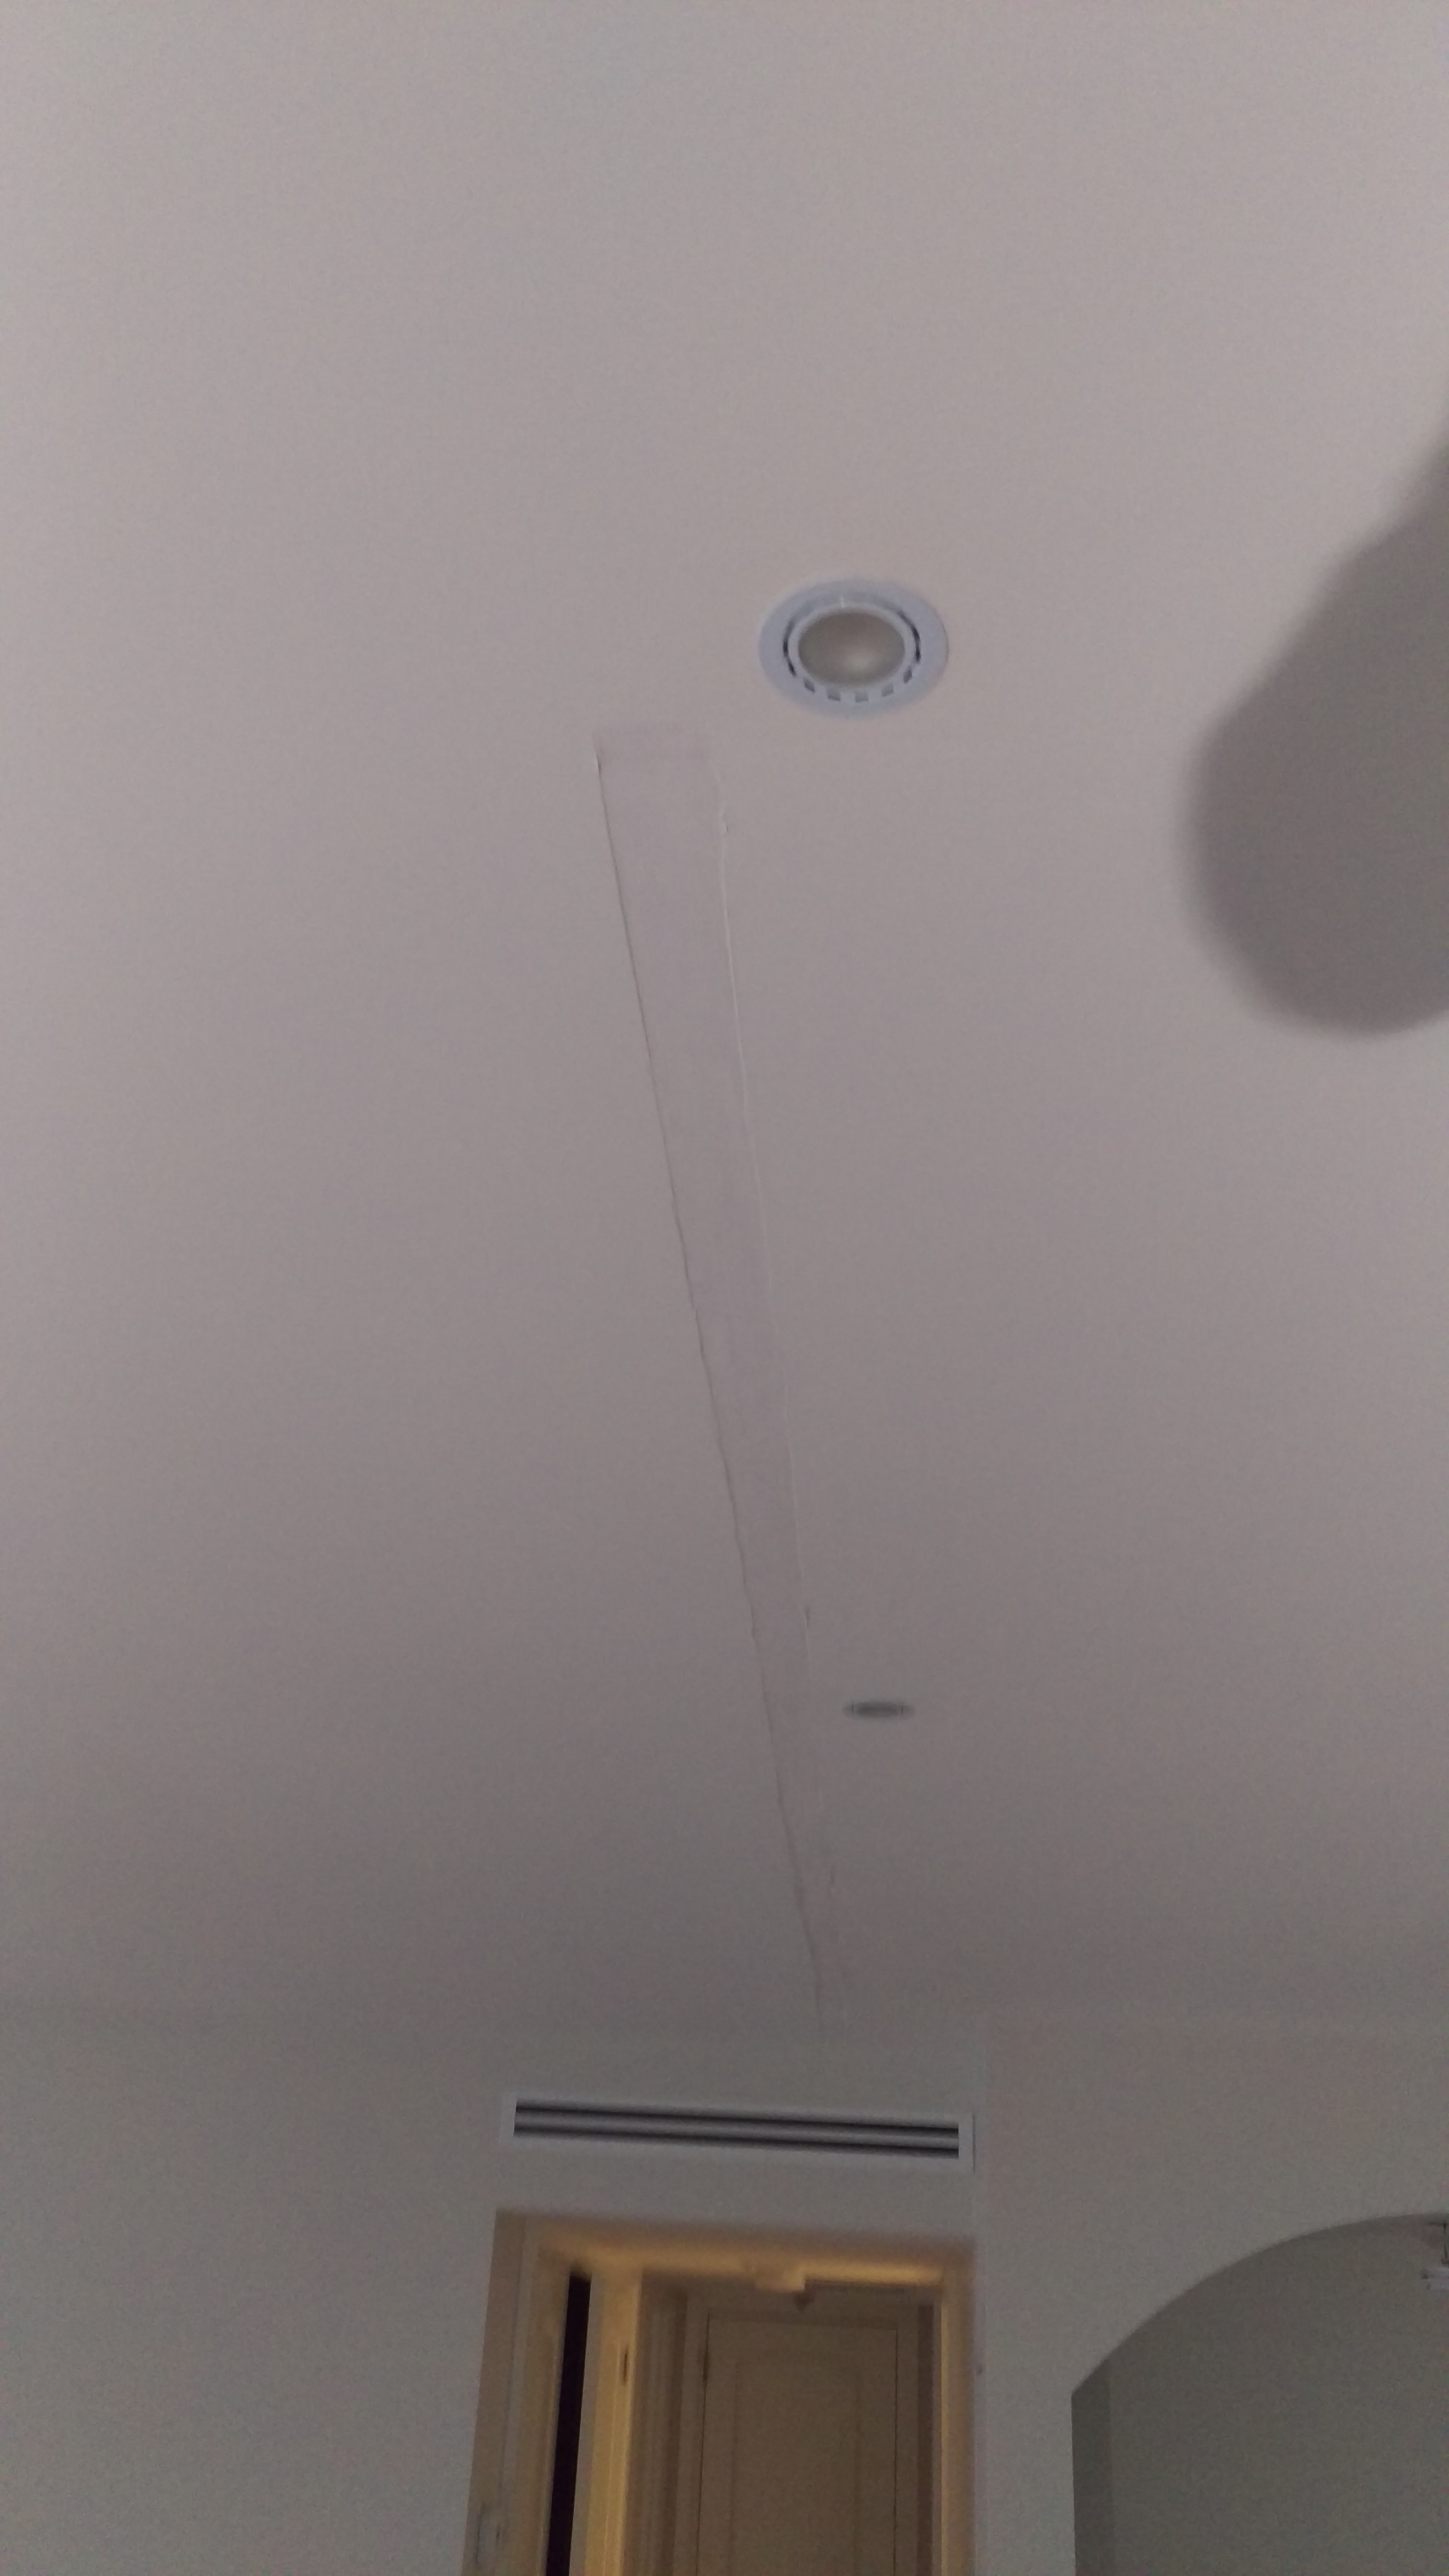
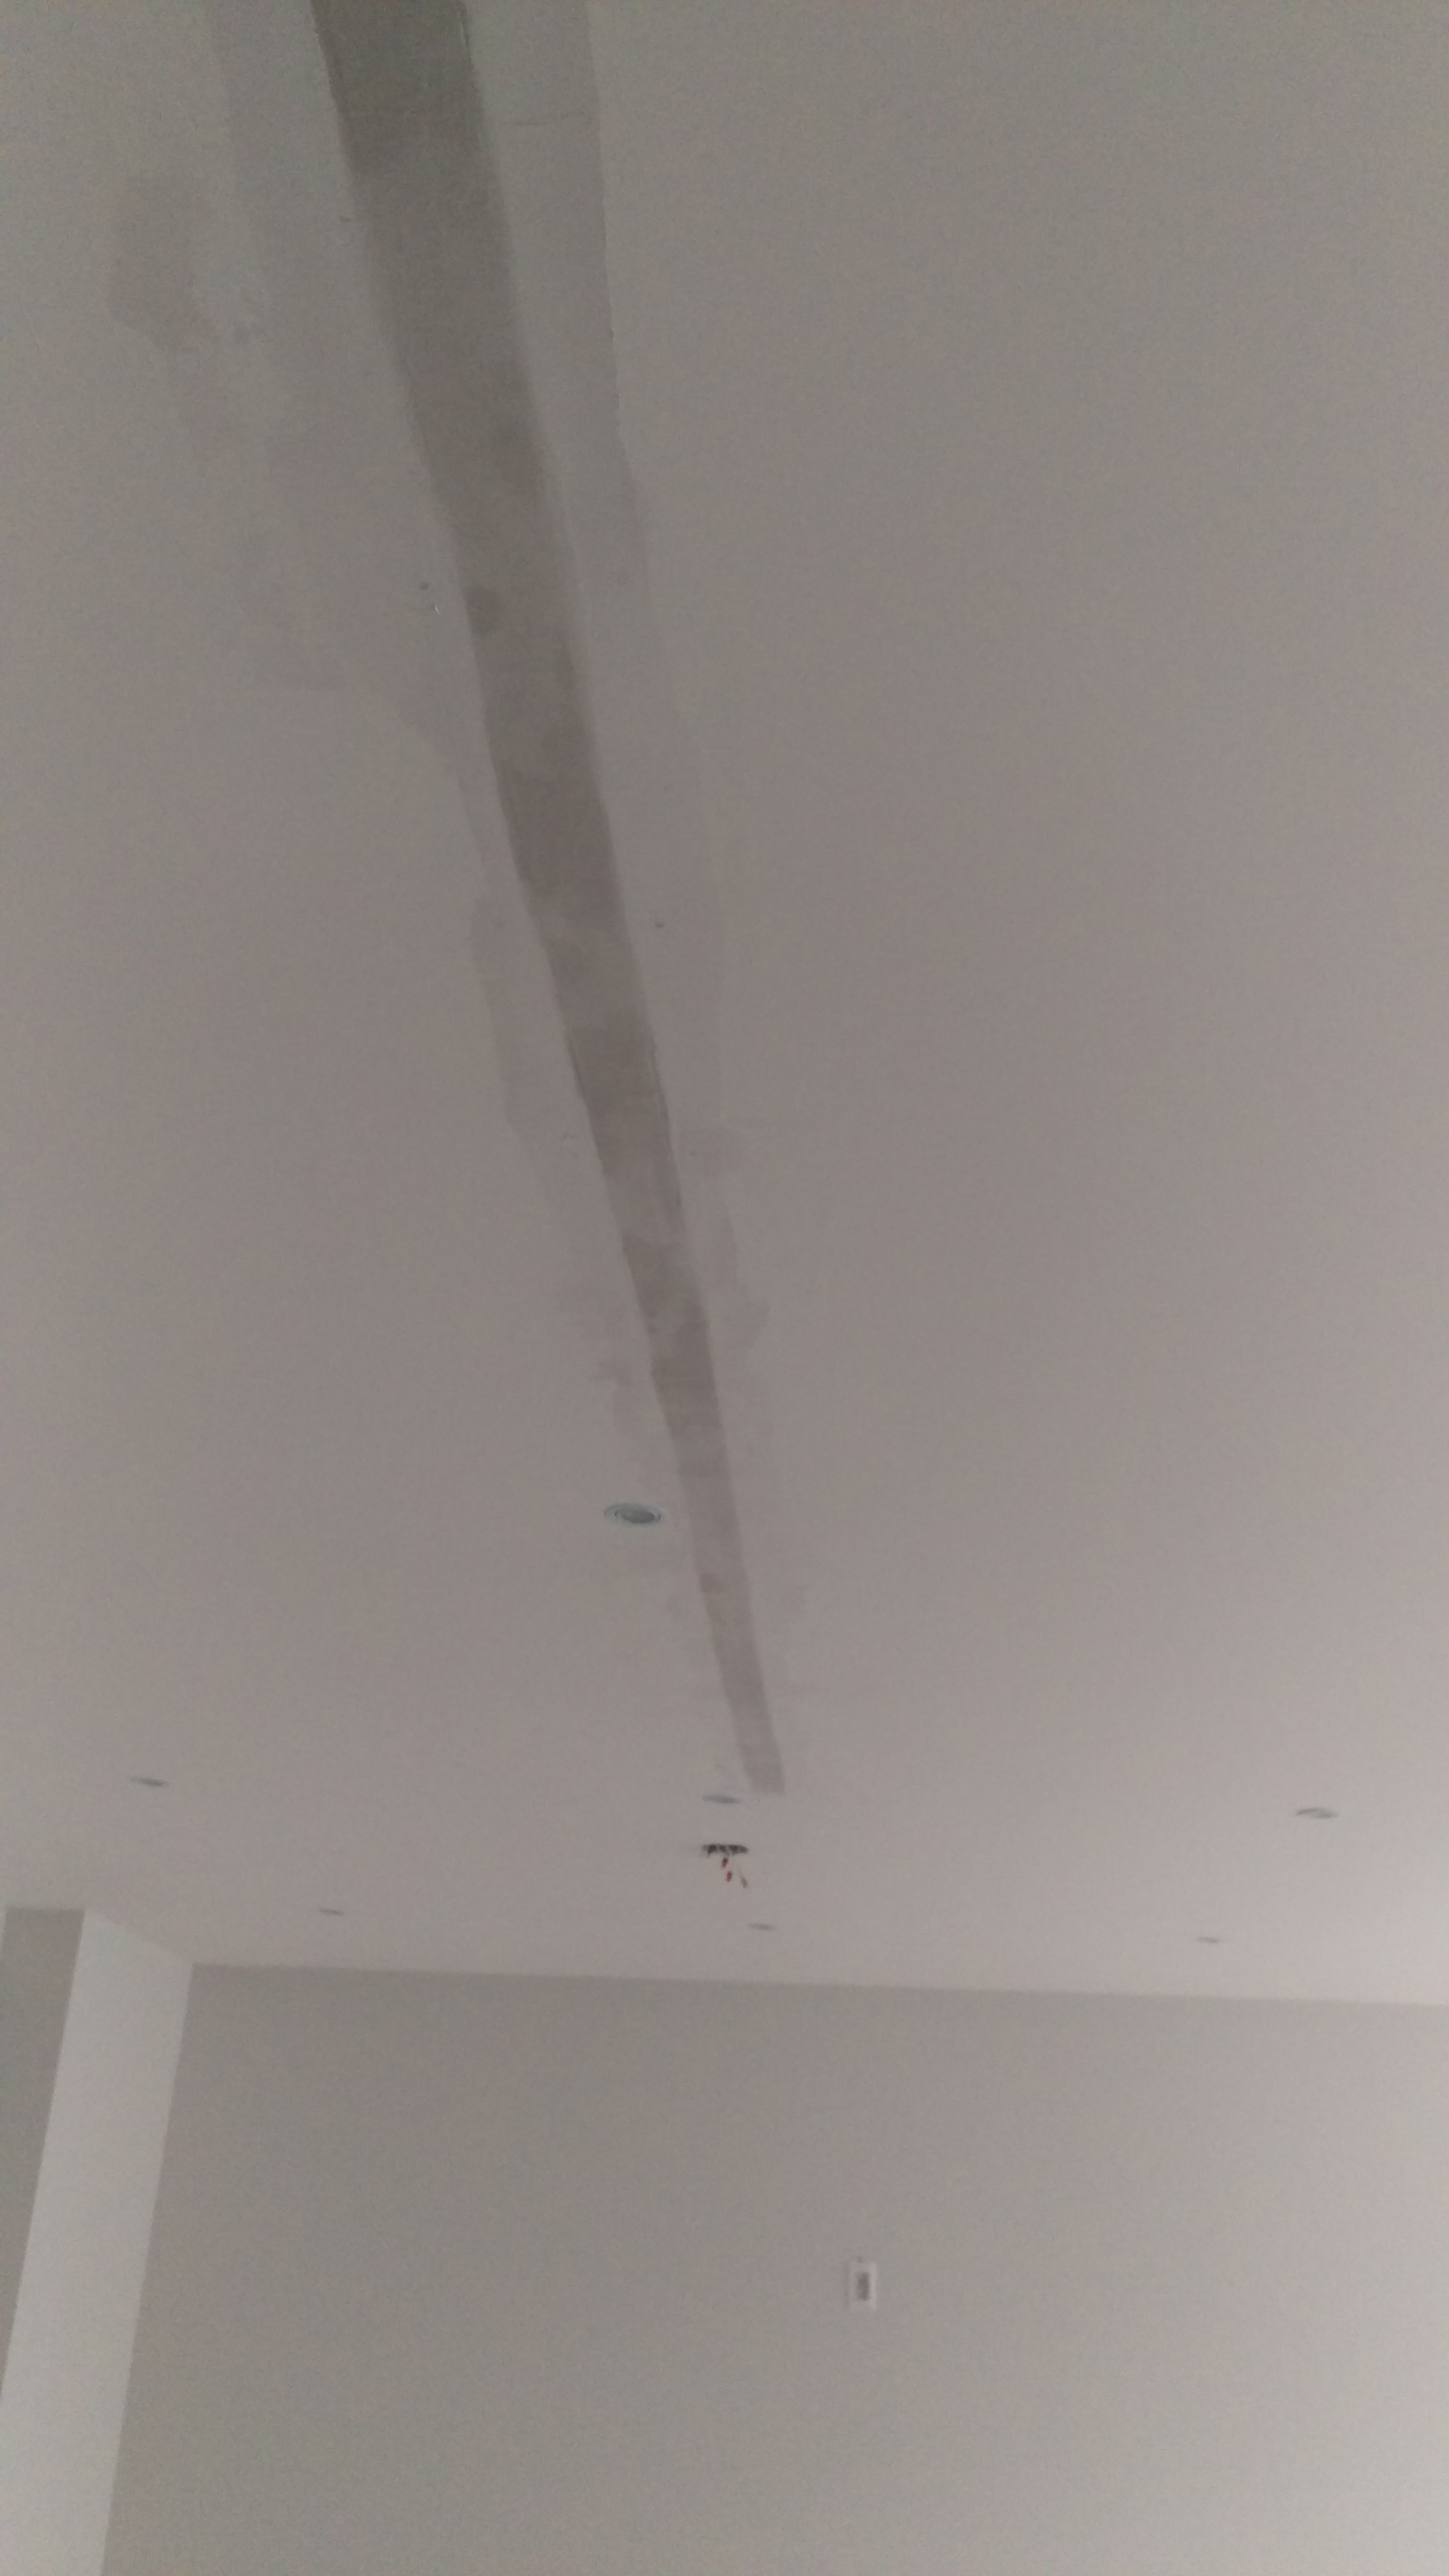
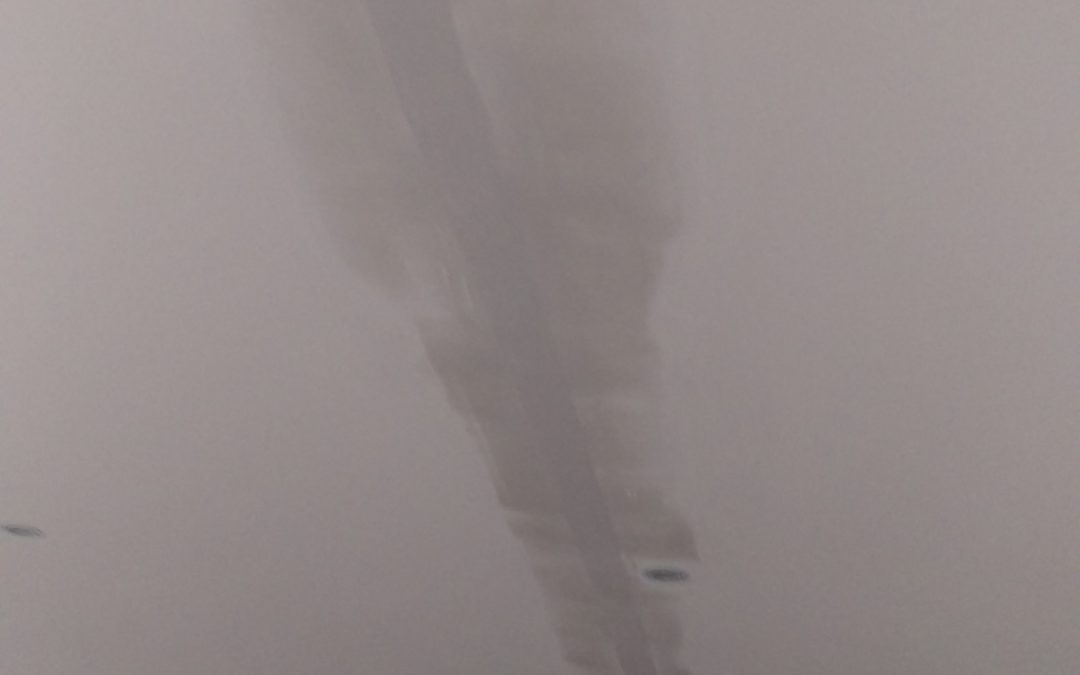
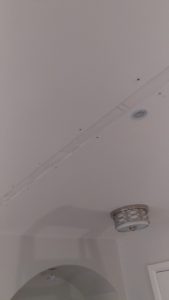
Old drywall tape removed, drywall seam exposed
Step 1: Remove the old drywall tape
If the tape is exposed you’ll just have to grab it and slowly pull. As you pull the layer of plaster on top will crumble and the drywall tape should come out in one long piece. If the tape isn’t exposed take a putty knife and dig until you expose the tape, then you’ll be able to pull it out of the wall or ceiling. As you pull out the old drywall tape it will make a channel, which you can use to embed your new drywall tape into. So make sure the channel is wide enough to fit the drywall tape you’re planning on using.
Step 2: Inspect for water damage
Once the tape has been removed it’s a good idea to make sure that there’s no water damage underneath. If the water damage is minor, you may want to find some information on drying drywall after water damage and with that, you should be able to solve it yourself. Although, you may also want to call a plumber who can find the source of the water, unless you can do so yourself. If the water damage is more severe, you should probably find a company which offers residential water damage restoration services and have them fix it for you.
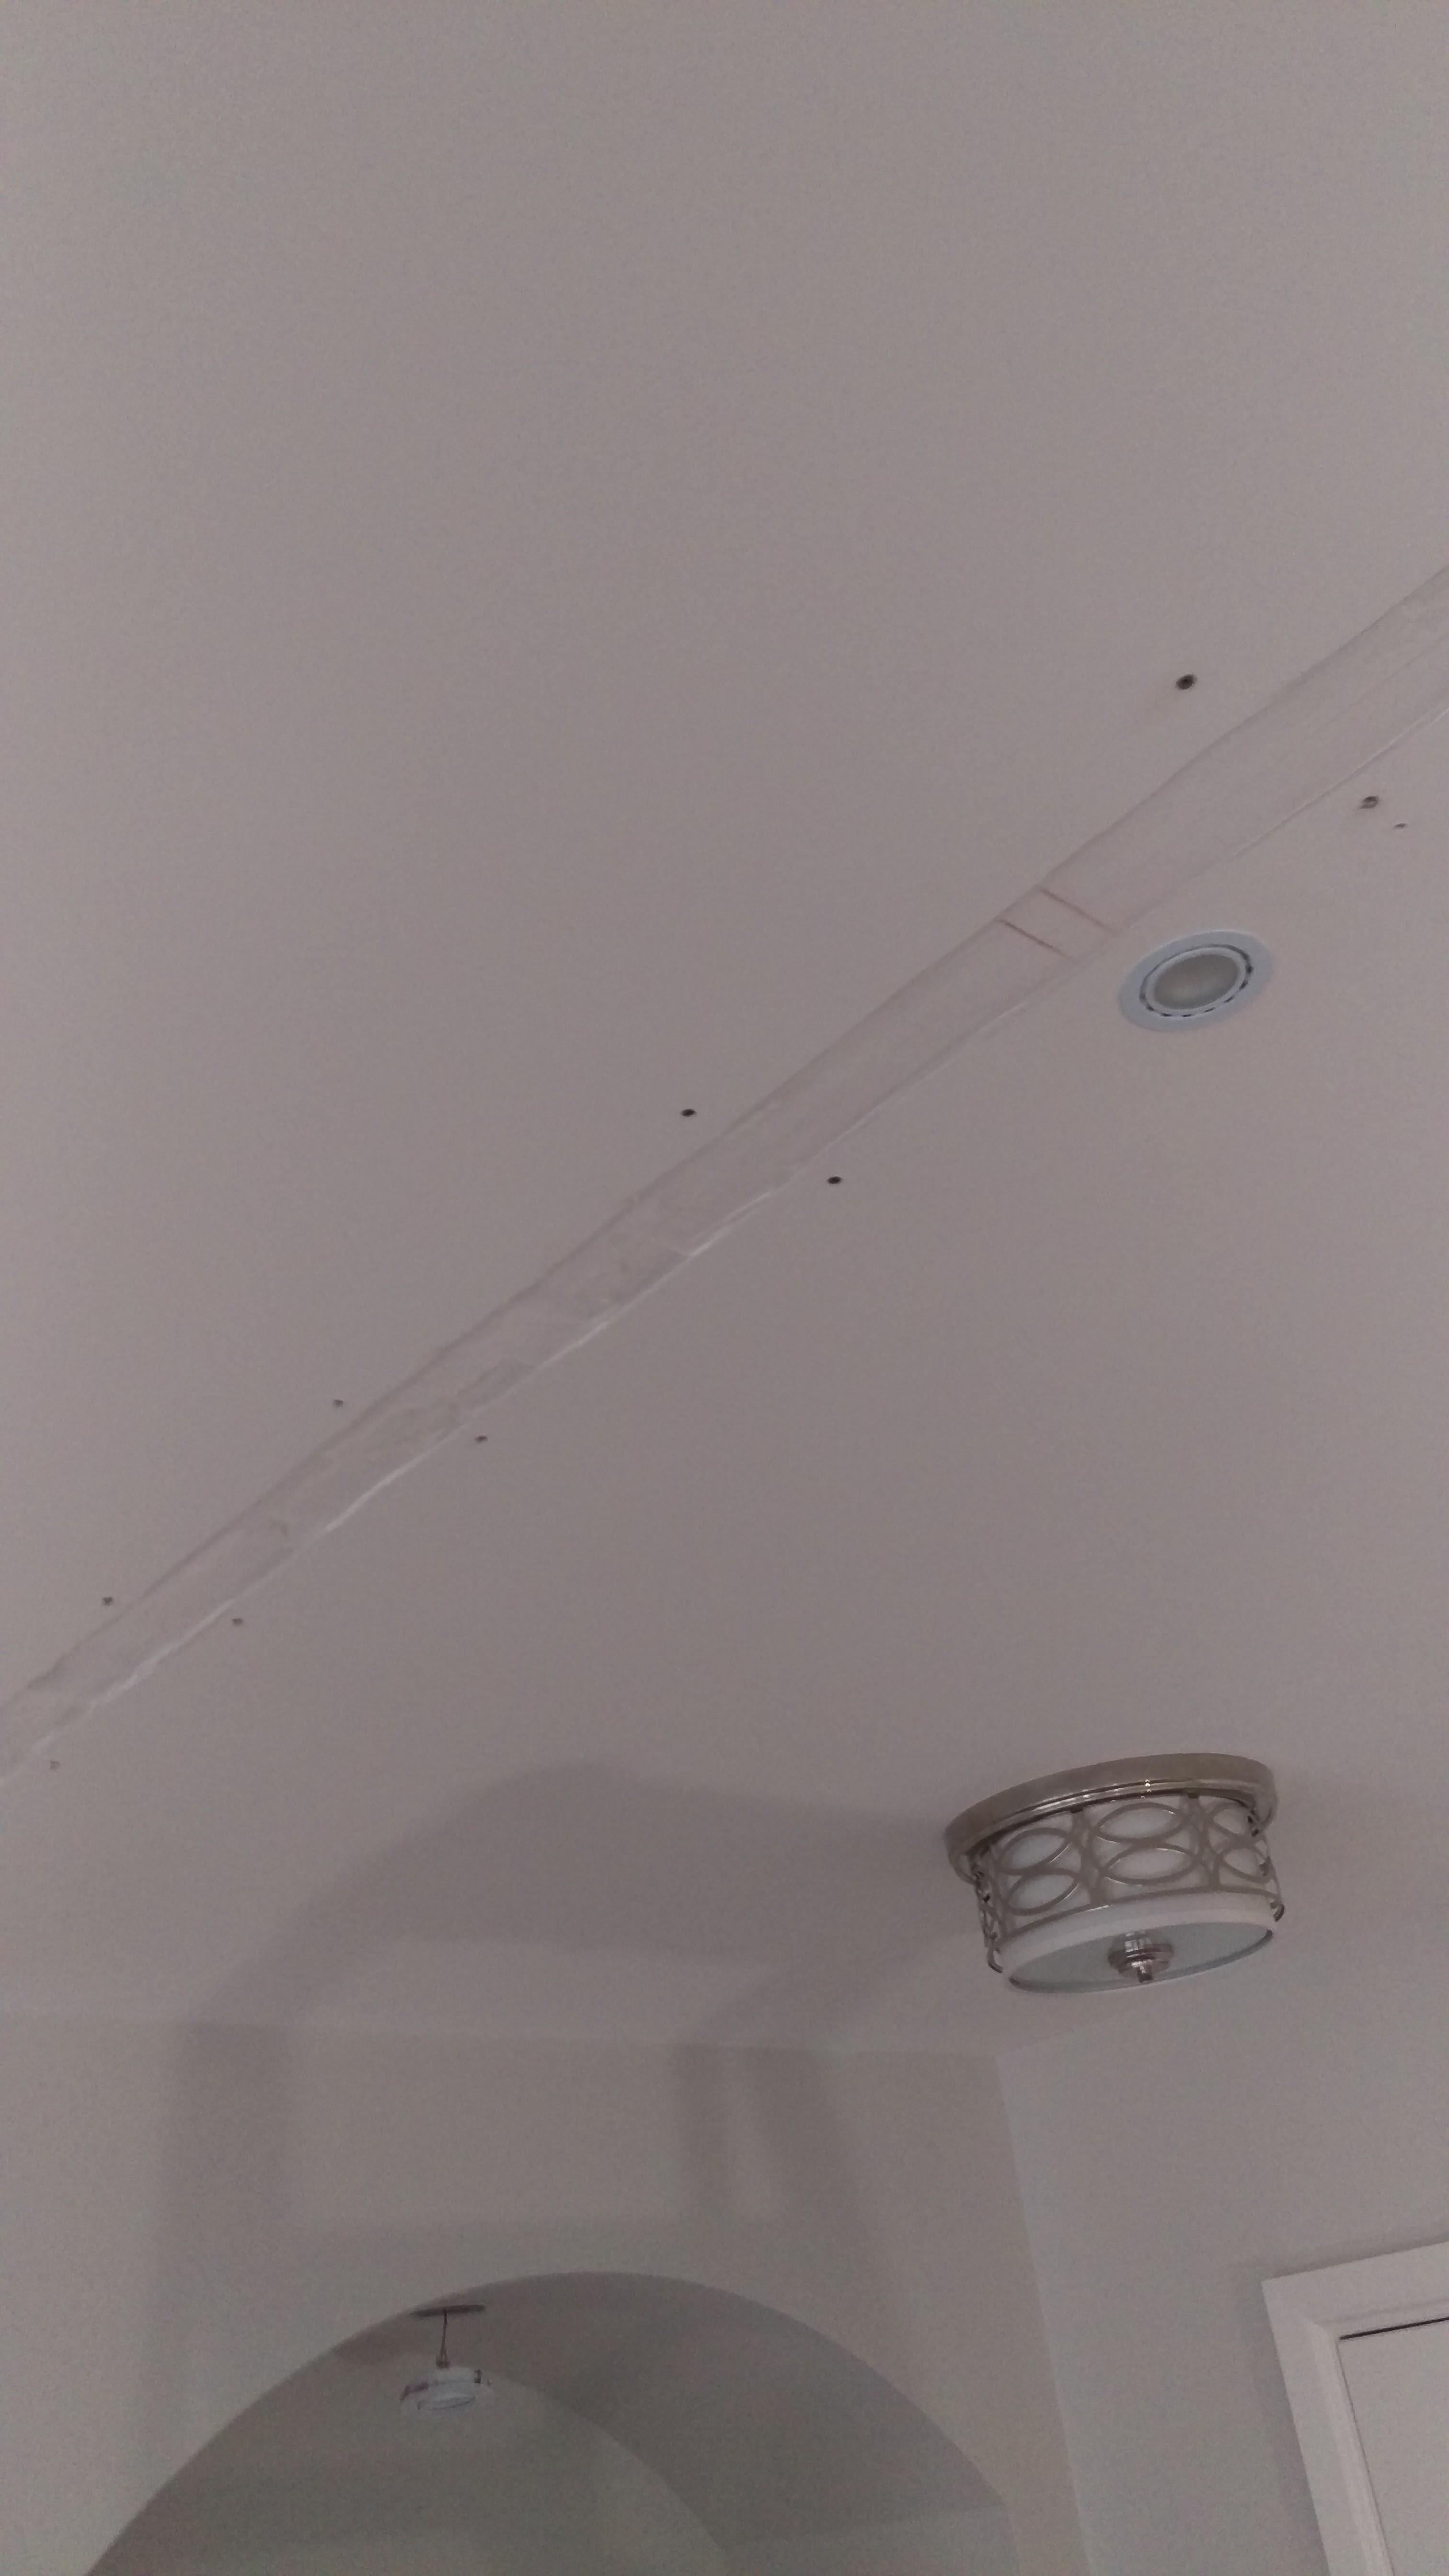
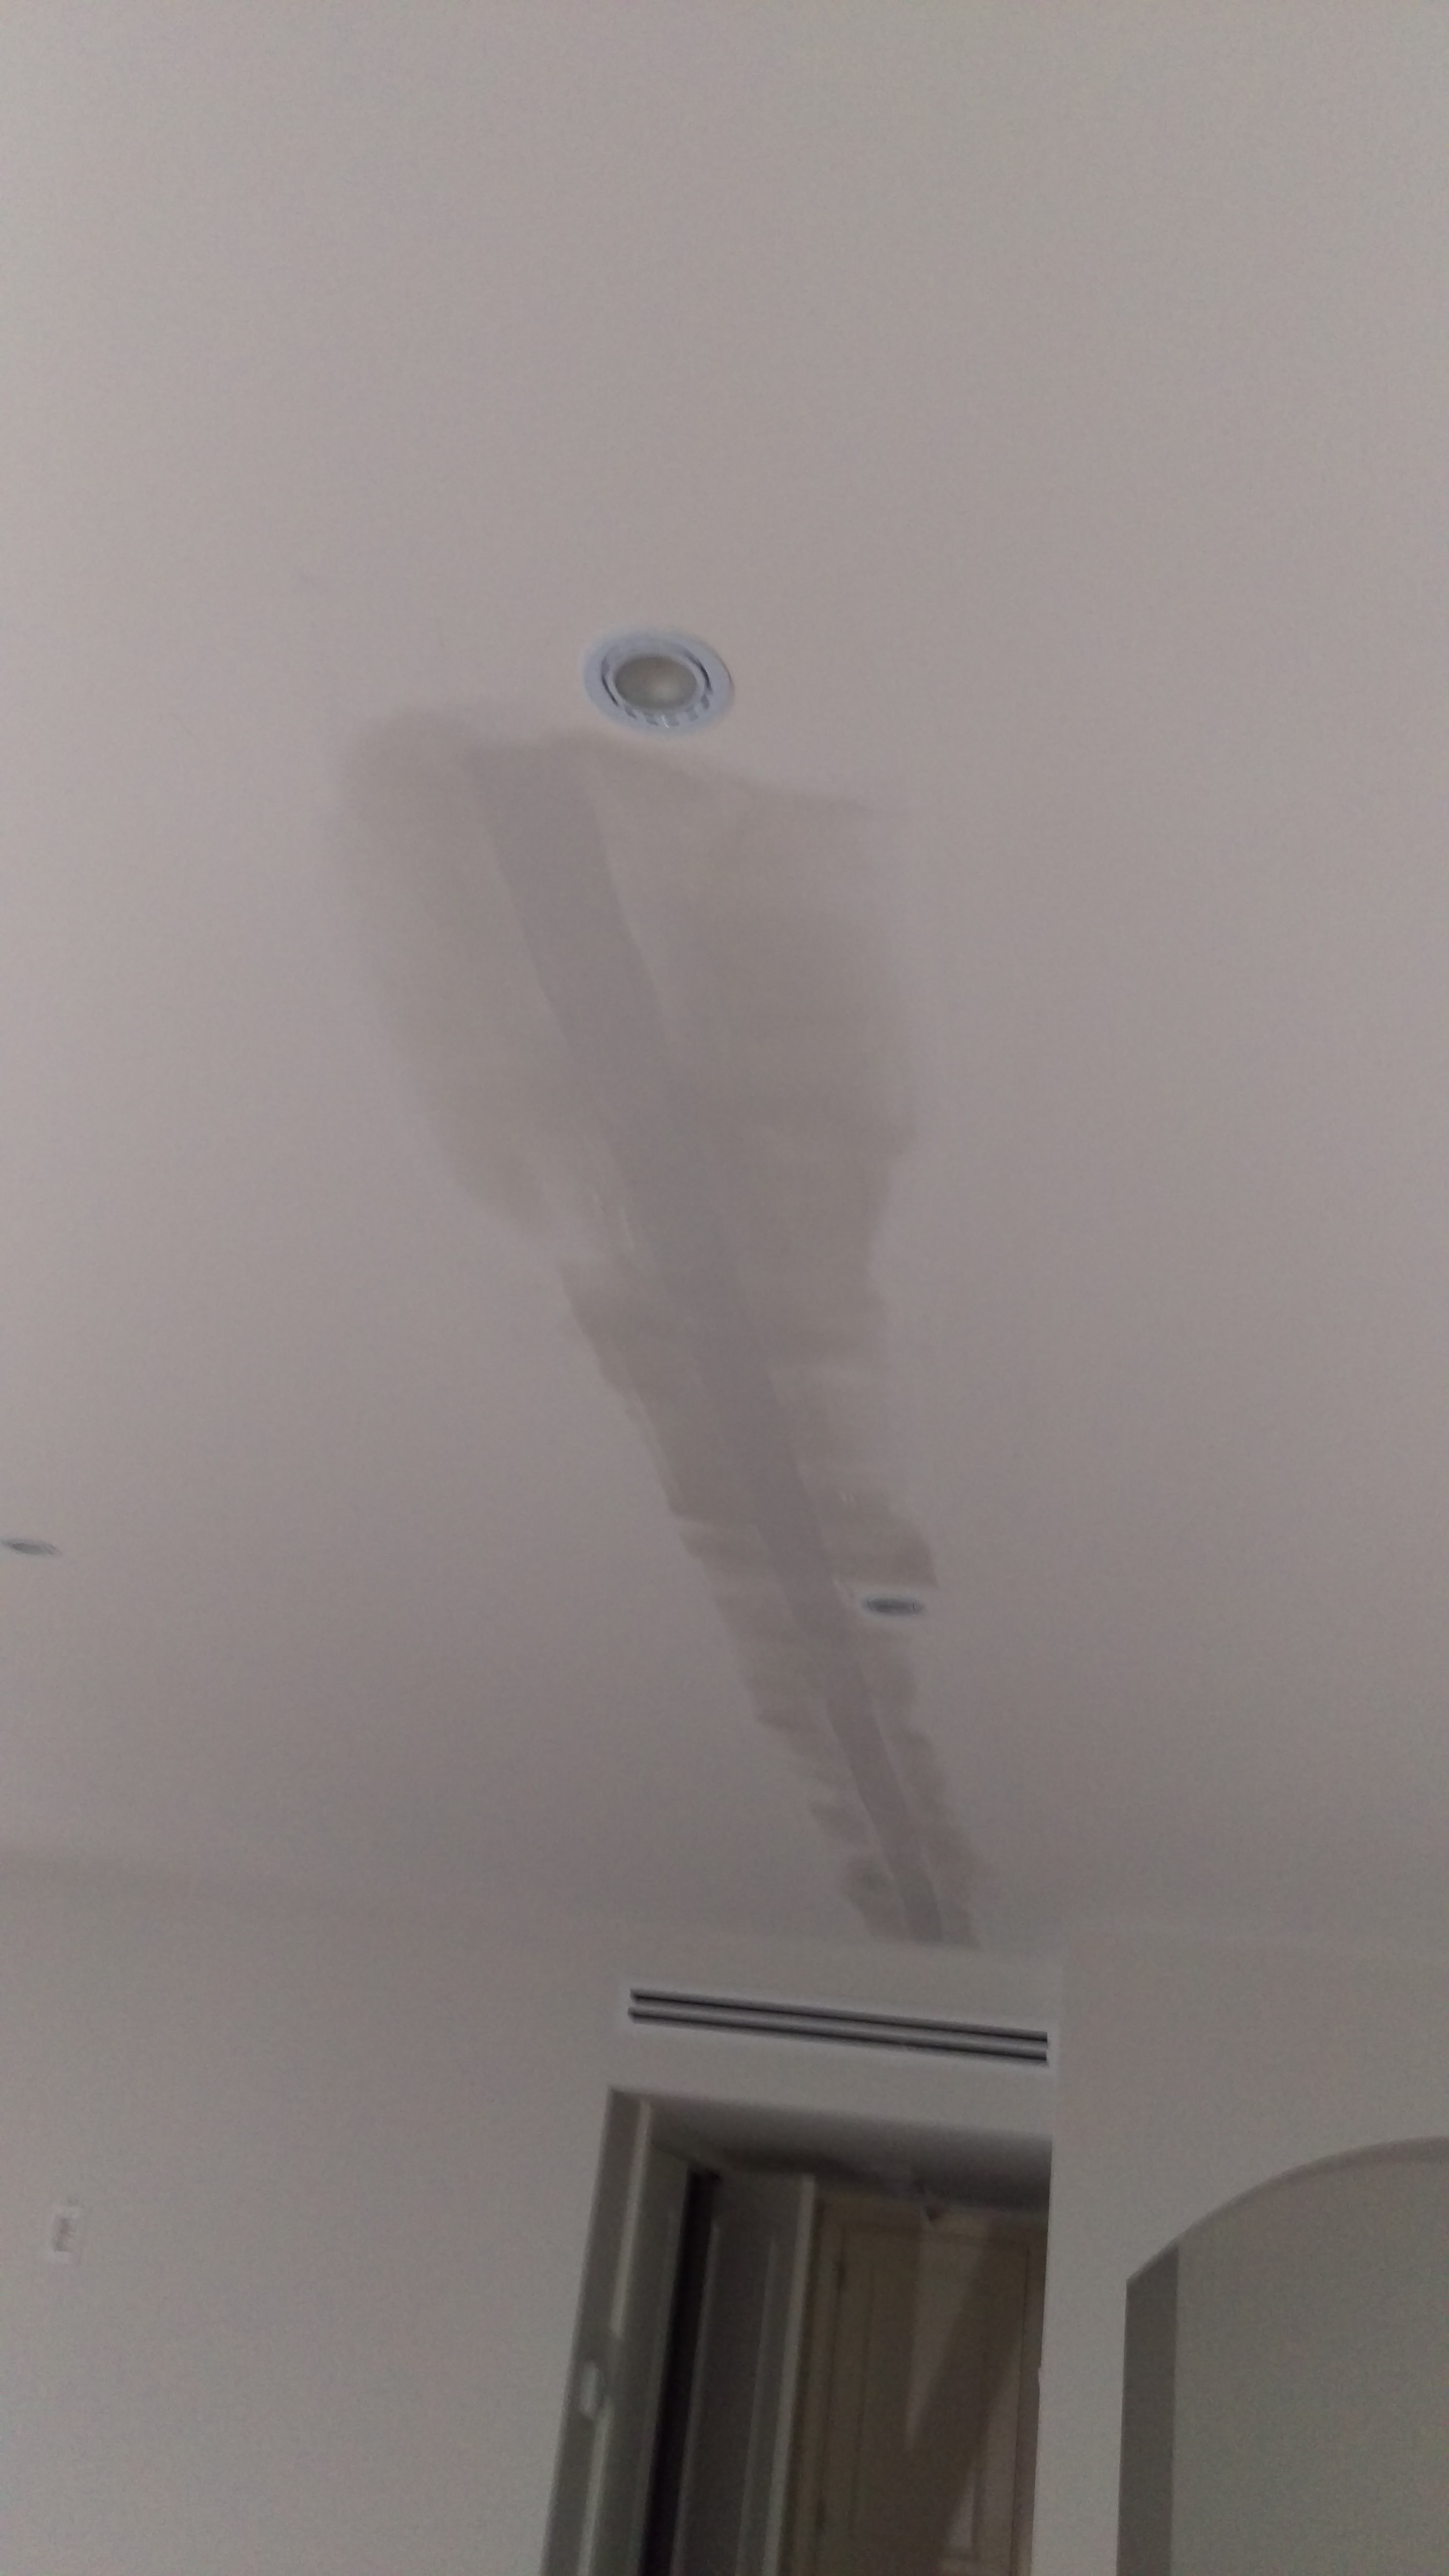
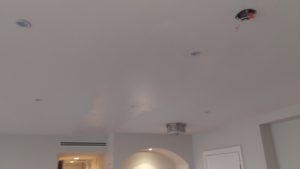
Step 3: Stabilize the crack with drywall screws
the crack is stabilized with screws
Use your stud finder to find the studs underneath the wall and then screw into the stud on either side of the crack as shown. This will help stabilize the crack so that the drywall doesn’t shift as much.
Pro tip: when screwing the screws into the drywall make sure you sink the head of the screw into the paper on the surface of the drywall, but not so deep that you tear the paper. Make sure that the screws are of good quality as this is more likely to prevent the seam from cracking again. You can browse all sorts of screws from Tradefix Direct.
Step 4: Embed the drywall tape
When repairing cracks I prefer to use FibaFuse tape instead of regular mesh tape or paper tape. FibaFuse I have found to be the most durable, and when making a repair to an area that’s cracked I want to make sure that the crack won’t come back.
FibaFuse is embedded
Pro tip: FibaFuse is a fiberglass tape, so it’s best to use gloves when handling it.
When you mix your Durabond you want the consistency to be a little thinner than peanut butter. Fill the channel with Durabond and embed the tape, smoothing afterward with a drywall knife to eliminate any air pockets underneath.
Scrape off any excess Durabond before it dries because it is hard to sand once dry. Let the Durabond dry before the next step.
tape is skim coated
Step 5: Skim coat the tape
For this step we use Sheetrock, either the powder or the pre-mix, because it is much easier to sand later. Use your large putty knife and coat over both the tape, screws and an area 4-6″ on either side. Make sure to do one long final pass to keep things as smooth as possible.
Step 6: Repeat step 5
Step 7: Sand the area
Go over the area with sandpaper and sand it smooth. It’s helpful to run your hand on the surface, you will feel ridges in the plaster that you might not see.
Step 8: Prime the area, re-inspect & touch up, if necessary
Primed and ready for paint!
Prime the area and once it’s dry re-inspect it to make sure it’s nice and smooth. If there are any dents or pock marks fill with Sheetrock.
Step 9: Sand touch ups and paint
Once the touch ups are dry, sand and apply 2 coats of paint.
Step 10: Clean up
Always be sure to clean up after yourself!
If your walls are cracked and in need of attention, why don’t you schedule an estimate? CAM Painters would love to Transform Your Home With Lasting Beauty!
by Craig | Dec 5, 2016 | DIY, Interior Painting
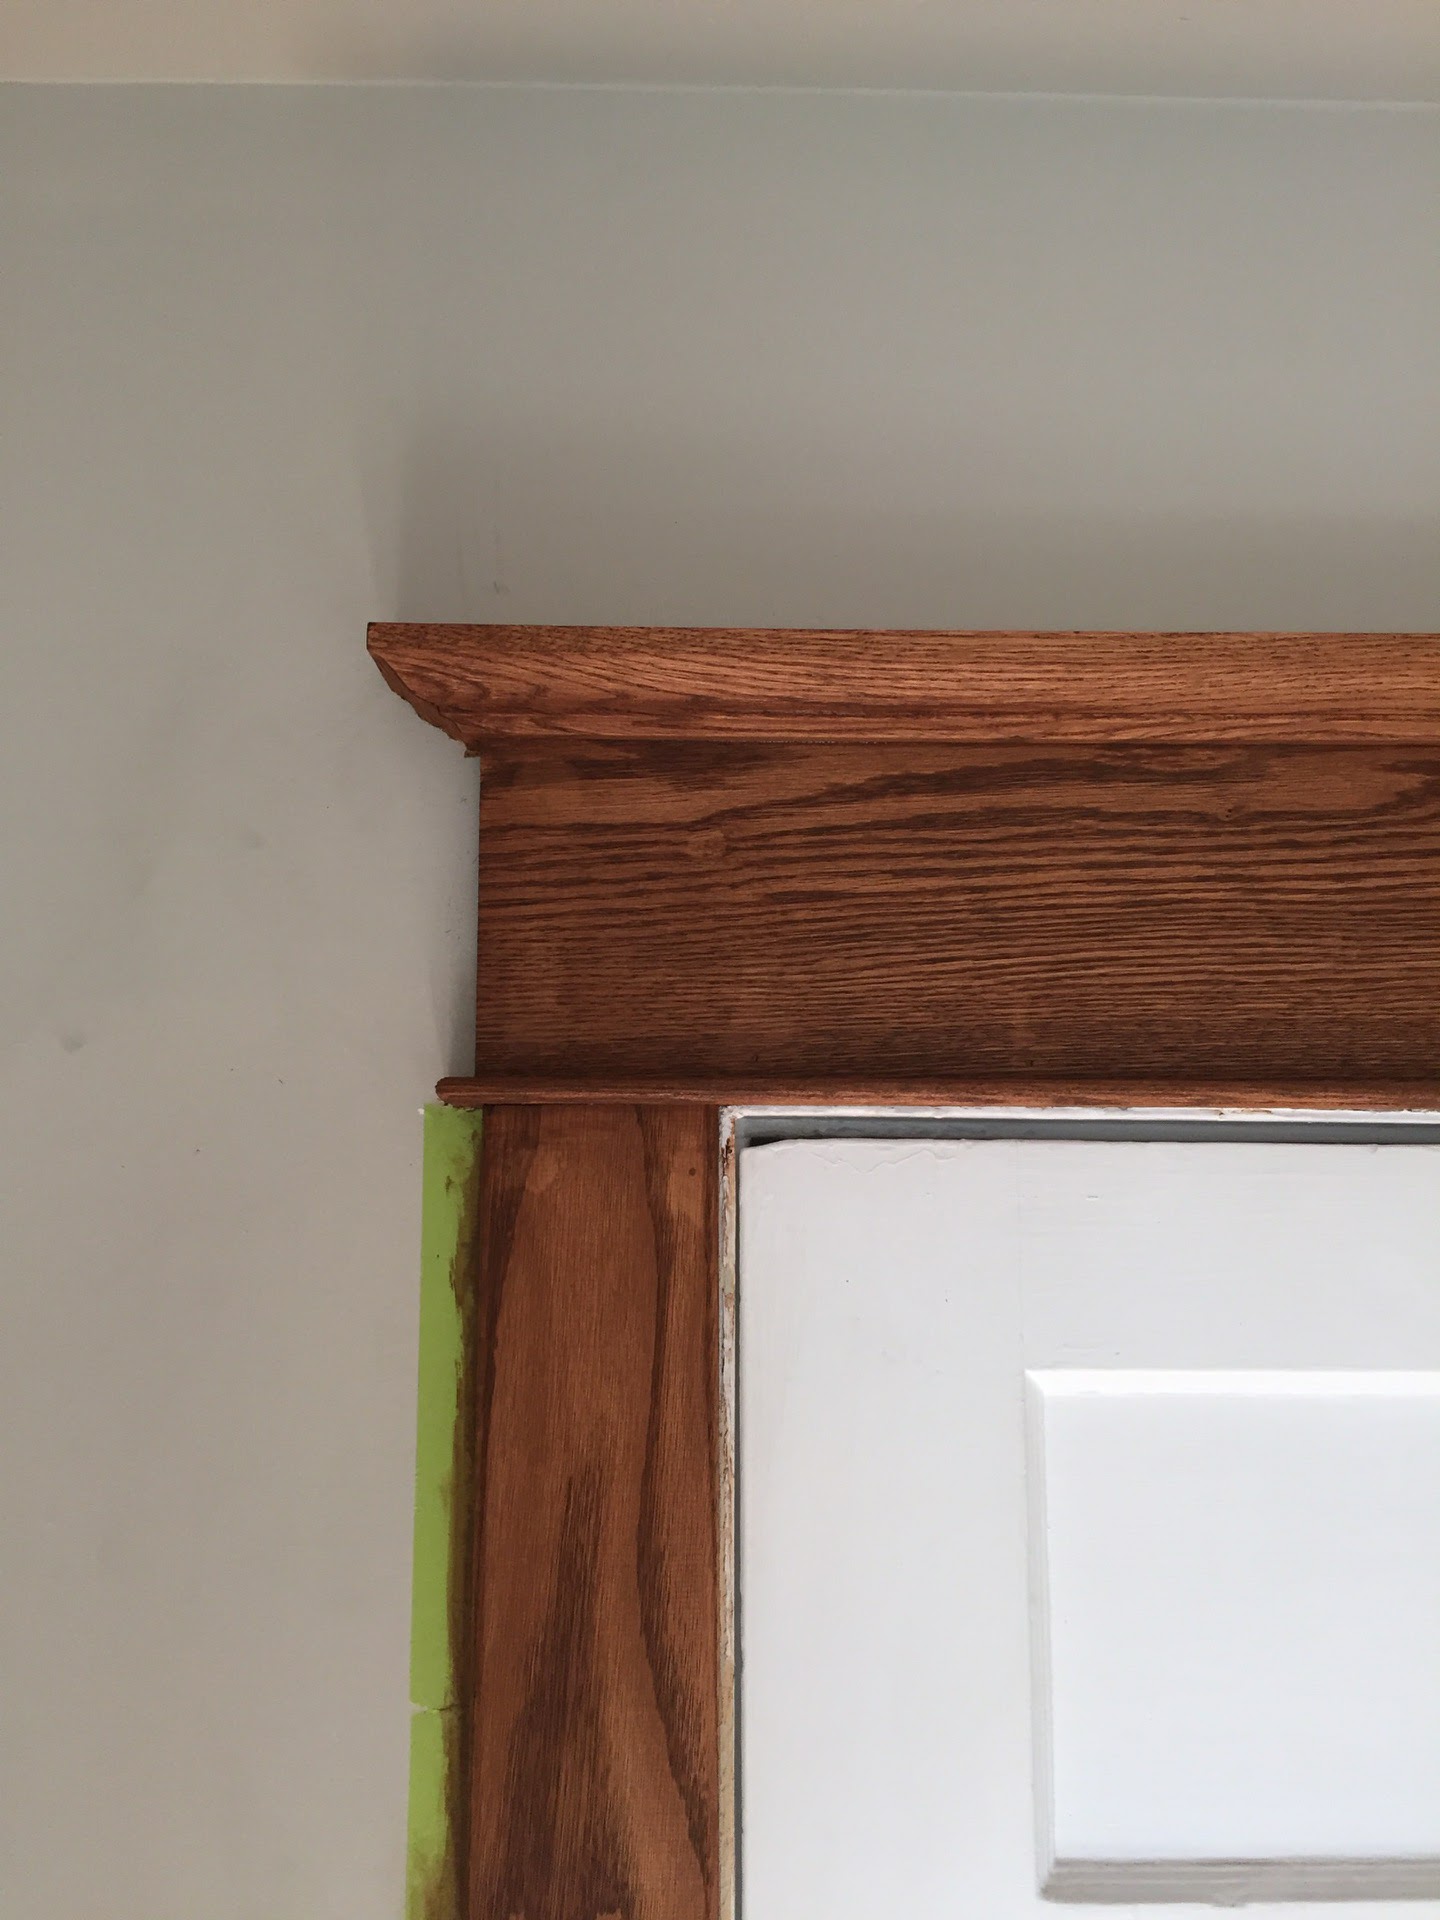
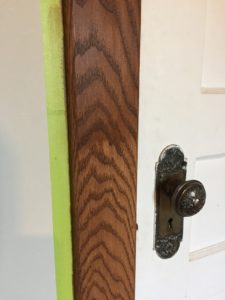
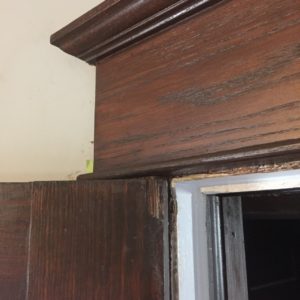
Many people like the look of old stained and varnished wood, especially in older Toronto homes. But what happens when some of it is damaged and needs to be replaced? Can the new wood be made to look like the old existing stained and varnished wood? Yes it can!
Here’s the process that we used to match new wood to old
We matched the stain at the paint store
We got a sample of the old wood and a sample of the new wood and took it to the paint store for matching. Patience is key with this process. Our paint store requires 48 hrs for a stain match.
We sanded the trim
In order to ensure that the stain is absorbed evenly into the wood we gave the entire surface a light sand. This opens up the grain and allows the stain to penetrate evenly into the surface.
Please note that we were staining oak, which is a very dense, hard wood. Because oak is such a dense wood conditioner is not needed, however when dealing with softer wood, such as pine, a wood conditioner is necessary. Wood conditioner is a clear base coat that evens out stain absorption.
We stained the trim
The stain that we chose was a rubbing stain, meaning that it is rubbed into the surface with a rag, rather than brushed on the surface.
 When working with stain it’s better to apply two thin coats rather than one thick coat. If the stain is applied to thick it can dry blotchy, which we want to minimize, of course.
This particular wood took 3 coats to get to the colour of the existing old wood.
We varnished the wood
The stain needs a minimum of 24 hours before it can be varnished. This allows for proper drying of the stain before the final step of varnishing. We matched the gloss level of the existing varnish, which in this case was a semi-gloss.
The first coat of varnish absorbed in to the wood and resulted in an uneven sheen. So we ended up applying 2 coats which gave us a nice, even result.
In conclusion
 We managed to get a fairly good result, with the new wood trim matching the old wood trim as close as could be expected. So If you’d like to keep the look of natural wood, but want repaired areas to look like existing areas, why don’t you have CAM Painters give you a quote? We’d be happy to Transform Your Home With Lasting Beauty!
by Craig | Nov 19, 2016 | DIY, Interior Painting
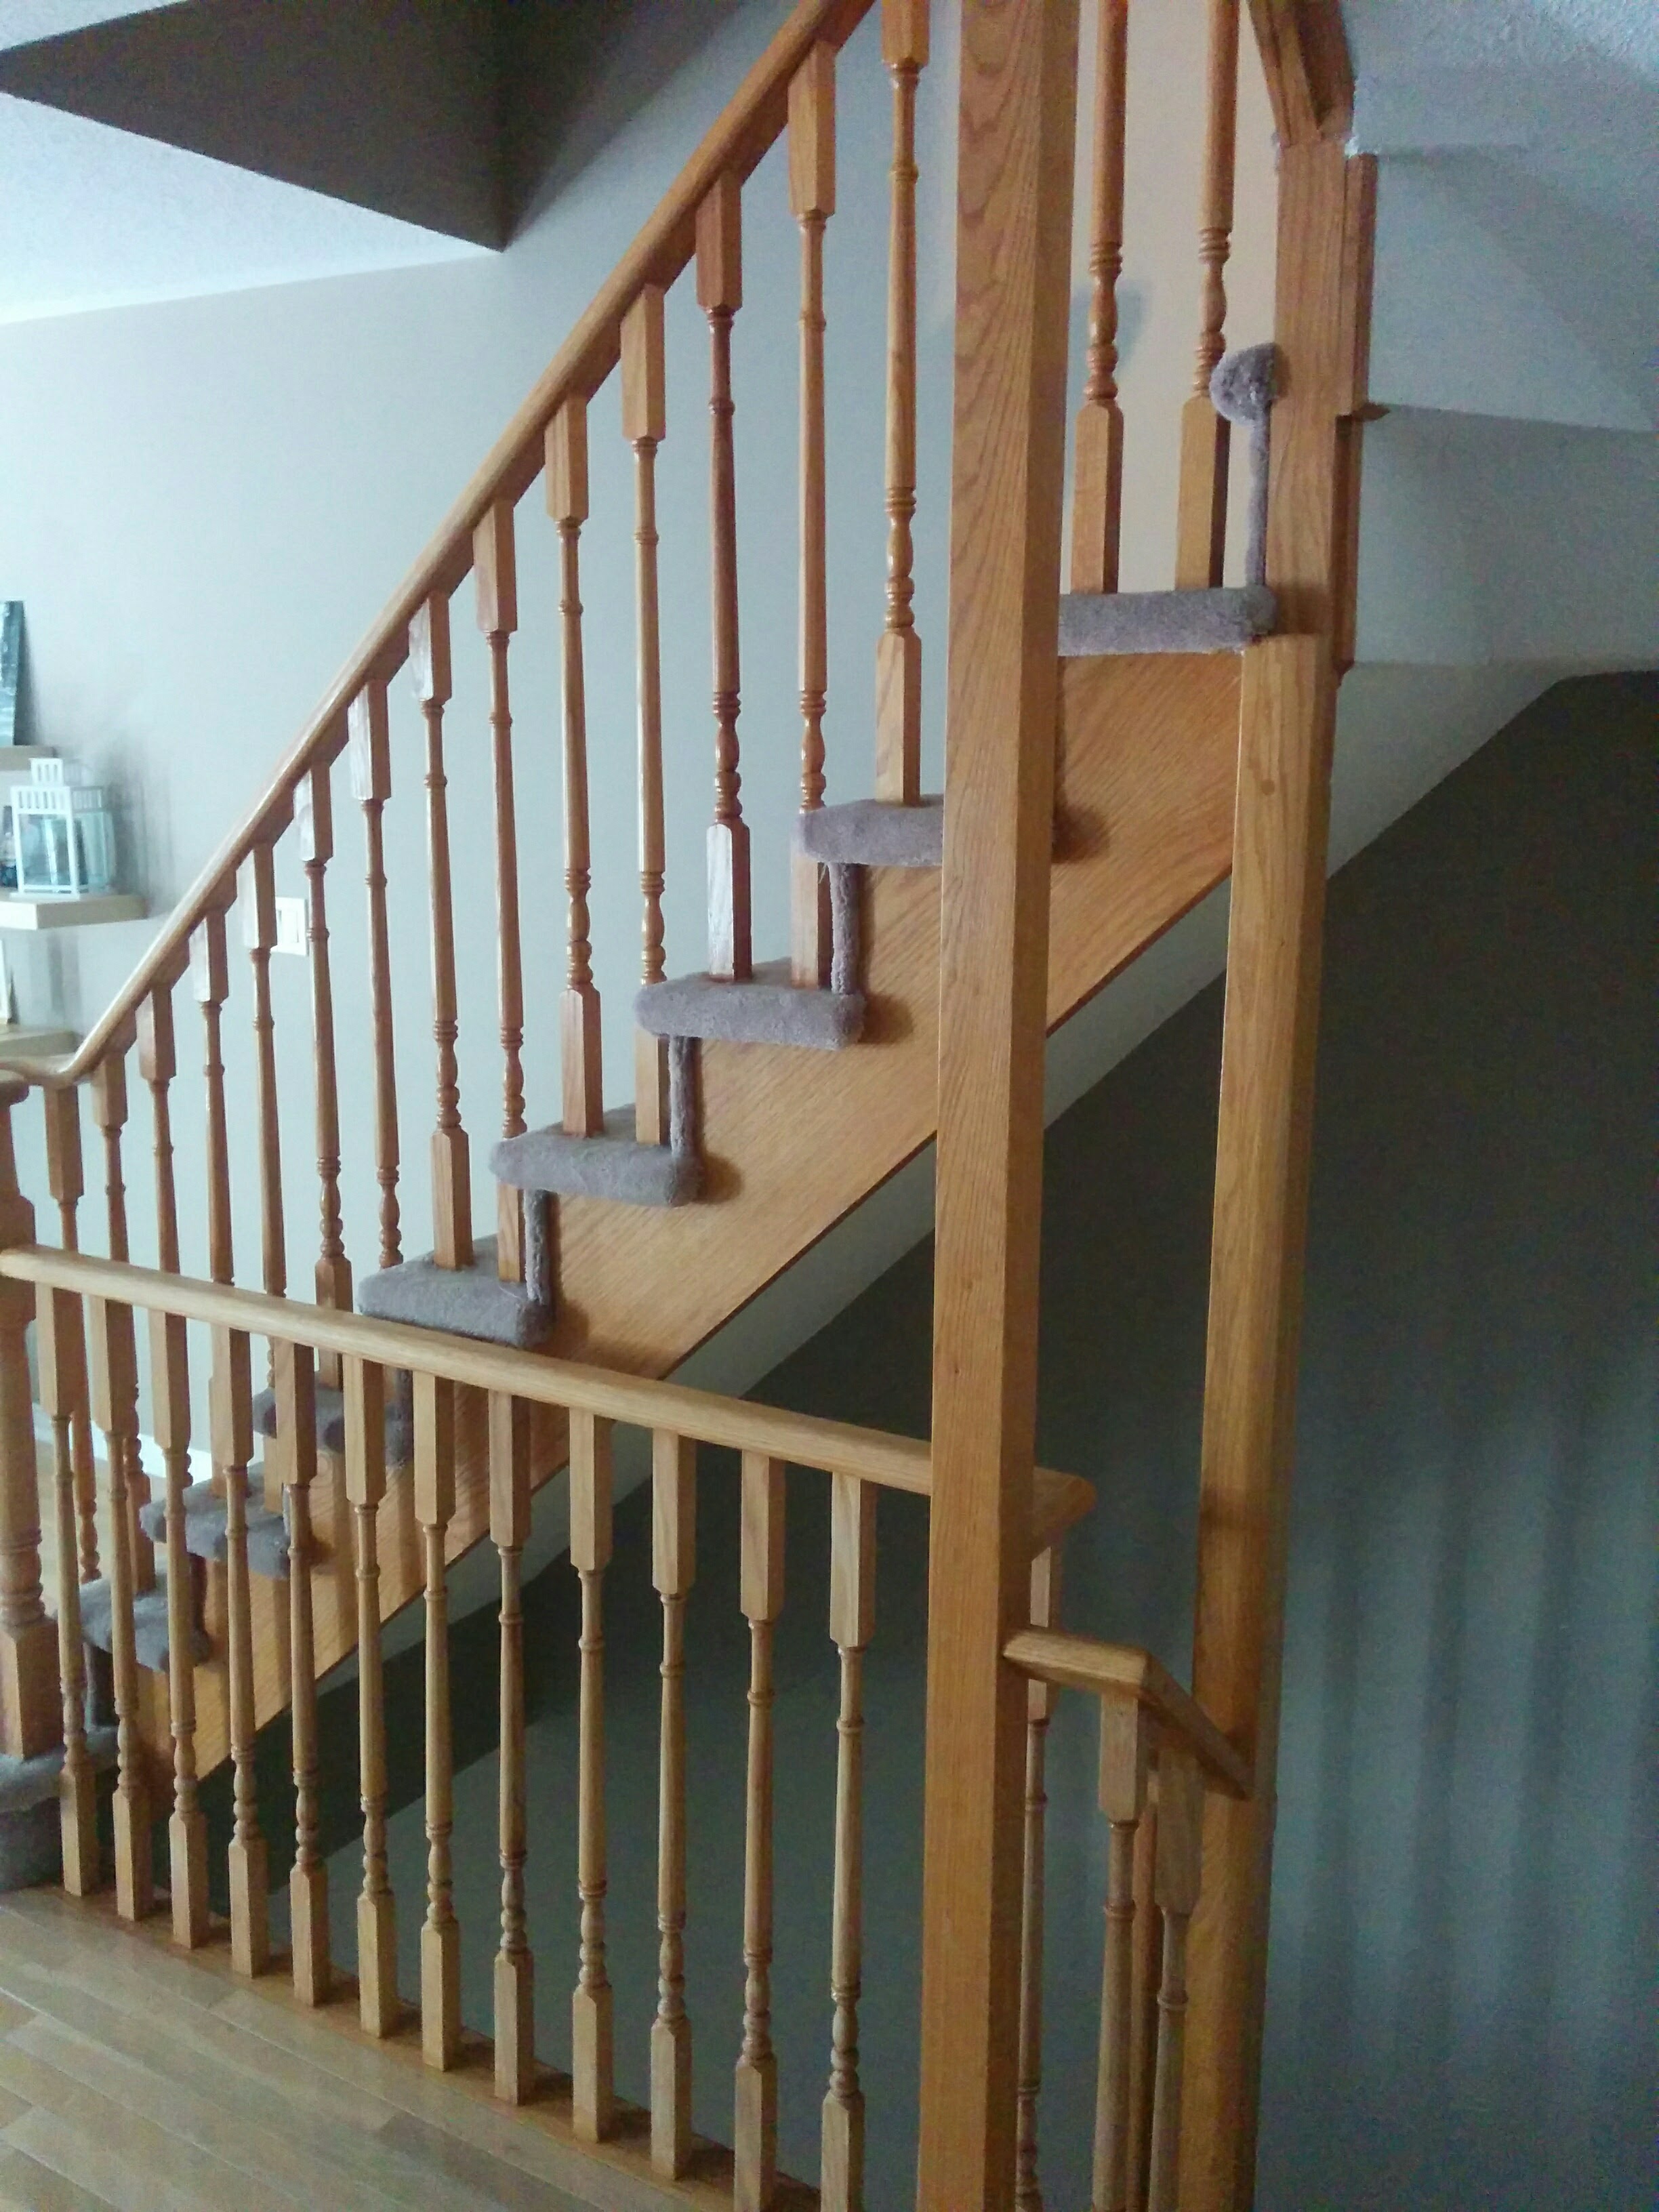
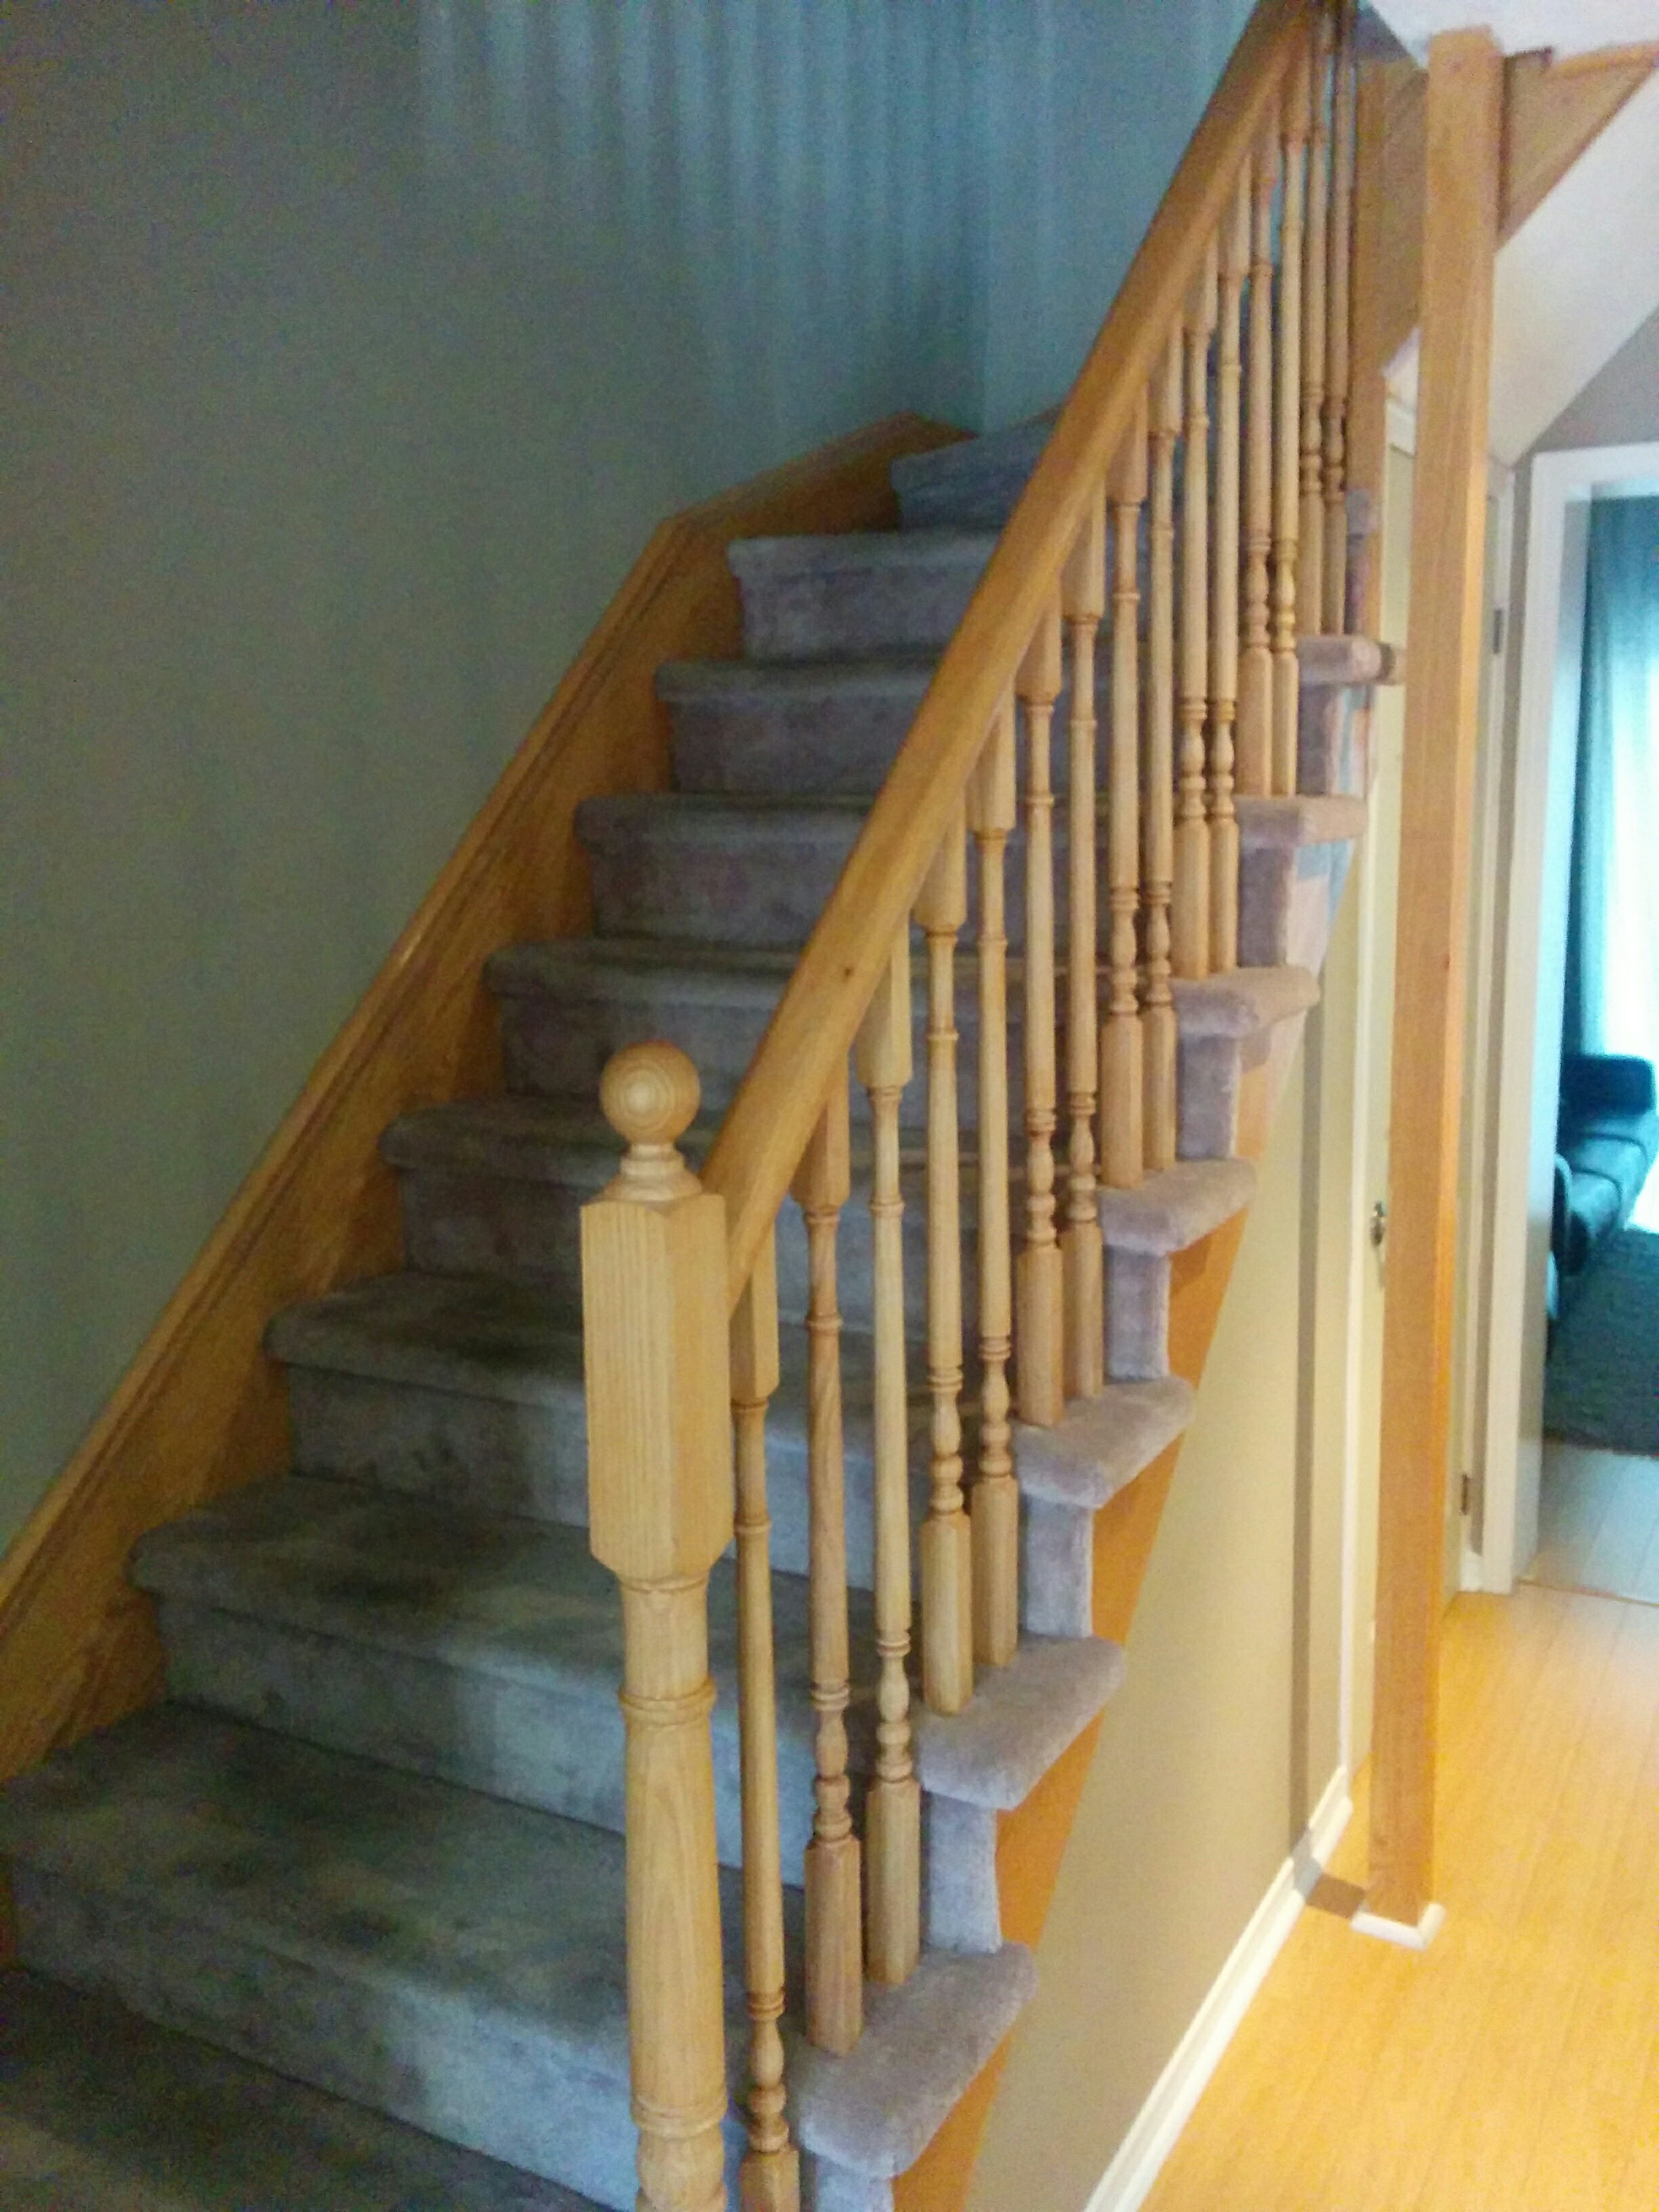
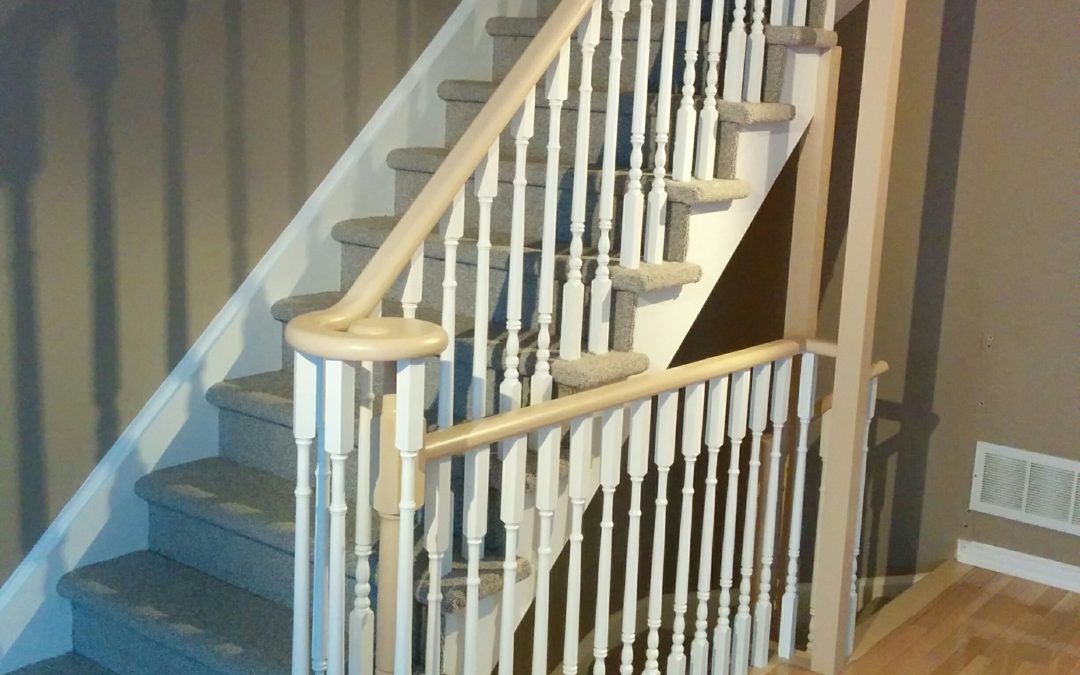
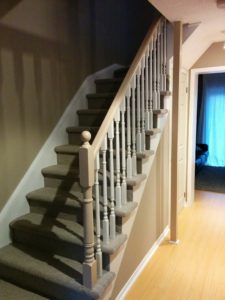
At CAM Painters, we just helped a customer undergo a recent railing transformation. This customer had railings, posts, and stringers that were varnished and they wanted to update the look. They decided to go with a two-tone look – white spindles and darker handrails and posts. I’ll go through all the steps we did, along with the materials used.

Before

Before
First off let’s take a look at the materials list that was needed for the railing project:
Toronto Home Railing Project: Materials
- Drop sheets
- Plastic film
- 220 grit sandpaper
- Tack cloths
- White-pigmented shellac based primer
- Brushes
- Mini – roller cages and sleeves
- Roller trays
The customer was having the carpet replaced as well, so here was the process that they used:
Toronto Home Railing Project: Carpet Replacement
- The carpet was removed
- They had us into paint when there was no carpet
- The new carpet was installed
- We came back and did a half hour of touch-ups
Toronto Home Railing Project: Painting
Step 1: We sanded the surface
Paint doesn’t stick as well to glossy surfaces which are prevalent with railings, so we gave everything a quick sand with a fine 220 grit sandpaper. This opens up the top layer of the varnish and allows the primer to penetrate deeper into the surface and create a better bond.
Step 2: We primed
We wanted to ensure that we had the most durable paint system that we could get, so priming was essential. Primer bonds to the railings surface and allows the finish coat to bond to it. An aggressive primer is needed to stick to a varnished surface because the varnish is so hard and glossy, so we chose white-pigmented shellac. Shellac bonds better than latex-based primers and even oil-based primers too, so it was the best choice in this case.
READ: Toronto Home Painting Tip: Steps for Painting Stained or Varnished Wood
Shellac primer applied
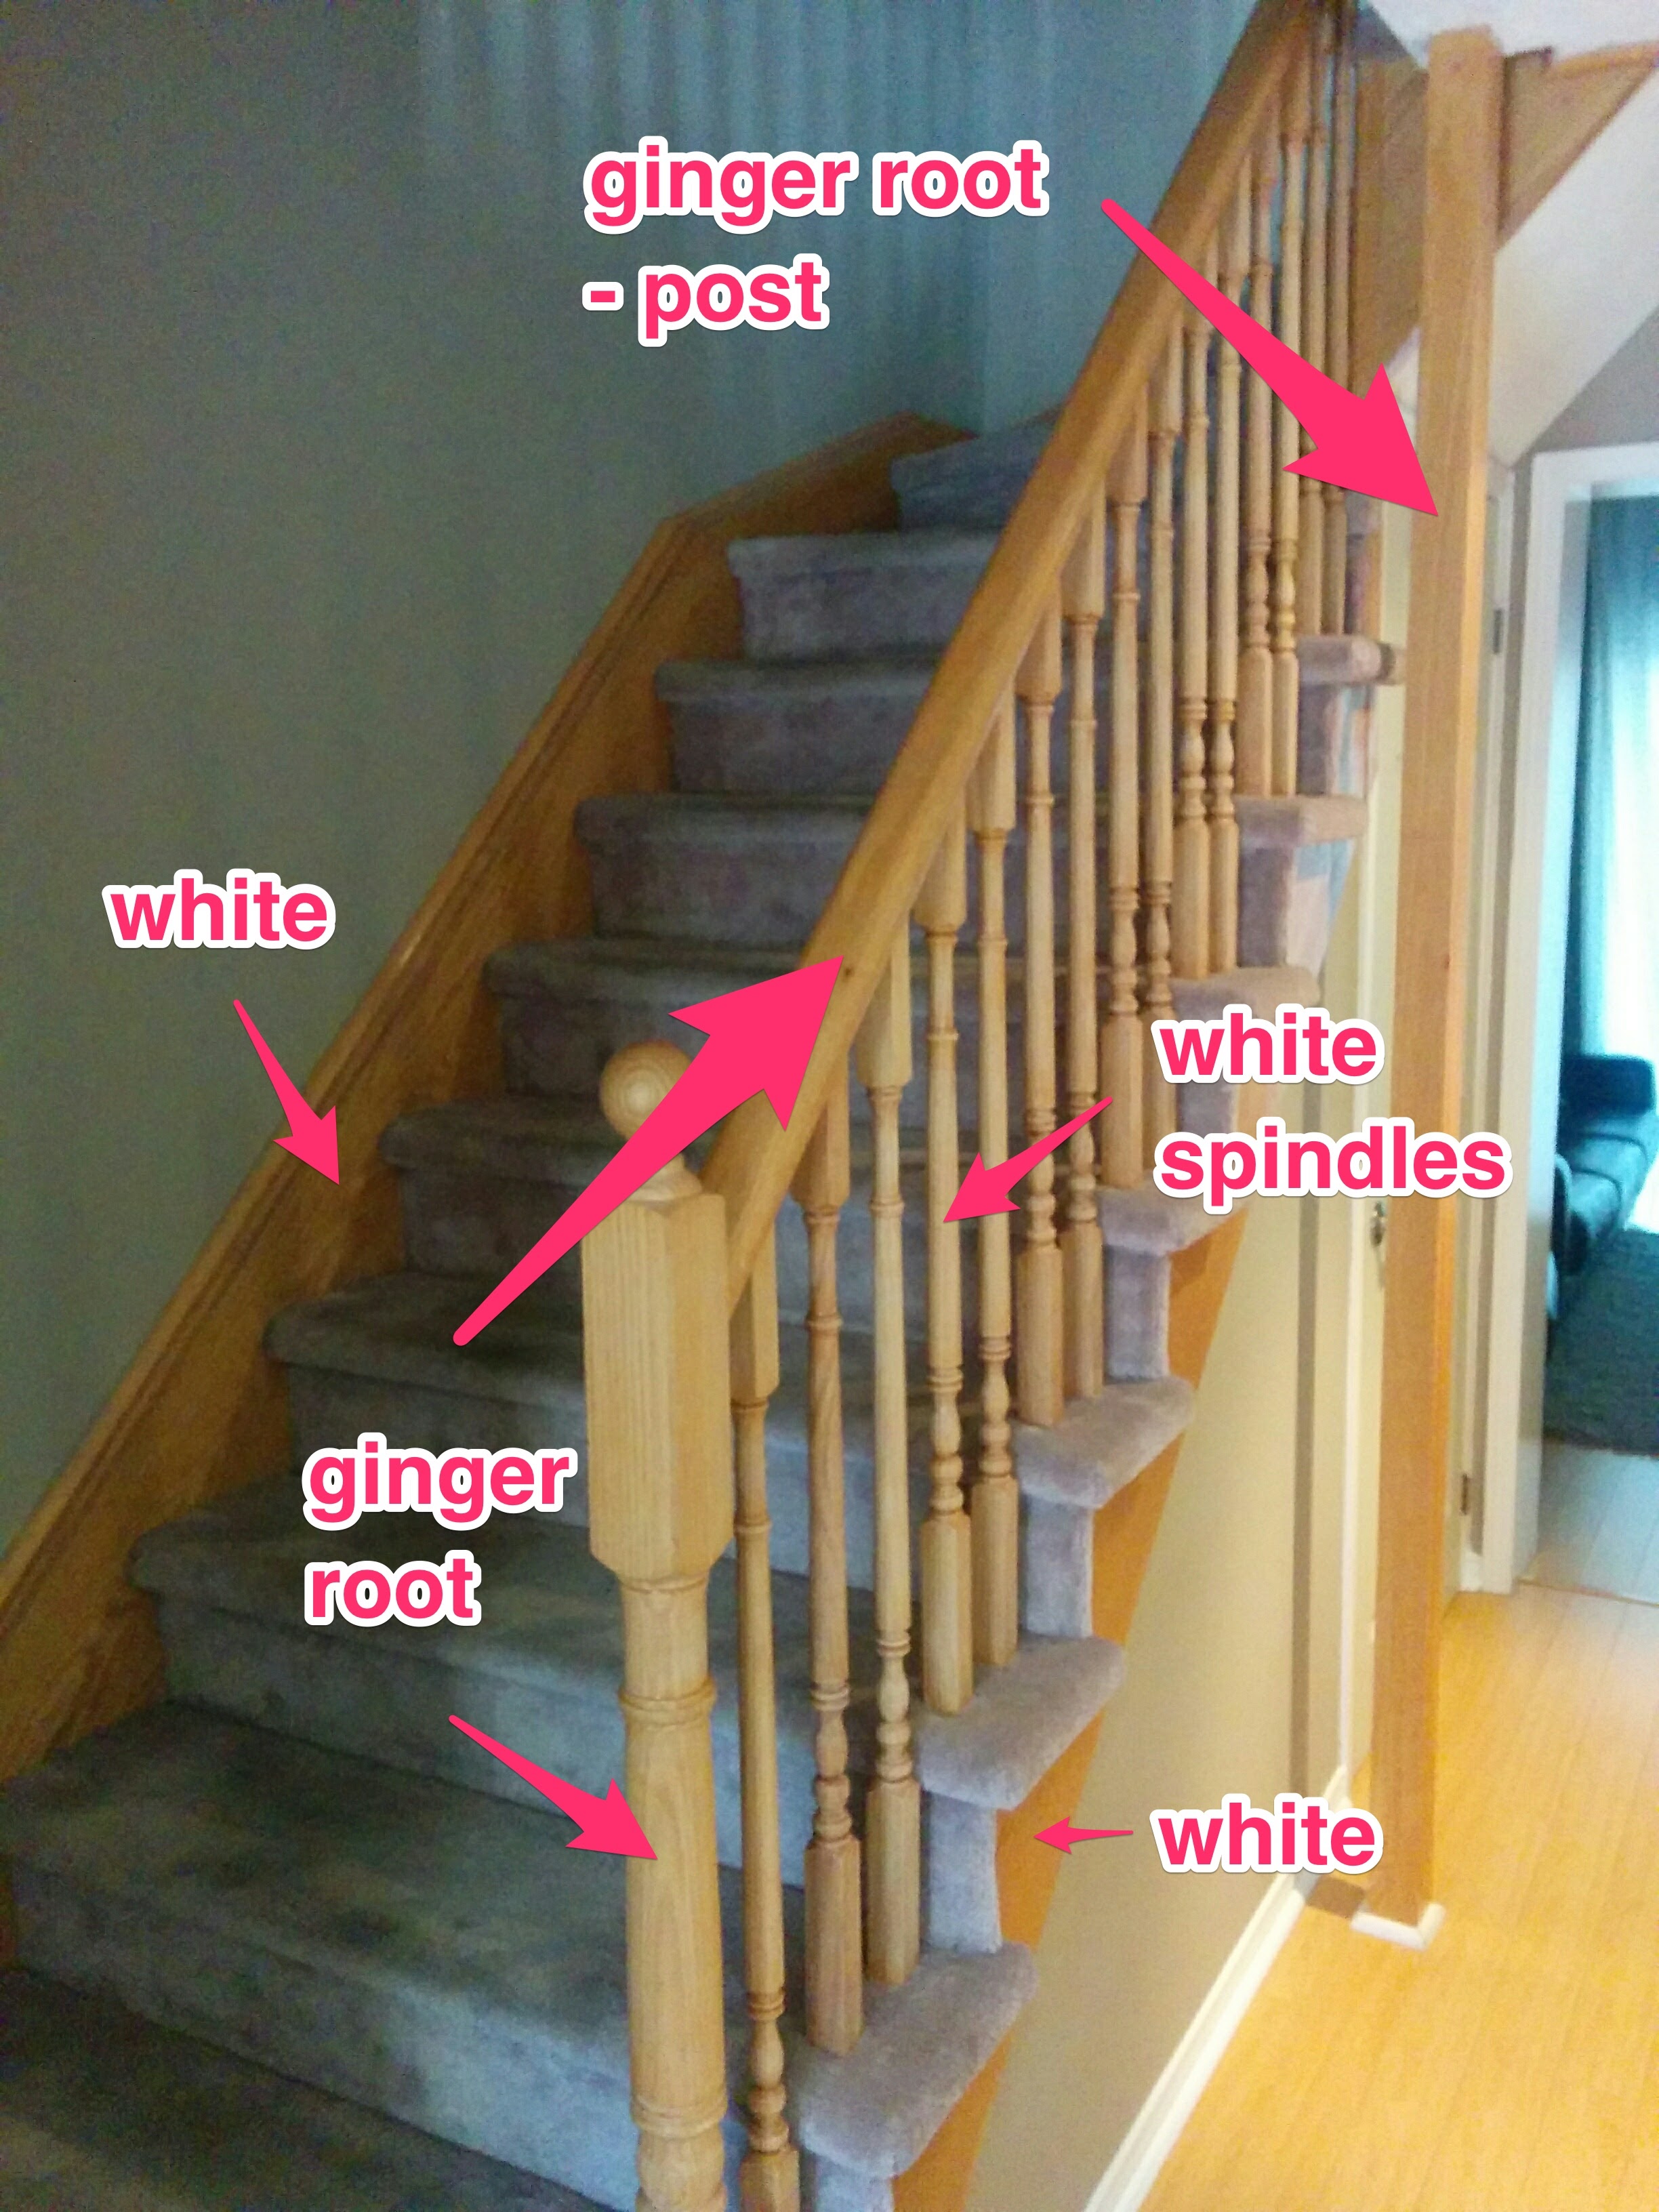
Step 3: We painted
When multiple colours are used I like to put a marked up picture in our project management app for quick reference, so that all my guys know what colour goes where. It’s been said that a picture is worth a thousand words, and I think this is an instance that proves that saying right!
We did 2 coats of each colour using Sherwin Williams ProClassic Waterborne Alkyd. This paint dries very hard and durable and is suited for high-traffic areas like railings.
Step 4: We came back to do some touching up
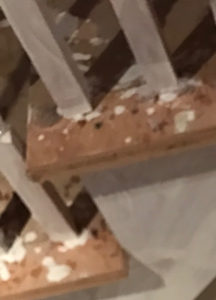
The new carpet was installed, and the carpet installers did a wonderful job. However, even though they were very careful, a little damage was done to some of the spindles and posts. So after they finished, we came back and looked over the entire project and touched up the areas which required touching up.
READ: 3 Things Your Toronto Home Painter Wants You to Know
All done!
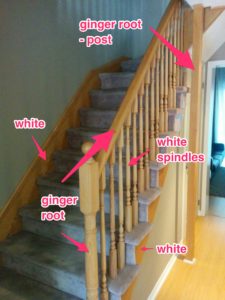
Marked up picture
There you have it, from a dated stairwell to a thoroughly updated look!
Transform Your Home With Lasting Beauty!
by Craig | Oct 1, 2016 | DIY, General posts, Interior Painting
Years ago it was common to have varnished wood trim, or stained panelling or other natural wood features throughout the home. This was a standard in Toronto home painting and varnishing. This highlighted the natural beauty of the grain, however, it can result in a very dark look for your house.
These days many people are choosing to paint their stained or varnished wood to brighten up the interior of their home, but it’s not as simple as grabbing a brush and putting on a coat of paint. Here are some pointers if you’re thinking about painting your interior.
Natural wood can make an area look dark if you have varnished wood…
You’ll know if you have varnished wood by looking at it, this coating generally has a glossiness to it, and it sits on top of the surface and looks like a clear film.
Do not paint directly over top of varnished surfaces without the proper preperation! This coating is inherently unstable, it never fully cures, even though it is dry to the touch. If the paint is applied directly over it without proper preparation the paint will develop cracks as the coating underneath shifts.
READ: Should I Paint My Toronto Home Before or After Installing New Flooring?
Steps for painting varnished wood
- Scuff sand the surface: We want to break open the top layer so that our primer can penetrate and grip the surface
- Prime with a high adhesion primer: I like to use Sherwin Williams Extreme Bond Primer or XIM UMA. Both primers are great at sticking to difficult surfaces. Follow the directions on the can and allow it to fully cure before the next step.
- Paint with a top quality paint: When painting trim I usually use Sherwin Williams ProClassic or Benjamin Moore Advance paints. These paints dry very hard and durable and also dry very smooth too.
If you have stained surfaces…
It’s a little easier to paint if the surface is currently stained. As you might guess, this coating soaks into the surface and doesn’t create a film on top, so getting paint to adhere is not a problem like it is with varnish.
Steps for painting stained wood
- Prime the wood with a stain blocking primer: Any oil based primer or any shellac based primer will do. I like to test an area with Sherwin Williams Multi-Purpose Water-Based Acrylic-Alkyd Primer which has the properties of oil paint with water clean up. If that doesn’t seal properly and there is discolouration on the surface, I’ll move to a regular oil primer. Finally, if the oil primer doesn’t work I’ll use a shellac based product like Zinsser BIN which is effective on all types of staining even nicotine stains, if necessary.
- Paint with a top quality paint: Once the primer has been given enough time to dry, paint with a top quality paint like I mentioned above.
All Done!
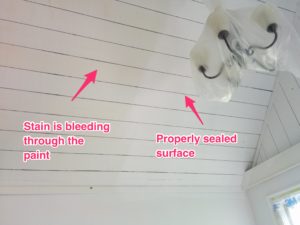
Stain bleed-through
READ: Interior Painting: How Much Will it Cost for My Toronto Home?
So now you have a basic understanding of the steps that need to be taken to paint varnished or stained wood.
If you’d rather have us come in and do the painting for you, why don’t you schedule a quote? We’d be happy to transform your home with lasting beauty!