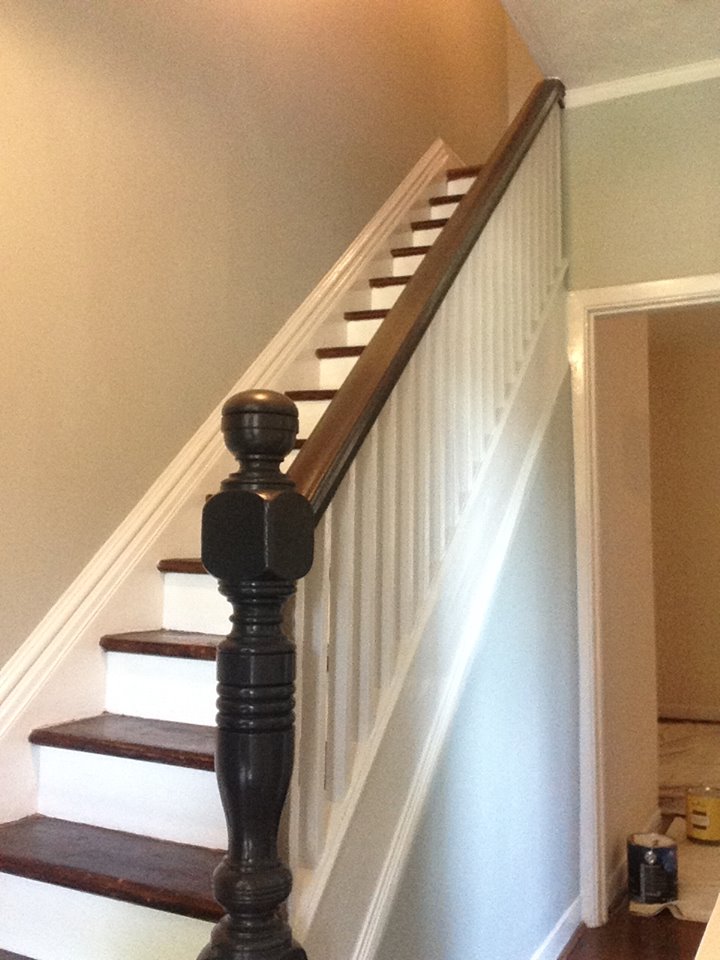
Here is the official CAM Painters guide to trim painting! Do you want your trim looking silky smooth and nice? Read on…
Determine if you need to prime your trim
There are a couple of situations where a primer is recommended.
- First, if you’re painting over bare wood, a primer seals the wood and provides a sandable surface before painting.
- If you’re painting over varnished wood, a primer will help the paint adhere to the surface.
- If you’re painting over an oil paint, a primer will help with adhesion. To test if your trim is currently painted in oil, put some acetone (nail polish remover) on a rag and rub it on the surface. If the paint comes off on the rag you have latex paint, if not, you likely have oil paint.
Lightly sand your trim
Your existing trim likely has a somewhat glossy finish, so it’s a good practice to lightly sand your trim. The purpose of this is twofold:
- It smooths out any rough spots, drips, ridges that are currently in the trim, so that the surface is nice and smooth for all subsequent steps.
- It de-glosses the surface, so that primer and/or paint can penetrate deeper and bond better with the surface.
 Prime your trim – if necessary
If you have determined that you need to prime (refer to first step) here is the procedure:
- We recommend a primer with good adhesion, our favorite is Multi-Purpose Water-Based Acrylic-Alkyd Primer from Sherwin Williams
- Apply it with brush or wizz roller (for flat doors or other wide, flat areas)
- Apply it in thin coats – the goal is giving the finish coat something to grab into, not coverage
- Allow enough cure time before topcoating (usually an hour or two)
Fill any holes and gaps
After priming, it’s an ideal time to inspect the surface for any nail holes or gaps. These can easily be caulked, just be sure to smooth out the caulking after so that there are no lumps in the surface.
Give the primer a very light sand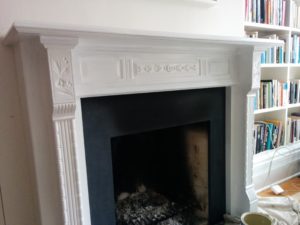

Using 200 or higher grit sandpaper give the primer a light sand. Sometimes bare wood fibers can be raised after its primed, so smooth out these areas with your sandpaper. Also, inspect and make sure there are no rough areas that were missed on the first sanding. You just want to smooth out the surface, not penetrate down to the bare wood, so just use a light touch.
Paint your trim
Our favorite paints for trim are Sherwin Williams ProClassic or Benjamin Moore Advance. These dry very smooth and hard, which make them ideal. Here are some tips to get a great finish:
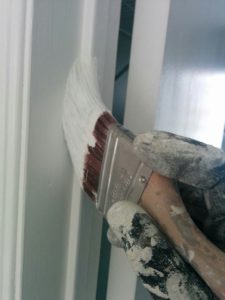
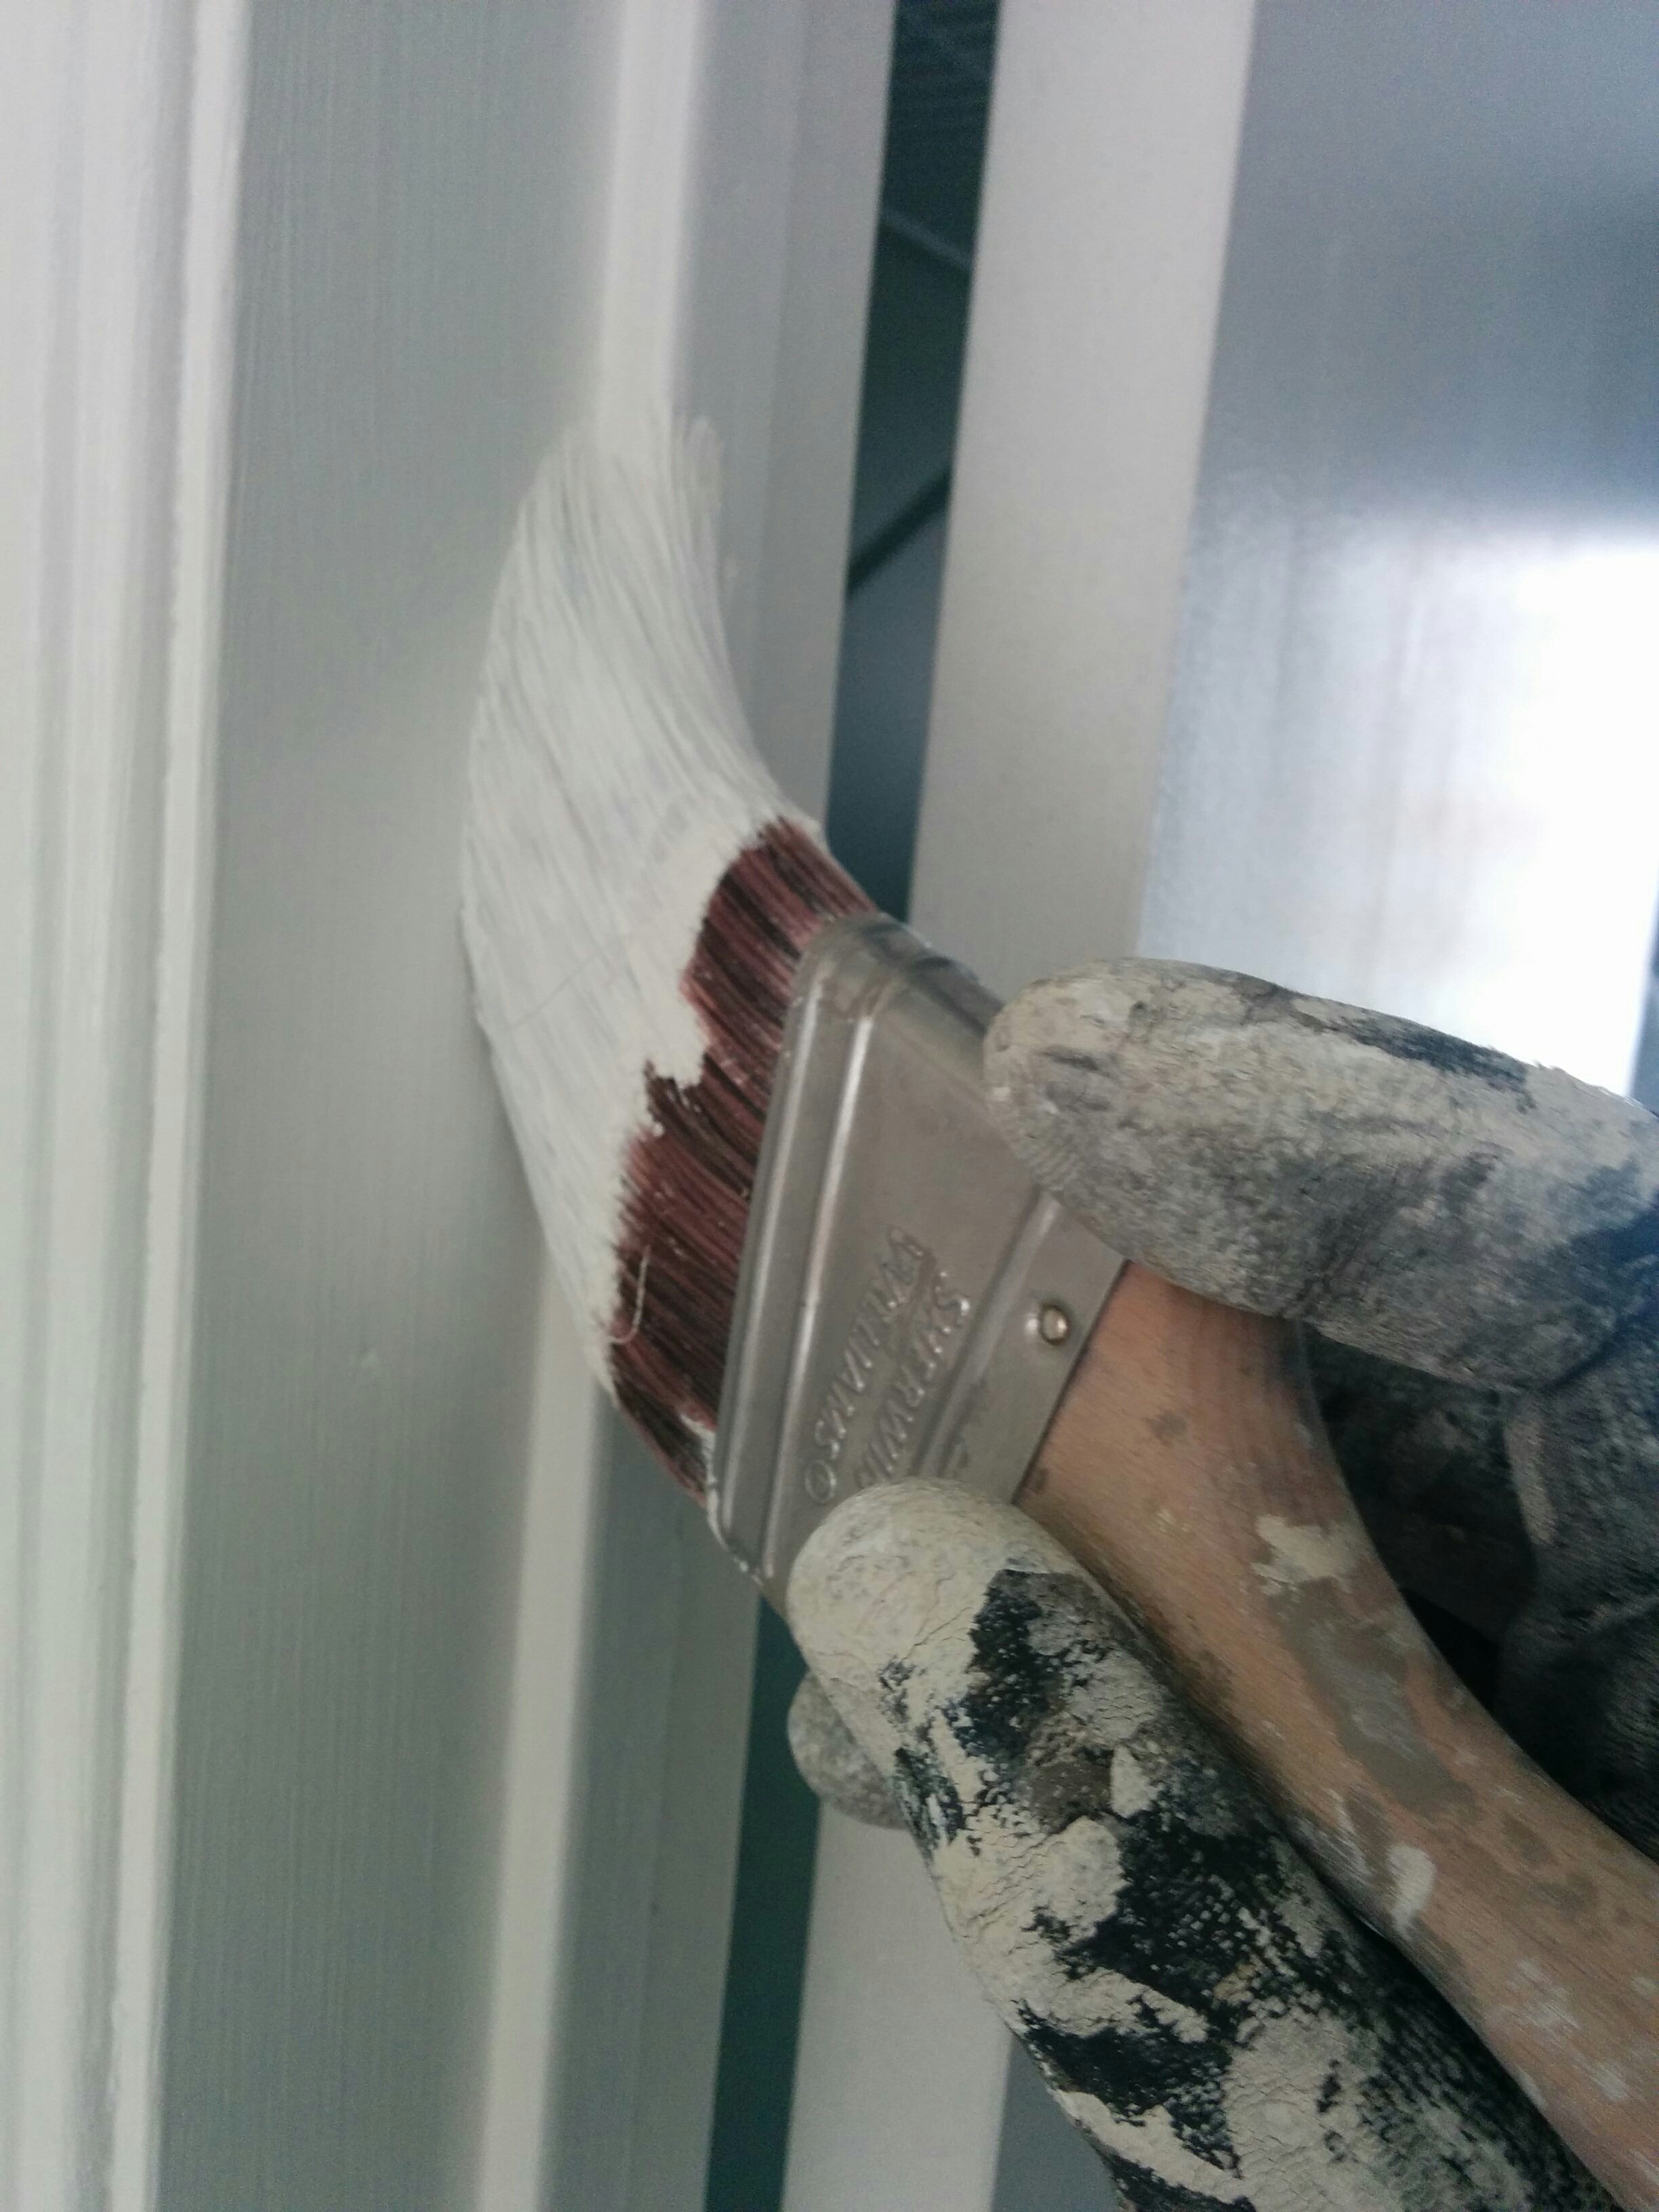
Use long brush strokes – This minimizes brush marks in the final product and gives the smoothest appearance
It’s better to do two thin coats than one thick coat – If the paint is too thick it will drip and sag before it dries
Check on your work before moving on – If you look back on what you’ve done before moving on to the next section you can smooth out any drips and sags before they have a chance to dry.
Final Thoughts
We hope you have enjoyed our short little guide to DIY trim painting. If you’d rather have CAM Painters take care of your painting project why don’t you book a quote online? We’d be happy to transform your home with lasting beauty!