by Craig | Oct 16, 2021 | renovations, Wallpaper installation
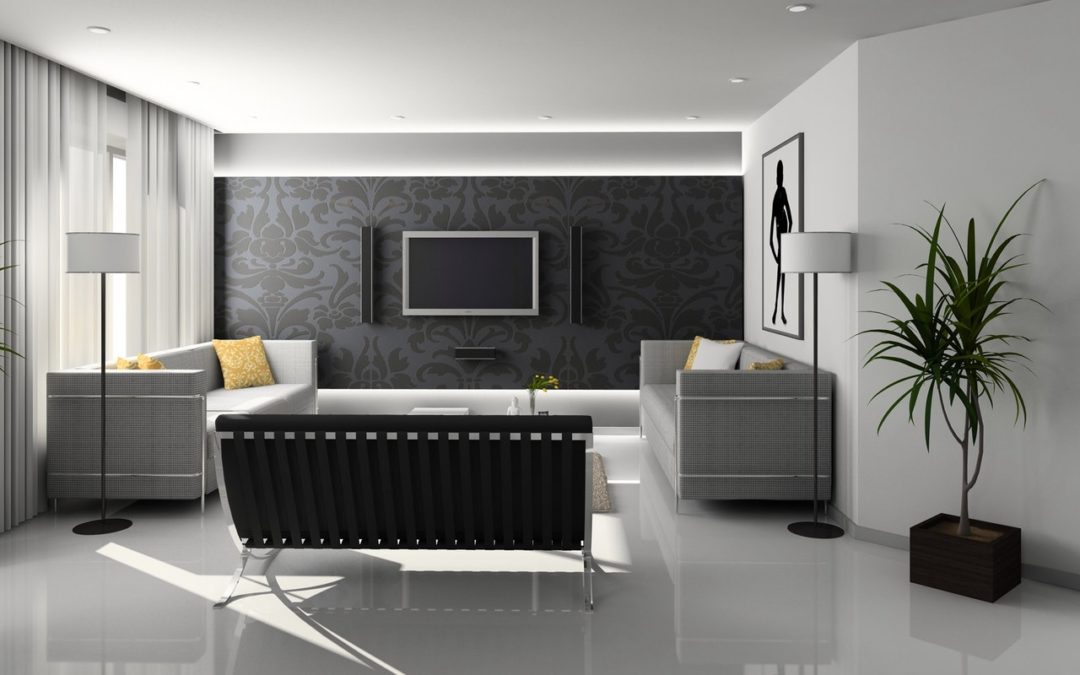
Many people like to have wallpaper installed on the same wall as their TV is mounted, which is a great look for your Toronto home. But this begs the question, should you have the wallpaper installed first, or the TV mounted to the wall first?
To answer this question we have guest blogger Gordon Cameron from TEC.works taking us through the process of installing a TV wall mount on a wall that will be wallpapered. We don’t want any extra holes put in our wallpapered wall for fishing wires, so here is Gordon’s fool-proof method for ensuring a properly positioned TV that keeps all wallpaper intact:
Getting exactly the right position for a flat panel TV installation requires some planning up front.
- Is the screen the right viewing height from your favourite chair?
- How many other people join you for movie night, and where will they be sitting?
- What about a sound bar? Sound bars typically work best mounted below the screen, but this could push the screen height up if there is a mantle. Speaking of sound, have you sorted the EARC (https://www.hdmi.org/spec21Sub/EnhancedAudioReturnChannel)? If you want good quality audio and depth, EARC is vital.
- How are all the wires for the HDMI inputs, power and possibly an optical cable run from AV components to the TV? How will they be concealed? Do you need to buy some heatshrink sleeving for the cables?
You can get answers to some of these questions with a measuring tape, or even a masking tape outline on the wall. But there is no substitute for actually lifting the TV into the approximate position to get a feel for how it will fit with the room. Each of these tape outlines or temporary lifts is an opportunity to scuff up a beautiful wallpaper job. Here is what I’d recommend to get the TV installed where you want it, without damaging the wallpaper:
- Determine the desired location for the TV, and then decide what sort of wall mount makes most sense. TV wall mounts can be mounted flat against the wall, tilt out a few degrees from the top, or even swivel and tilt. It all depends on your room and seating.
- Mark the studs, install the desired wall mount and then hang the TV
- Run all the cabling. Often there are several HDMI cables, power and possibly optical cables, and they all need to be concealed.
- Once you are satisfied with the installation, remove the cabling and the TV
- Loosen bolts or screws and lags and remove the wall mount
- Have CAM Painters work their magic with the wallpaper installation
- Install wall mount again into existing holes or lags
- Install and level the TV
- Rerun and conceal all the cabling
- Order pizza and enjoy the movie!
Thanks Gordon for the great advice! Here’s a little information about TEC.works:
At TEC.works, we help solve technology headaches for consumers and small businesses. That might mean reviewing consumer bills for cell phones, Internet, TV packages, or home phones and finding less expensive options that are a better fit for your needs. It might mean installing a home theatre system, or a presentation screen in a retail outlet. It might mean troubleshooting WiFi signal strength in a dead spot at your home or business. We’ll find the right technology products or services for you, and then manage them professionally. Because you’ve got better things to do with your time.
READ MORE: Choosing wallpaper for your Toronto home
So if you’re planning on having a TV and wallpaper on the same wall, why don’t you book a quote? With both us and TEC.works it will be a seamless process! Transform your home with lasting beauty!

by Craig | Feb 18, 2018 | Interior Painting, renovations
So you’re planning on renovating your Toronto home?
CAM Painters can help! Everybody loves a bit of home renovation, and the beauty in it is that there are so many ways you can go about renovating your home, even if it is just investing in new interior doors as you’re not really into the old design anymore or having new windows put in. Whether this is through installing a home security camera external or renovating a certain room, there are so many ways to improve a house. However, we believe that painting is at the heart of all home renovation projects! Especially if you like many have decided to get your house painted after replacing doors or windows or add an addition to your house using somewhere like www.majesticdesigns.co.uk. Not only can we do the painting, we can recommend the sequence of painting so that it’s done as efficiently as possible.
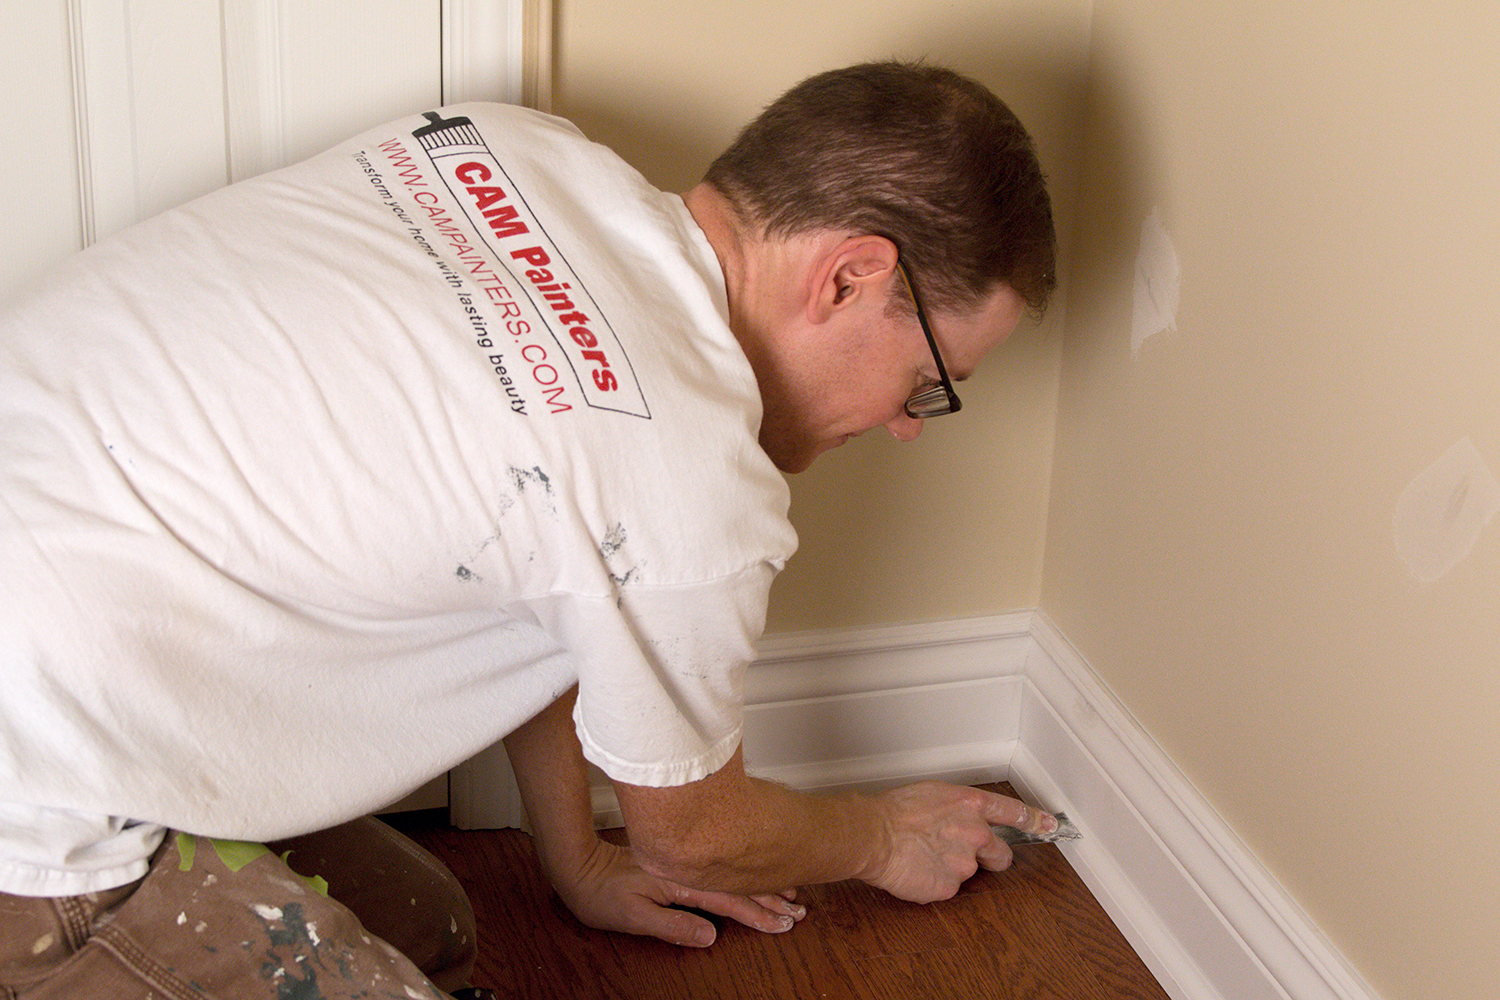
Step 1: After the drywall has been installed, taped and plastered
Prime walls and ceilings, Paint ceilings, Prime and Paint trim while it’s loose
Once the place has been drywalled, taped and mudded it’s a perfect time to have us in to prime and paint the ceilings. Ideally this can be done before flooring goes in. As an added bonus, if the trim and casings are onsite, we can prime and get a coat on those before they are installed.
The benefit of getting the ceiling and walls primed early on in the renovating process is that if there are any deficiencies by the drywallers, these can be seen and rectified. It’s better to have these deficiencies fixed before the floors, trim and other finishes go in.
Getting a coat of primer and paint on the trim while it is loose is more efficient than after it’s installed, so it saves time, which in turn saves money.
Step 2: After flooring and trim has been installed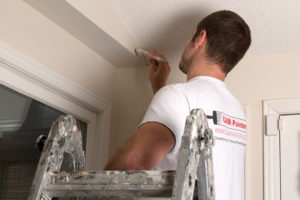
The next phase of renovating would be to have us in after the flooring and trim has been installed.
This phase would consist of the following:
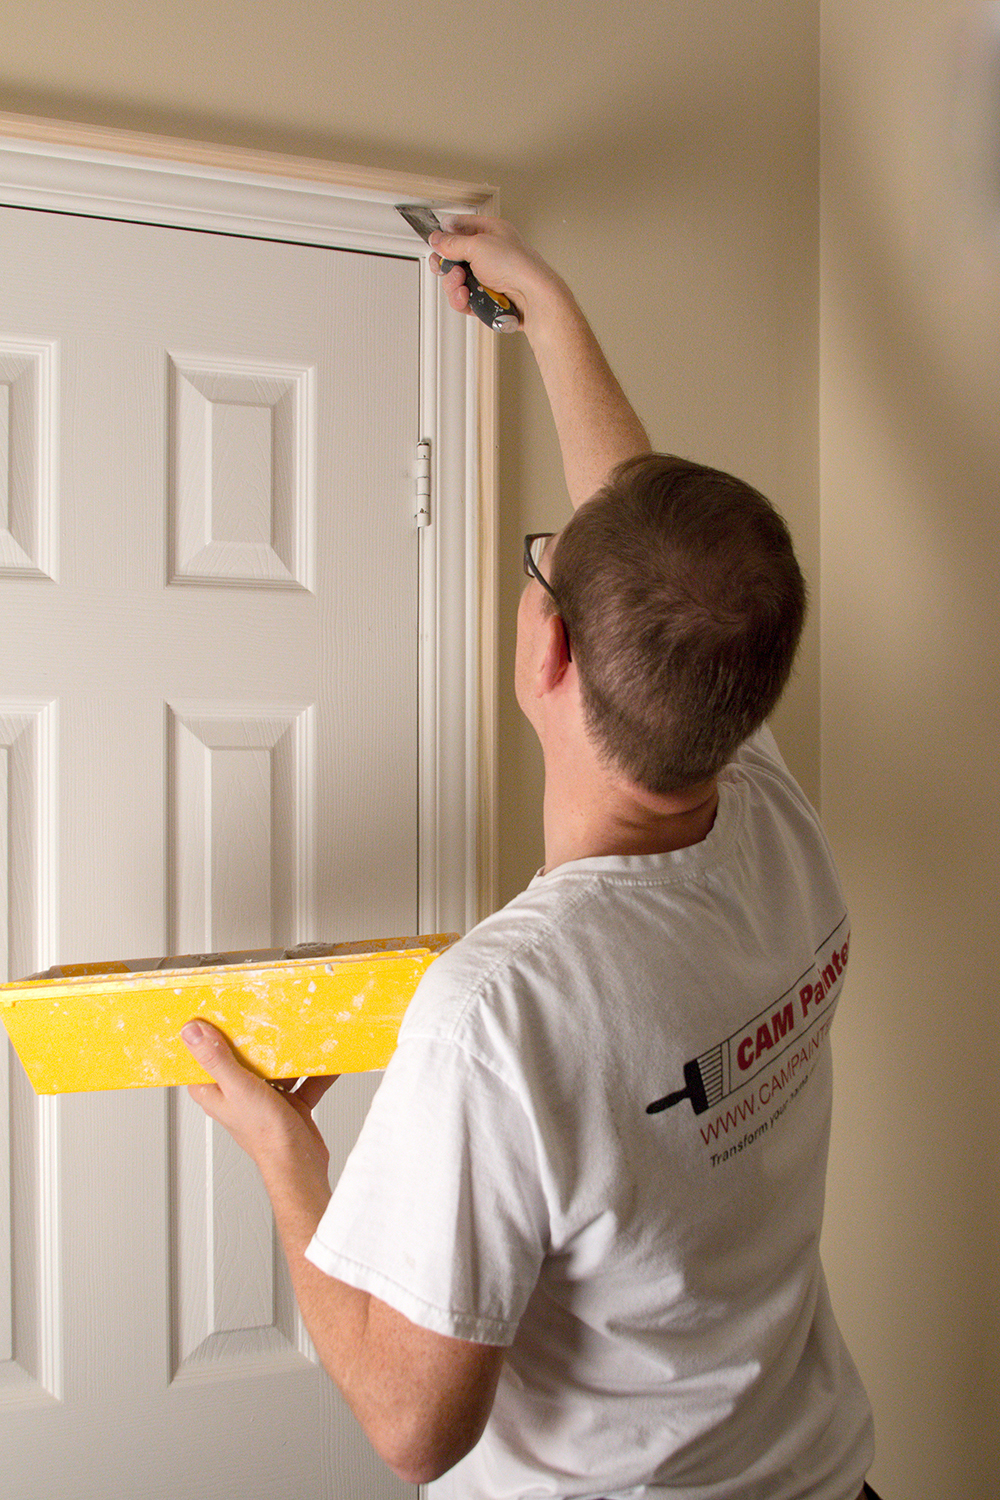
- Filing nail holes in the trim
- Caulking gaps between the trim and the wall
- Painting the walls – 2 coats
- Painting the trim – it already has 1 coat, so it just needs the final coat
At this point the project would be complete, except for touch ups
Step 3: Final touch ups after move in
Although most movers are careful, there is always some wear and tear from moving furniture back into a home. So we recommend allowing for a day of touching up the paint, which can be scheduled shortly after you move in.
Final thoughts to consider when planning your renovation
You should allow enough time in your renovation schedule that painting can occur when there are no other trades. As careful as other trades are, the more of them that are onsite, the more damage that is likely to happen to the paint.
Your contractor should ensure that the HVAC system is running properly prior to having any painting. If a house is too cold, or too dry, it can have a negative impact on how the paint dries. If your HVAC system isn’t working then you need to hire a professional who can help Repair Air Conditioning & Heating System for you. 
Your contractor should also ensure that there is a laundry sink and that water is available to use. We need water to clean brushes, mix patching compound and wet rags to clean off surfaces.
Also, please make sure your contractor has the wood casings and trim are on site a week before painting starts. This allows the wood to acclimatize to the house and do any expansion or contraction before primer and paint is applied.
If you’d like to have CAM Painters handle the painting portion of your renovation project why don’t you book a quote? We’d be happy to Transform your home with lasting beauty!