by Craig | Feb 17, 2023 | drywall repair, Interior Painting
Introduction
Cracks in walls can be a major cause for concern, especially if you live in an older home. The thought of water damage or structural issues is frightening, but it’s also possible that your wall cracks are caused by something as simple as temperature changes. If you want to know why your walls keep cracking and what you can do about it, read on:
If you have a cracked wall in your home, the first thing that comes to mind is usually water damage.
Water damage is one of the most common causes of cracks in walls and can happen in several different ways:
- Flooding from storms or natural disasters
- Leaks from plumbing problems (running toilets) or roof leaks
- Condensation buildup inside your home due to poor insulation or ventilation
If this is the case, the source of water infiltration must be found and rectified. This can involve a roofer or other exterior contractor in the case of water penetrating from outside. If it’s a plumbing issue, then a plumber needs to be called to locate and fix the leak.
Cracks from expanding and contracting materials.
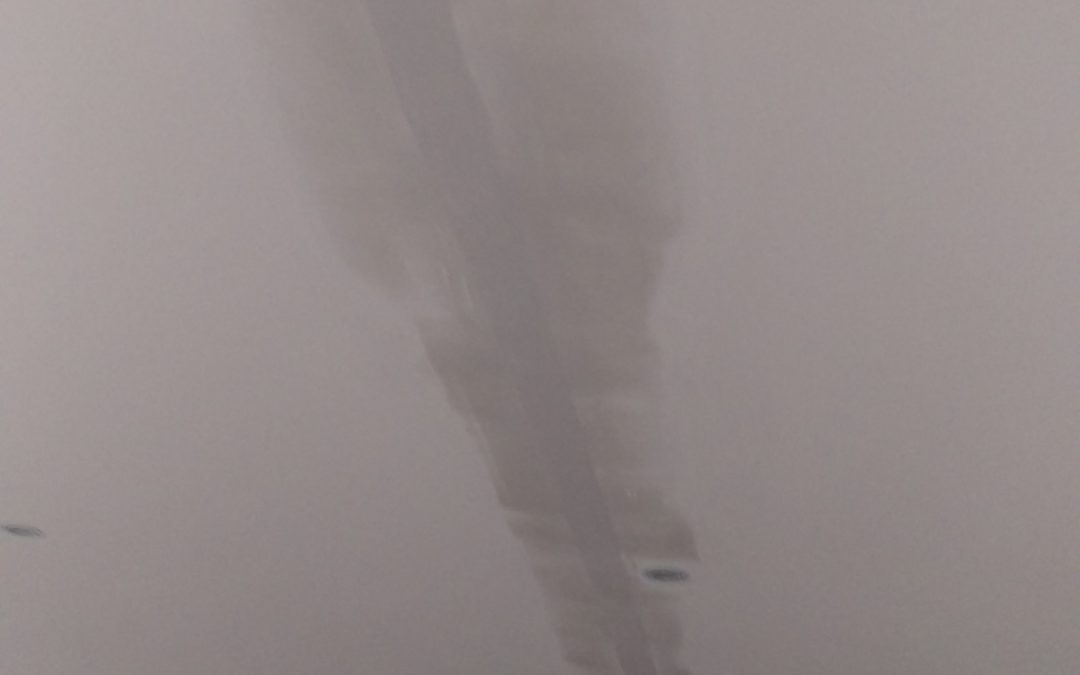
Construction materials expand and contract with seasonal changes – they expand during warm weather and shrink during colder temperatures. However, not all building materials expand and contract at the same rate, and that can be a problem. Drywall/plaster expands and contracts at a different rate than wood, which expands and contracts at a different rate than metal, then tile and so on… So wherever two different materials join, such as a door casing against a wall there’s a greater chance of cracking. In these cases we use a very flexible caulking that can tolerate the normal shifting of the 2 materials without cracking.
Cracks from movement in the foundation or crawl space.
If you have cracks in your walls, it’s likely that they’re from movement in the foundation or crawl space. The most common cause of this kind of cracking is frost heave; this occurs when water freezes in the soil and expands, pushing up against your wall. Soil settling is another possibility for wall cracking–the ground under your house may settle due to erosion or shifting soil conditions, which could cause cracks to appear on your interior walls as well as exterior ones (if they’re exposed).
Cracks caused by high winds, earthquakes and construction.
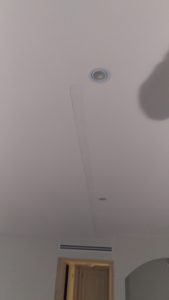
If you live in an area where high winds are a common occurrence, cracks can be caused by the force of the wind.
Cracks can also be caused by earthquakes. In Toronto we don’t usually get many natural earthquakes, however we get a lot of man-made earthquakes called “construction”! Whether it’s roadwork or building a condo these activities shake the ground and can cause cracks to show up in your walls. In this case, it’s best to wait until the construction is over and then have us in to fix the cracks.
Conclusion
We hope that this article has helped you better understand the causes of cracks in drywall and plaster. Some of these causes are beyond our scope of expertise as painters, but we can always refer you to a reputable professional to help you out. Once they have eliminated the cause of the cracks we can come in and make your walls look as good as new.
by Craig | Mar 6, 2017 | drywall repair, Interior Painting
Oops, young Johnny was playing hockey indoors and shot a puck into the wall of yo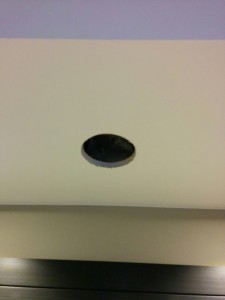 ur Toronto home, and has left you with a hole in your drywall!
You hosted a Super Bowl 2017 party with some die-hard Atlanta Falcons fans, and the brunt of their frustrations ended up on a 1’x1′ section of wall. You sigh, knowing that you needed some work done anyway. The roof has needed a roofing Aurora company to take a look at it for a while anyway, but now you’ve got another job that needs patching up around the home.
What are you going to do? Do you have to hire two different contractors; a handyman to patch the hole and a painter to paint the wall after the patch?
Actually, CAM Painters can fix that hole in your drywall and then paint your whole house from top to bottom after! Or we can just repaint the wall that had the hole in it.
If you want your whole house drywalled your better to get a specialist in, but it’s hard to get a drywall contractor in for one patch. My rule of thumb is that if the repair is less than the size of a sheet of drywall you’re far better off hiring one contractor to do both patch and paint, rather than deal with two contractors.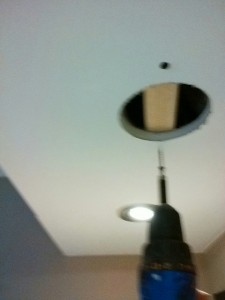
What’s our process for drywall repairs?
First order of business, we want to keep dust to a minimum. Drywall patching requires sanding patching compound around the edge of the repairs. There are a few ways we use to minimize dust:
- We drape plastic on door openings to minimize dust travelling from one room to another.
- We apply our patching compound as smooth as possible. If the patching compound lumpy more sanding needs to be done than if the compound is smooth to start with.
- We use sanders that hook up to HEPA filter vacuums, so that less dust gets into the atmosphere in the first place.
We also ensure that the repaired area is reinforced to prevent future damage. This involves putting wood 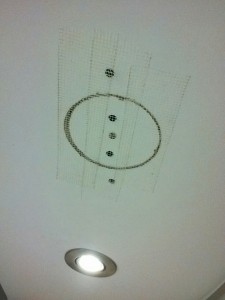 strapping behind the repair for extra support if necessary. We want to make sure that we give the best possible service to our customers so we like to take a look at what we do each time and see where we can secure the 100%, for instance, we have work vehicles that we use to transport our equipment and ourselves to the designated area, so it is important that we make sure our vehicles have, at the very least, cheap business van insurance, as well as insure what is within the van in case of any incidents or issues so we are covered in any and all eventualities in our line of work.
If you’d like more detail about our patching process read this DIY post: How to Patch a Hole in my Toronto Home
If you have some holes in your drywall that you need repaired why don’t you book a quote? We’d love to Transform Your Home With Lasting Beauty!
by Craig | Jan 23, 2017 | DIY, drywall repair
Homes expand, contract, and shift with time, especially given how widely the temperature can vary season to season in Toronto. Because of this shifting drywall seams can crack over time. Cold weather can also lead to pipes bursting, causing water damage to drywall and you may need to go to somewhere like Apollo Plumbing (check it out here) to find a plumber to fix it. However, minor damage can be repaired with some DIY, so here’s what to do:
Supplies List:
- Dropsheets
- Flexible putty knives 1″, 6″, and 10″ or 12″
- Mud pan
- Drywall tape – I prefer FibaFuse
- Drywall screws
- Stud finder
- Durabond 90 or 45
- Sheetrock 45
- Sandpaper & sanding block
- Brush, roller, tray etc. for repainting after the crack is patched
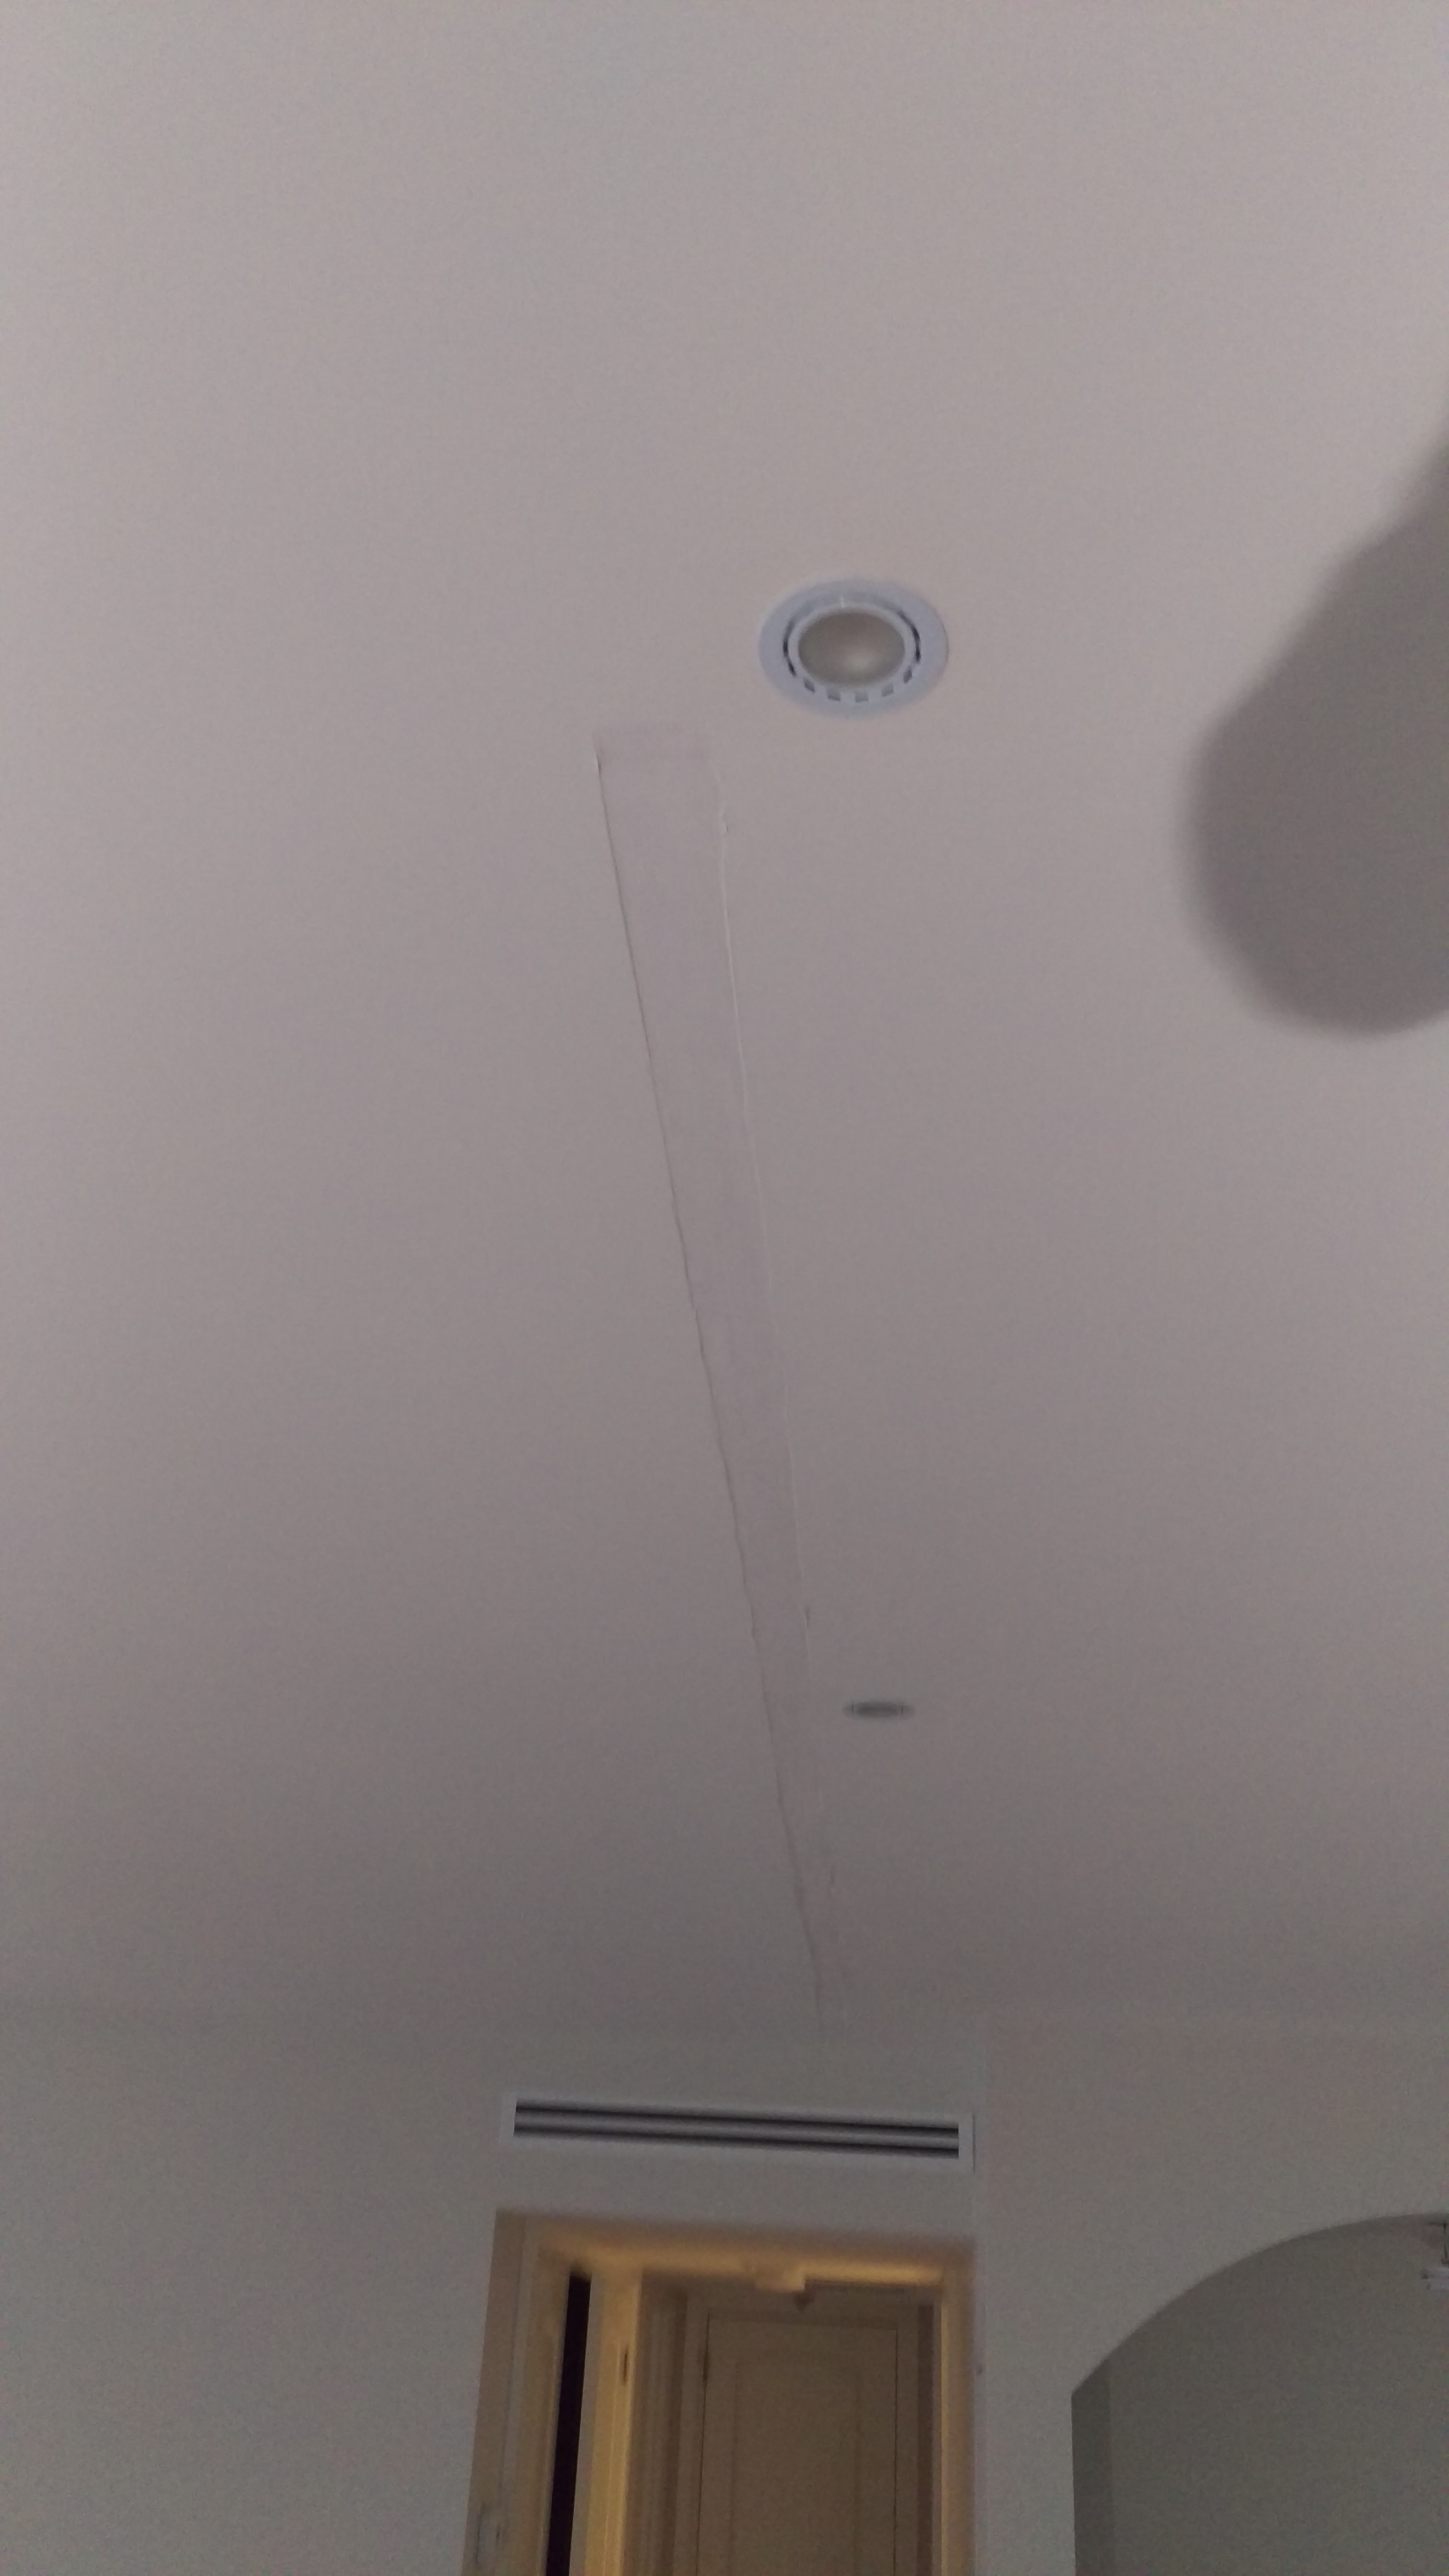
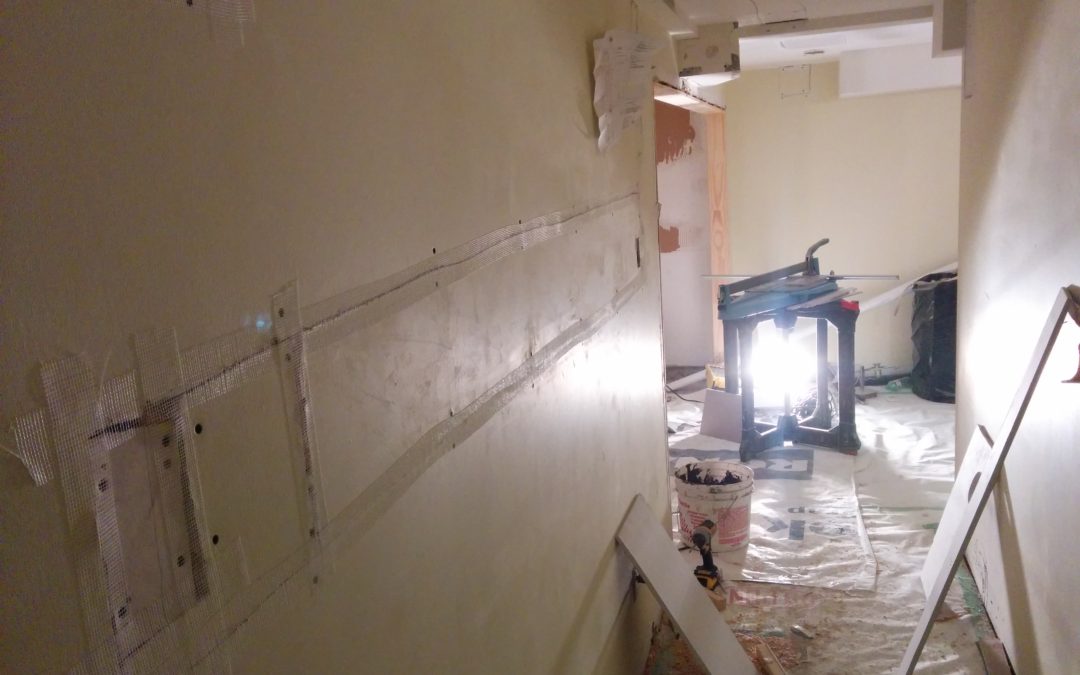
Old drywall tape removed, drywall seam exposed
Step 1: Remove the old drywall tape
If the tape is exposed you’ll just have to grab it and slowly pull. As you pull the layer of plaster on top will crumble and the drywall tape should come out in one long piece. If the tape isn’t exposed take a putty knife and dig until you expose the tape, then you’ll be able to pull it out of the wall or ceiling. As you pull out the old drywall tape it will make a channel, which you can use to embed your new drywall tape into. So make sure the channel is wide enough to fit the drywall tape you’re planning on using.
Step 2: Inspect for water damage
Once the tape has been removed it’s a good idea to make sure that there’s no water damage underneath. If the water damage is minor, you may want to find some information on drying drywall after water damage and with that, you should be able to solve it yourself. Although, you may also want to call a plumber who can find the source of the water, unless you can do so yourself. If the water damage is more severe, you should probably find a company which offers residential water damage restoration services and have them fix it for you.
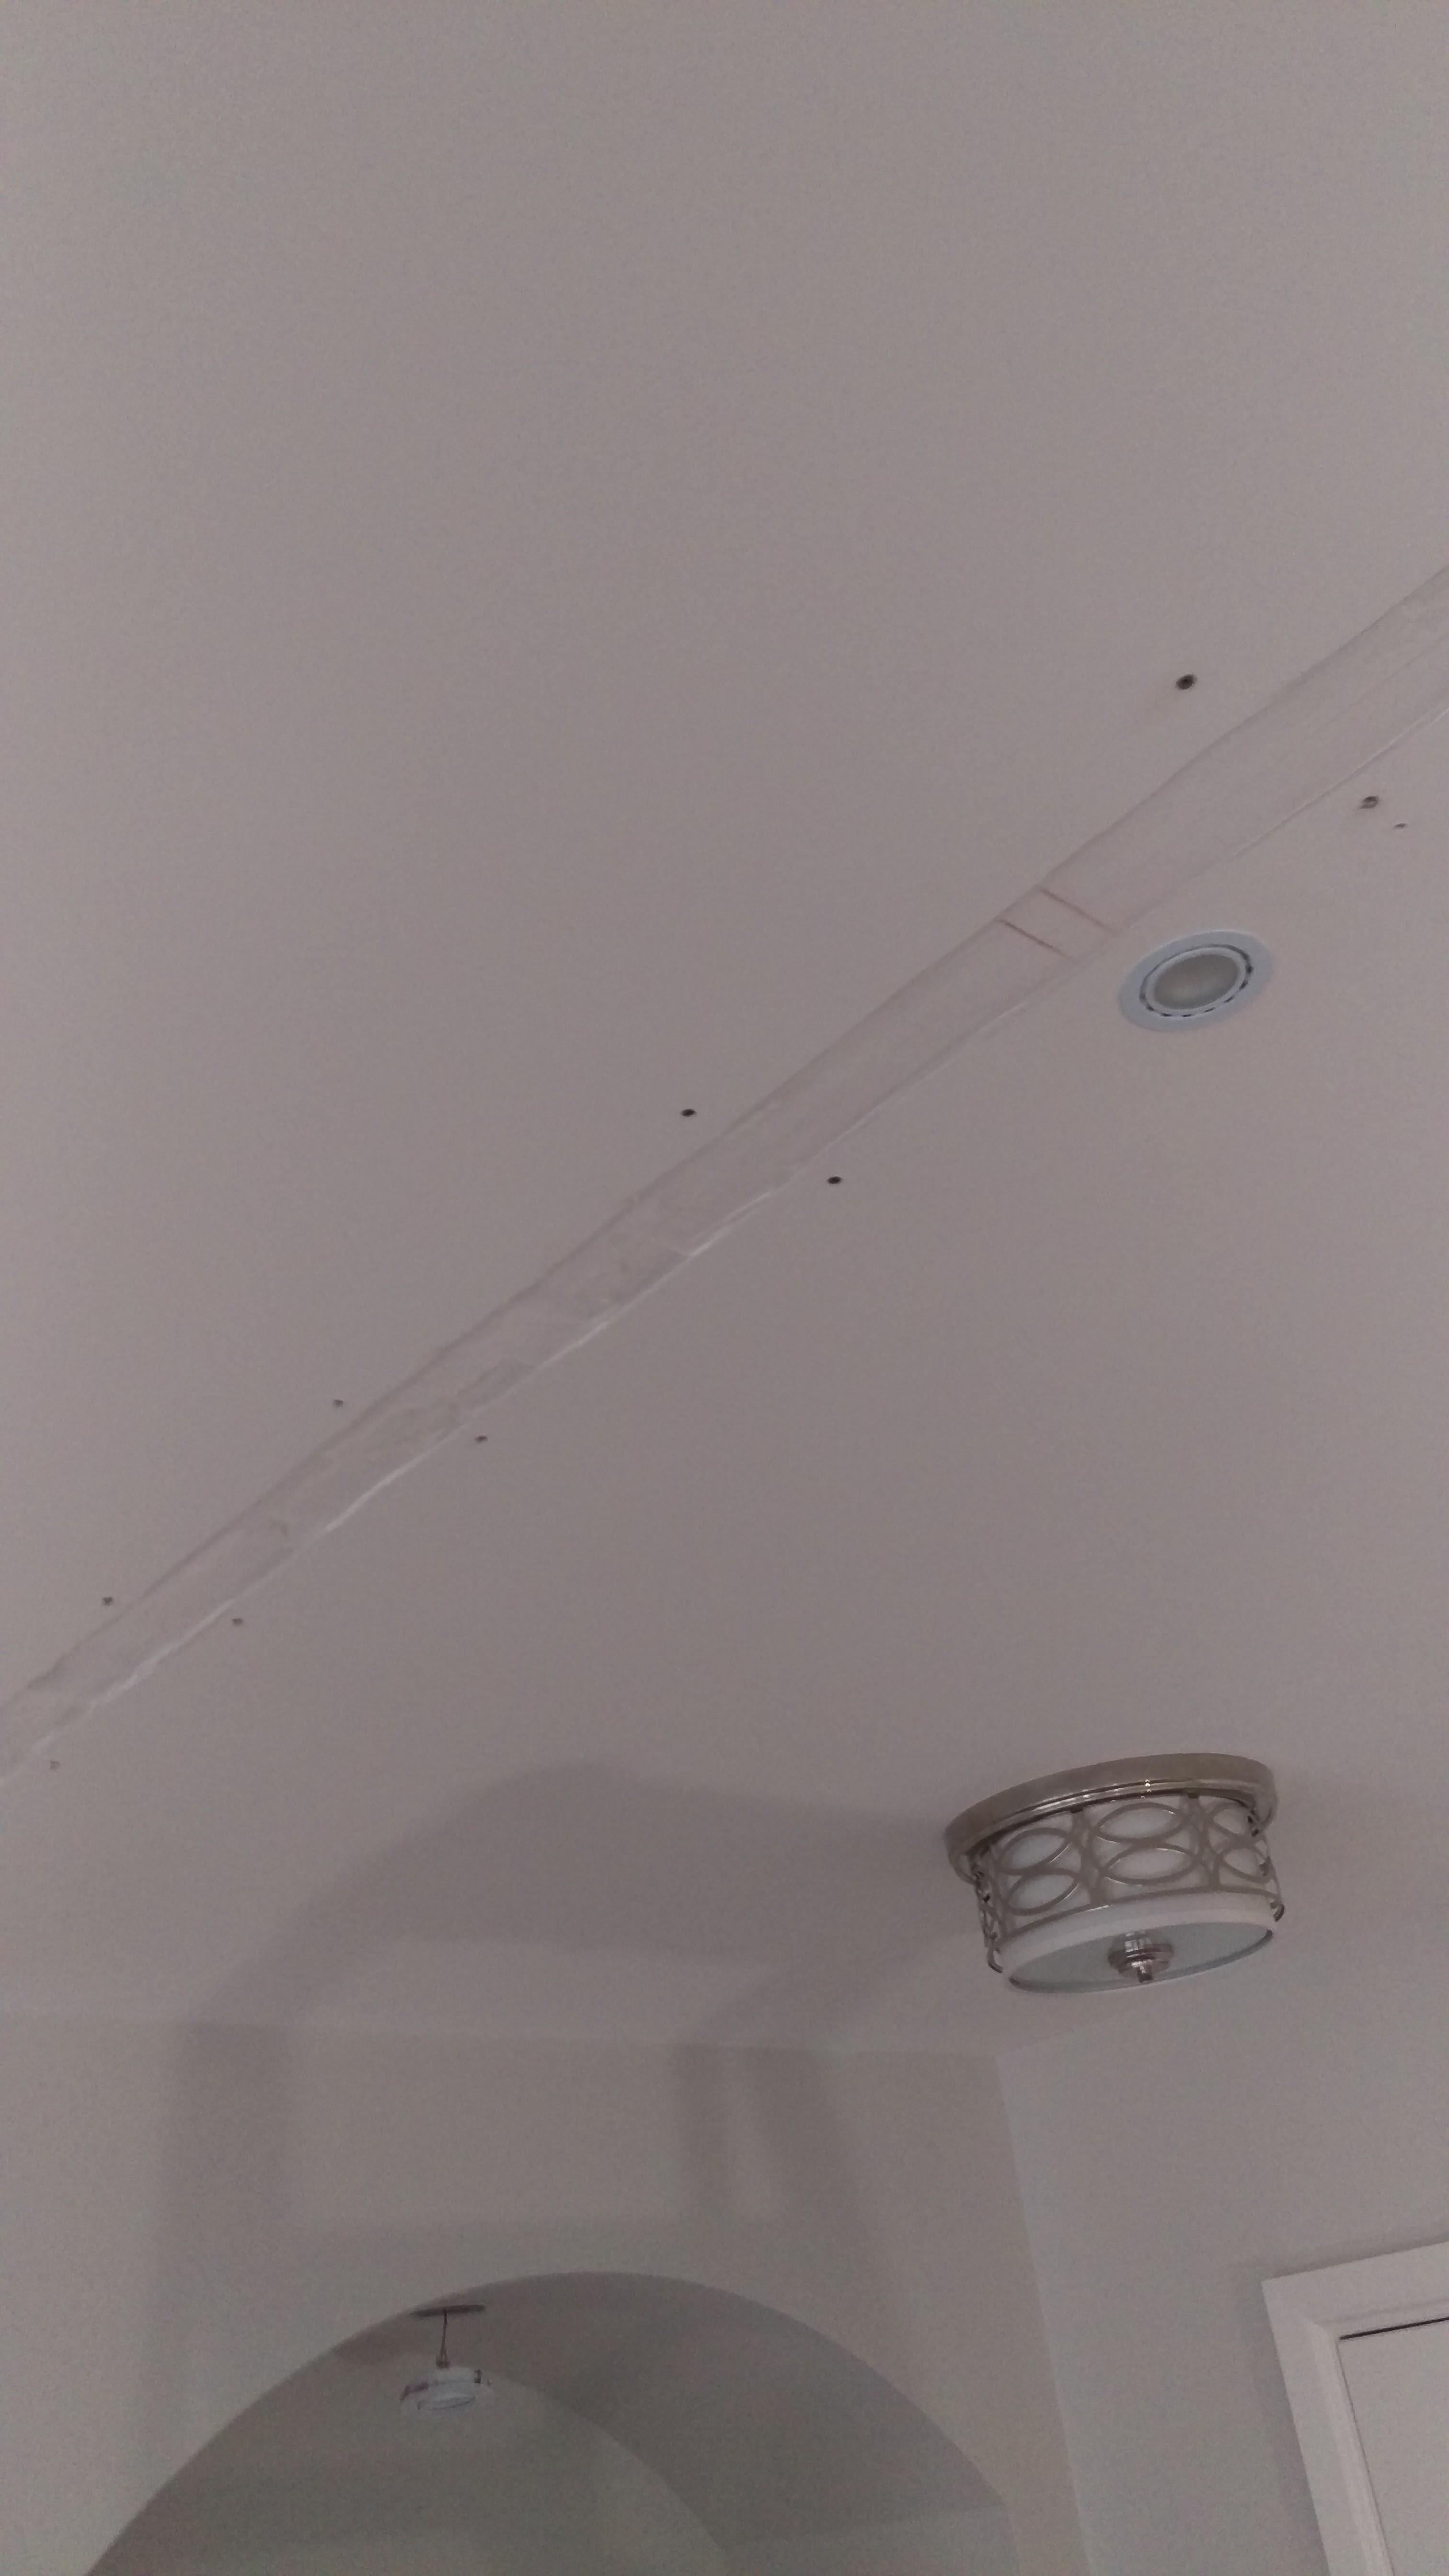
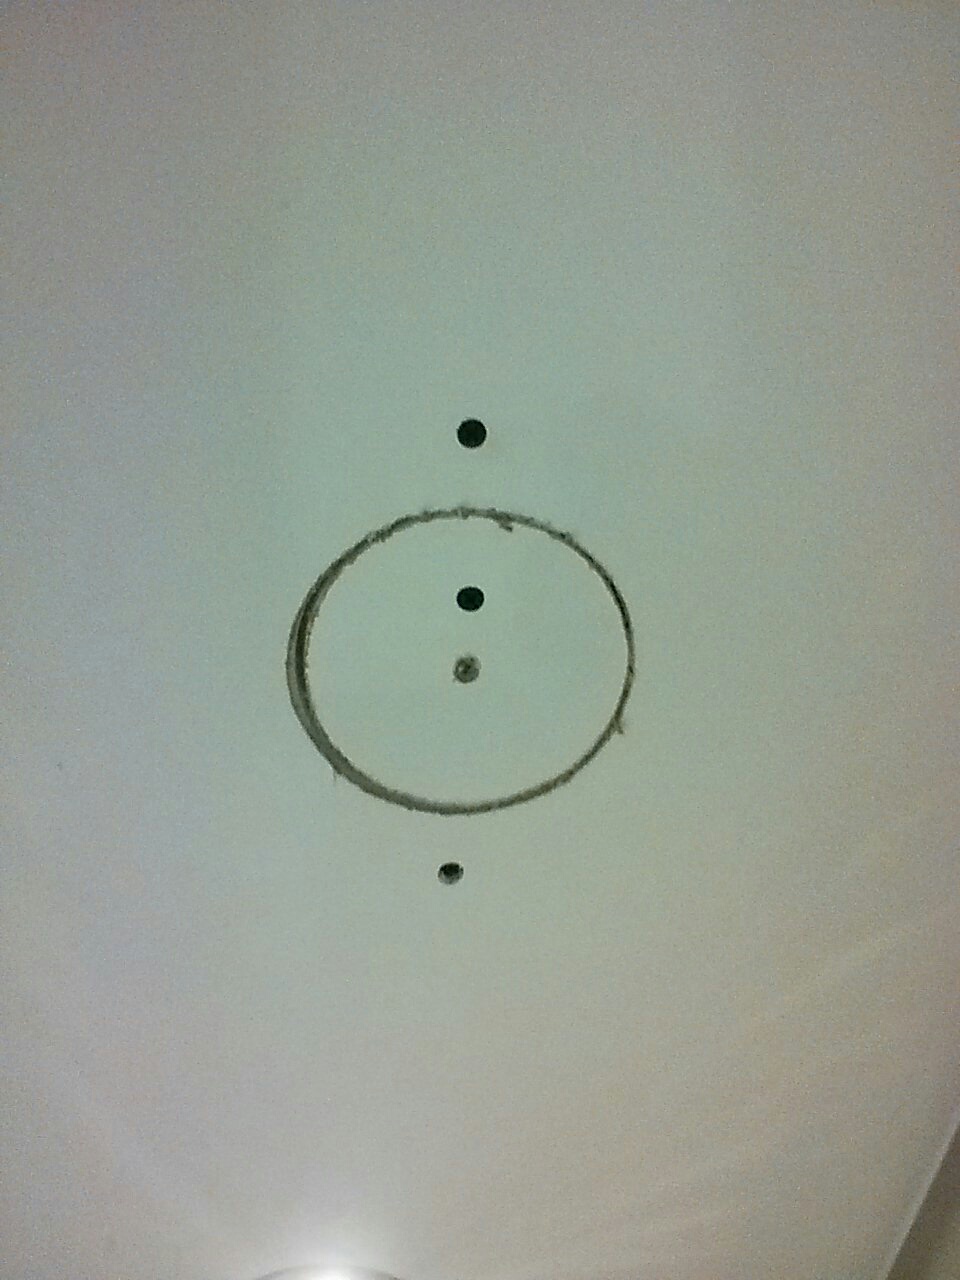
Step 3: Stabilize the crack with drywall screws
the crack is stabilized with screws
Use your stud finder to find the studs underneath the wall and then screw into the stud on either side of the crack as shown. This will help stabilize the crack so that the drywall doesn’t shift as much.
Pro tip: when screwing the screws into the drywall make sure you sink the head of the screw into the paper on the surface of the drywall, but not so deep that you tear the paper. Make sure that the screws are of good quality as this is more likely to prevent the seam from cracking again. You can browse all sorts of screws from Tradefix Direct.
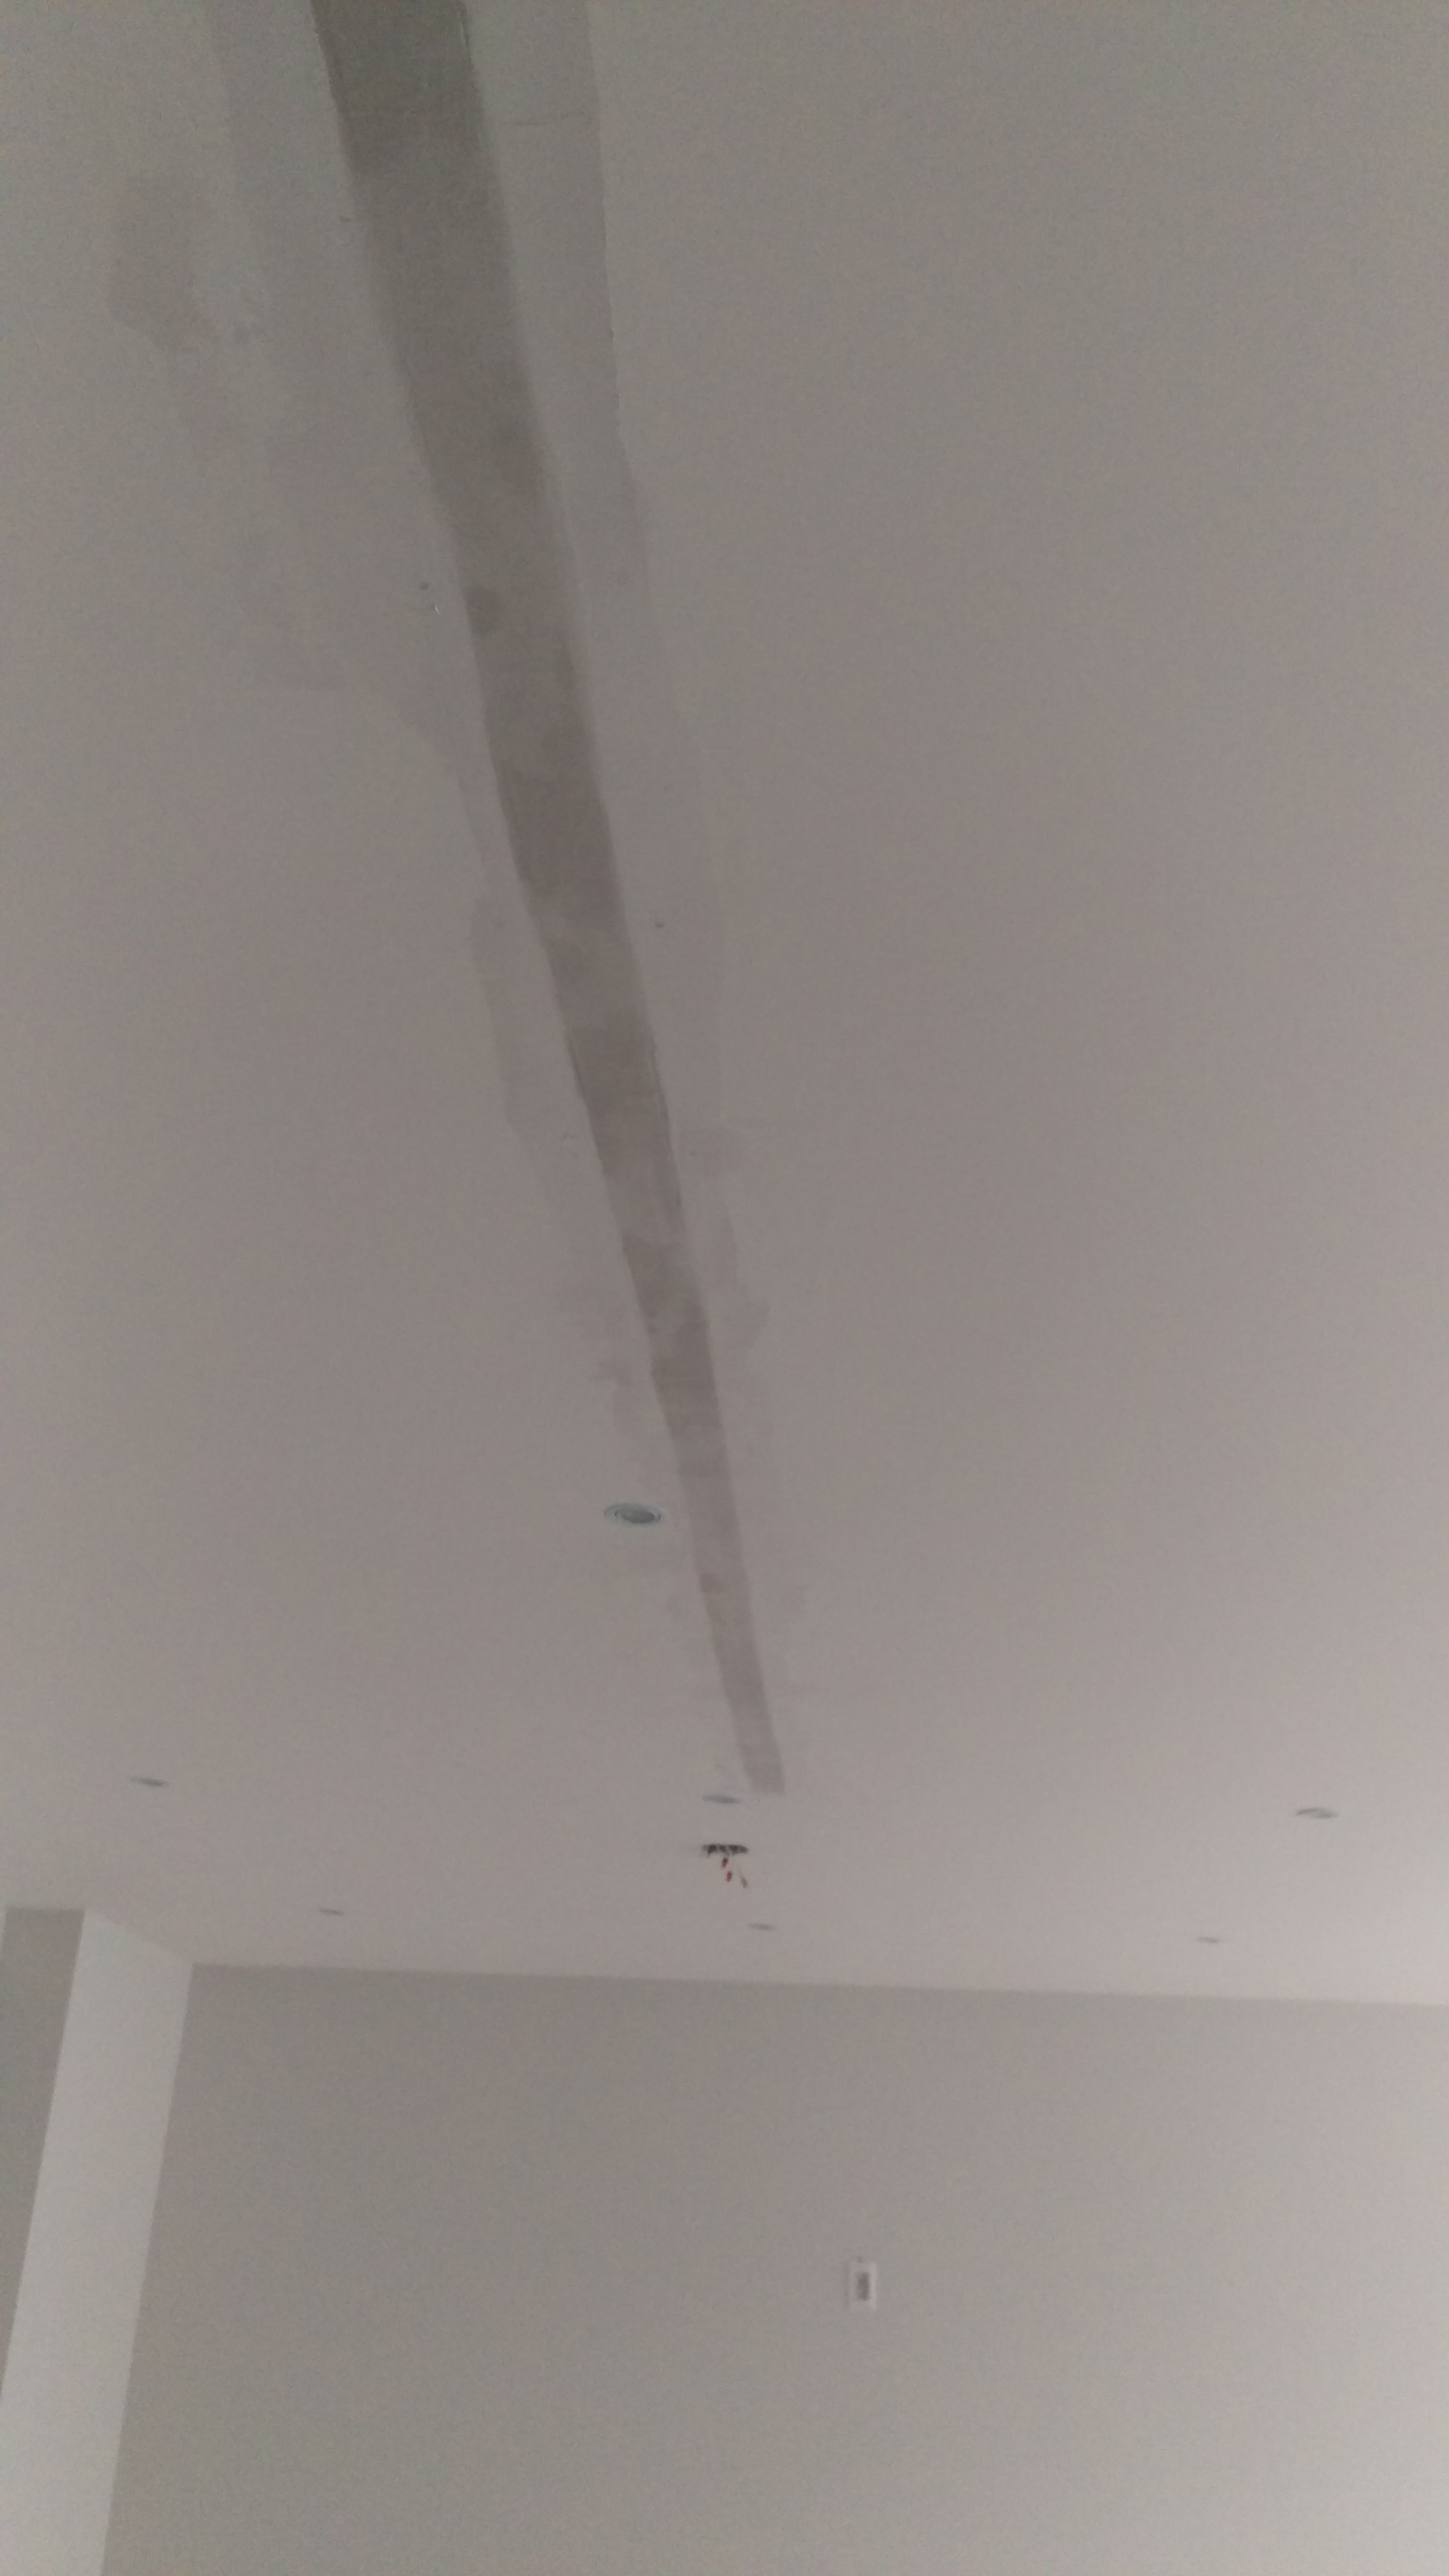
Step 4: Embed the drywall tape
When repairing cracks I prefer to use FibaFuse tape instead of regular mesh tape or paper tape. FibaFuse I have found to be the most durable, and when making a repair to an area that’s cracked I want to make sure that the crack won’t come back.
FibaFuse is embedded
Pro tip: FibaFuse is a fiberglass tape, so it’s best to use gloves when handling it.
When you mix your Durabond you want the consistency to be a little thinner than peanut butter. Fill the channel with Durabond and embed the tape, smoothing afterward with a drywall knife to eliminate any air pockets underneath.
Scrape off any excess Durabond before it dries because it is hard to sand once dry. Let the Durabond dry before the next step.
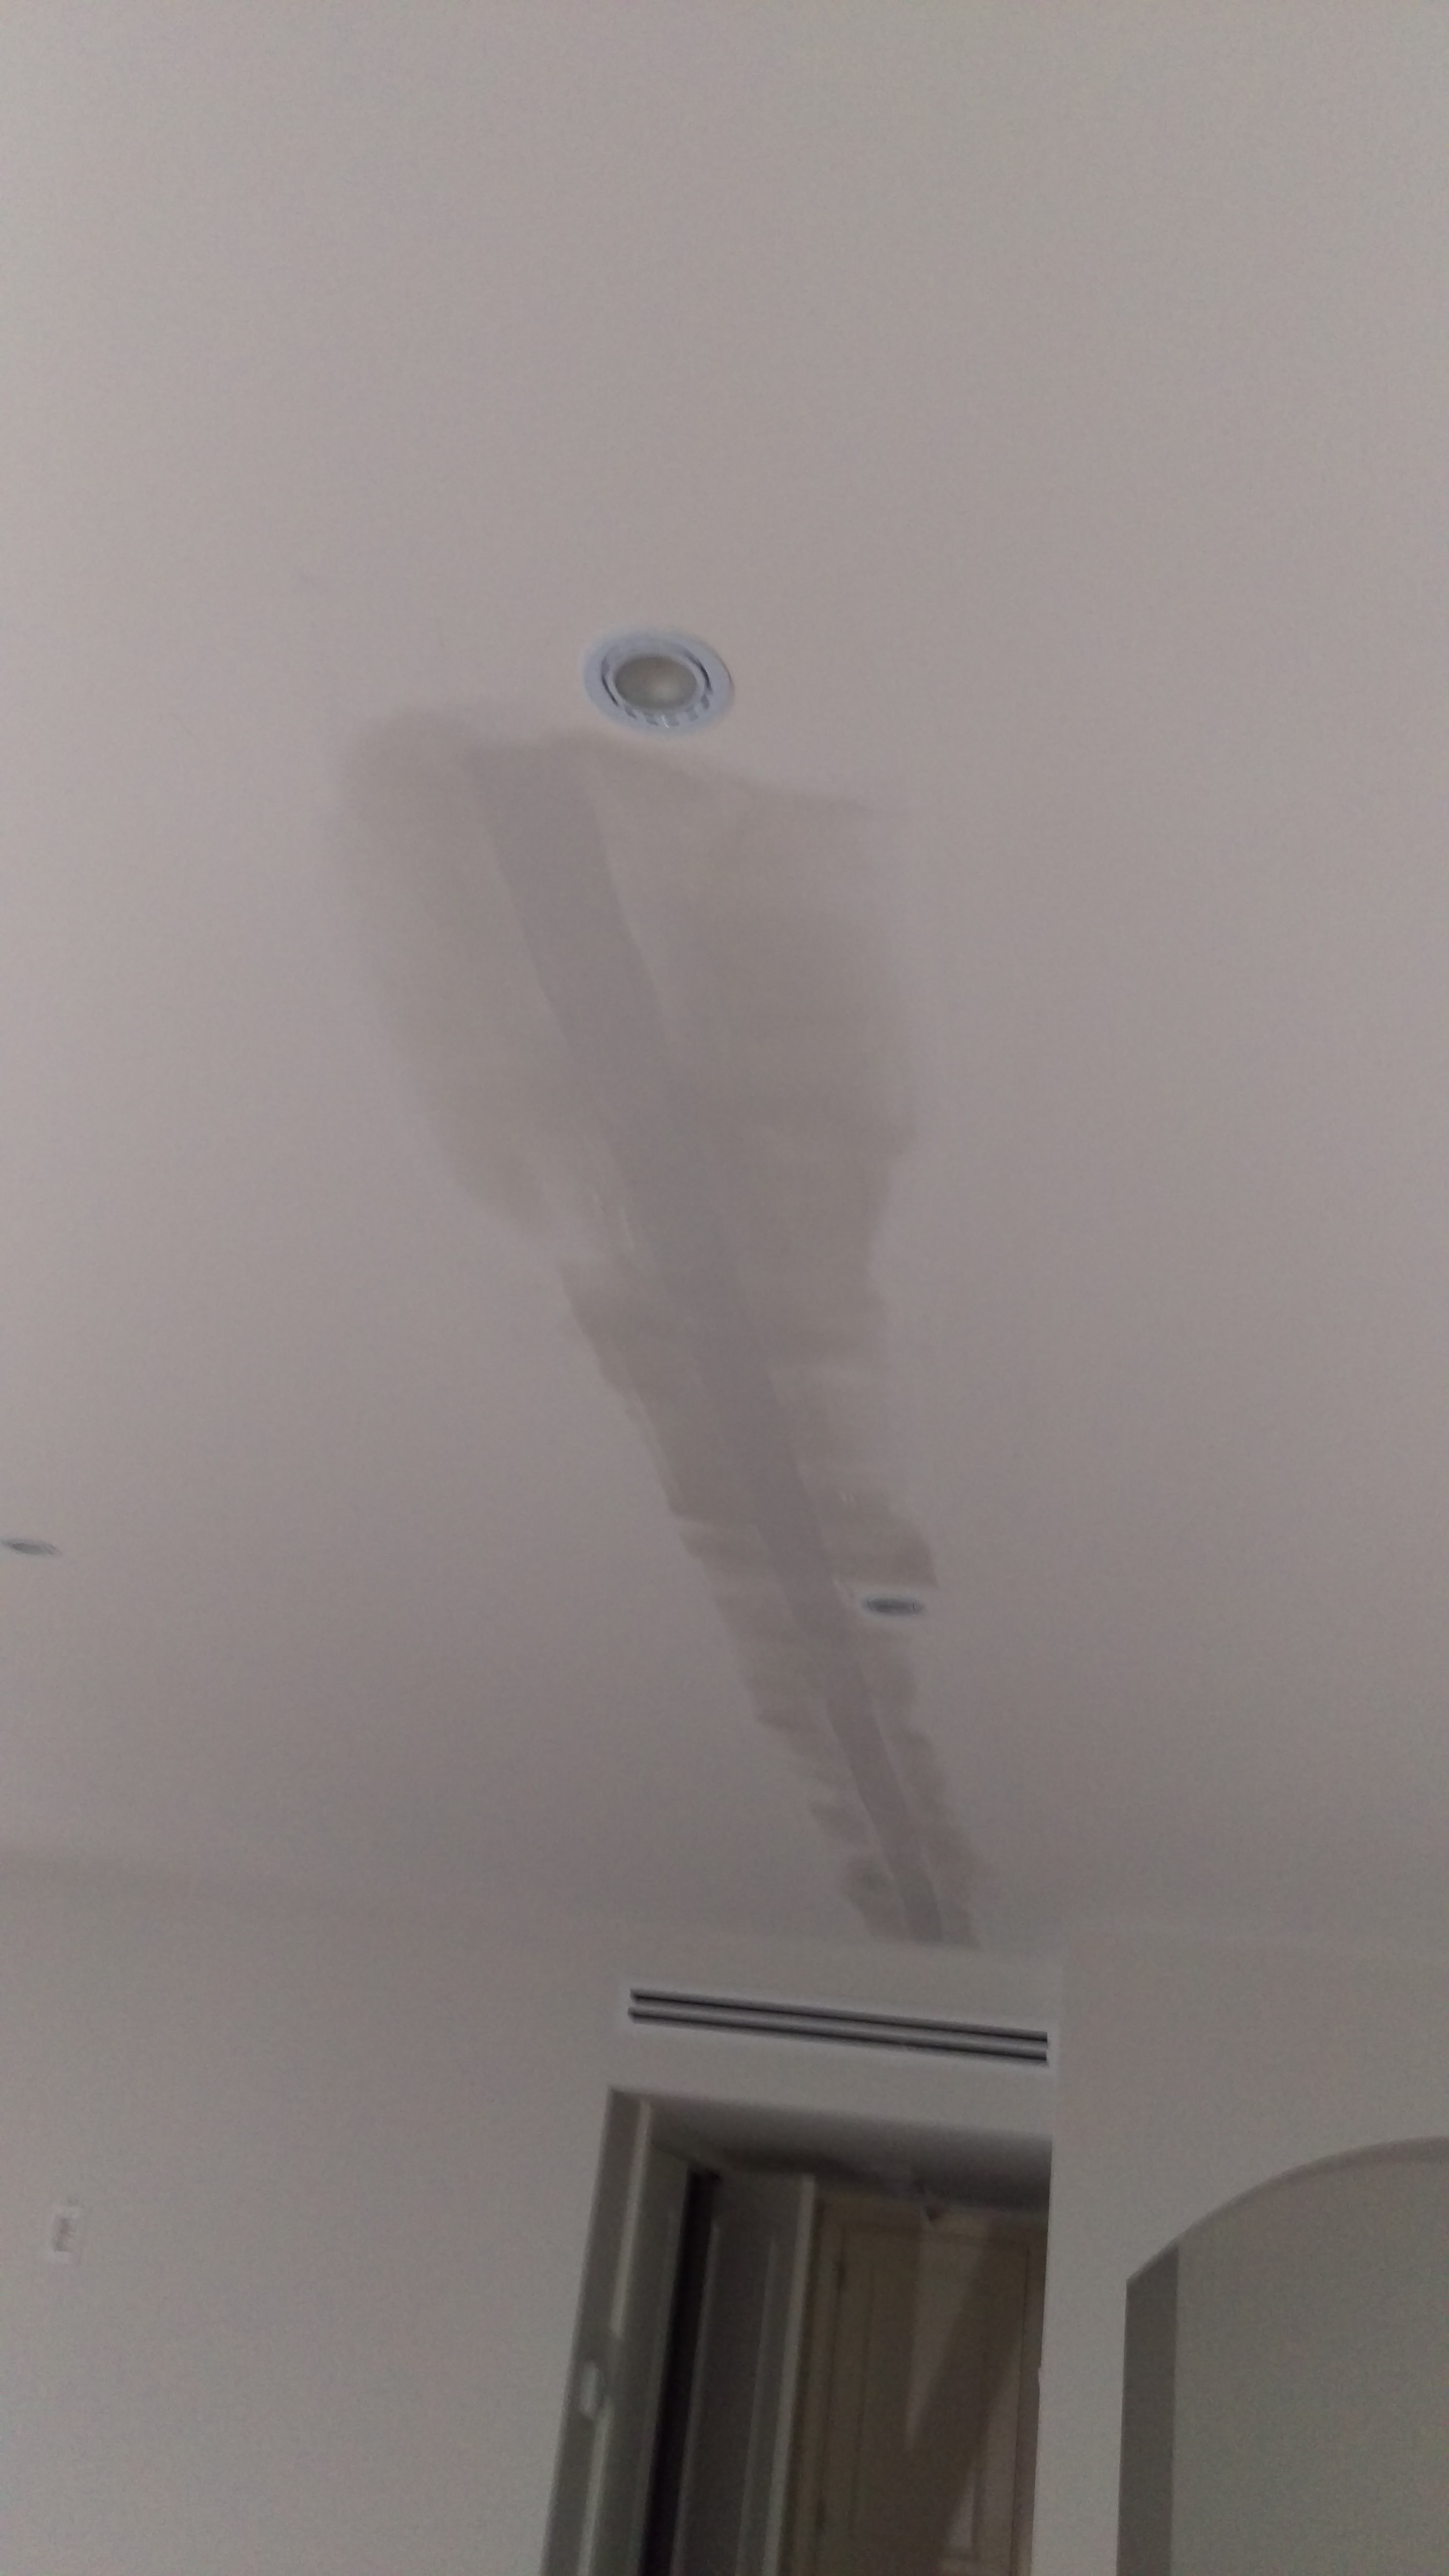
tape is skim coated
Step 5: Skim coat the tape
For this step we use Sheetrock, either the powder or the pre-mix, because it is much easier to sand later. Use your large putty knife and coat over both the tape, screws and an area 4-6″ on either side. Make sure to do one long final pass to keep things as smooth as possible.
Step 6: Repeat step 5
Step 7: Sand the area
Go over the area with sandpaper and sand it smooth. It’s helpful to run your hand on the surface, you will feel ridges in the plaster that you might not see.
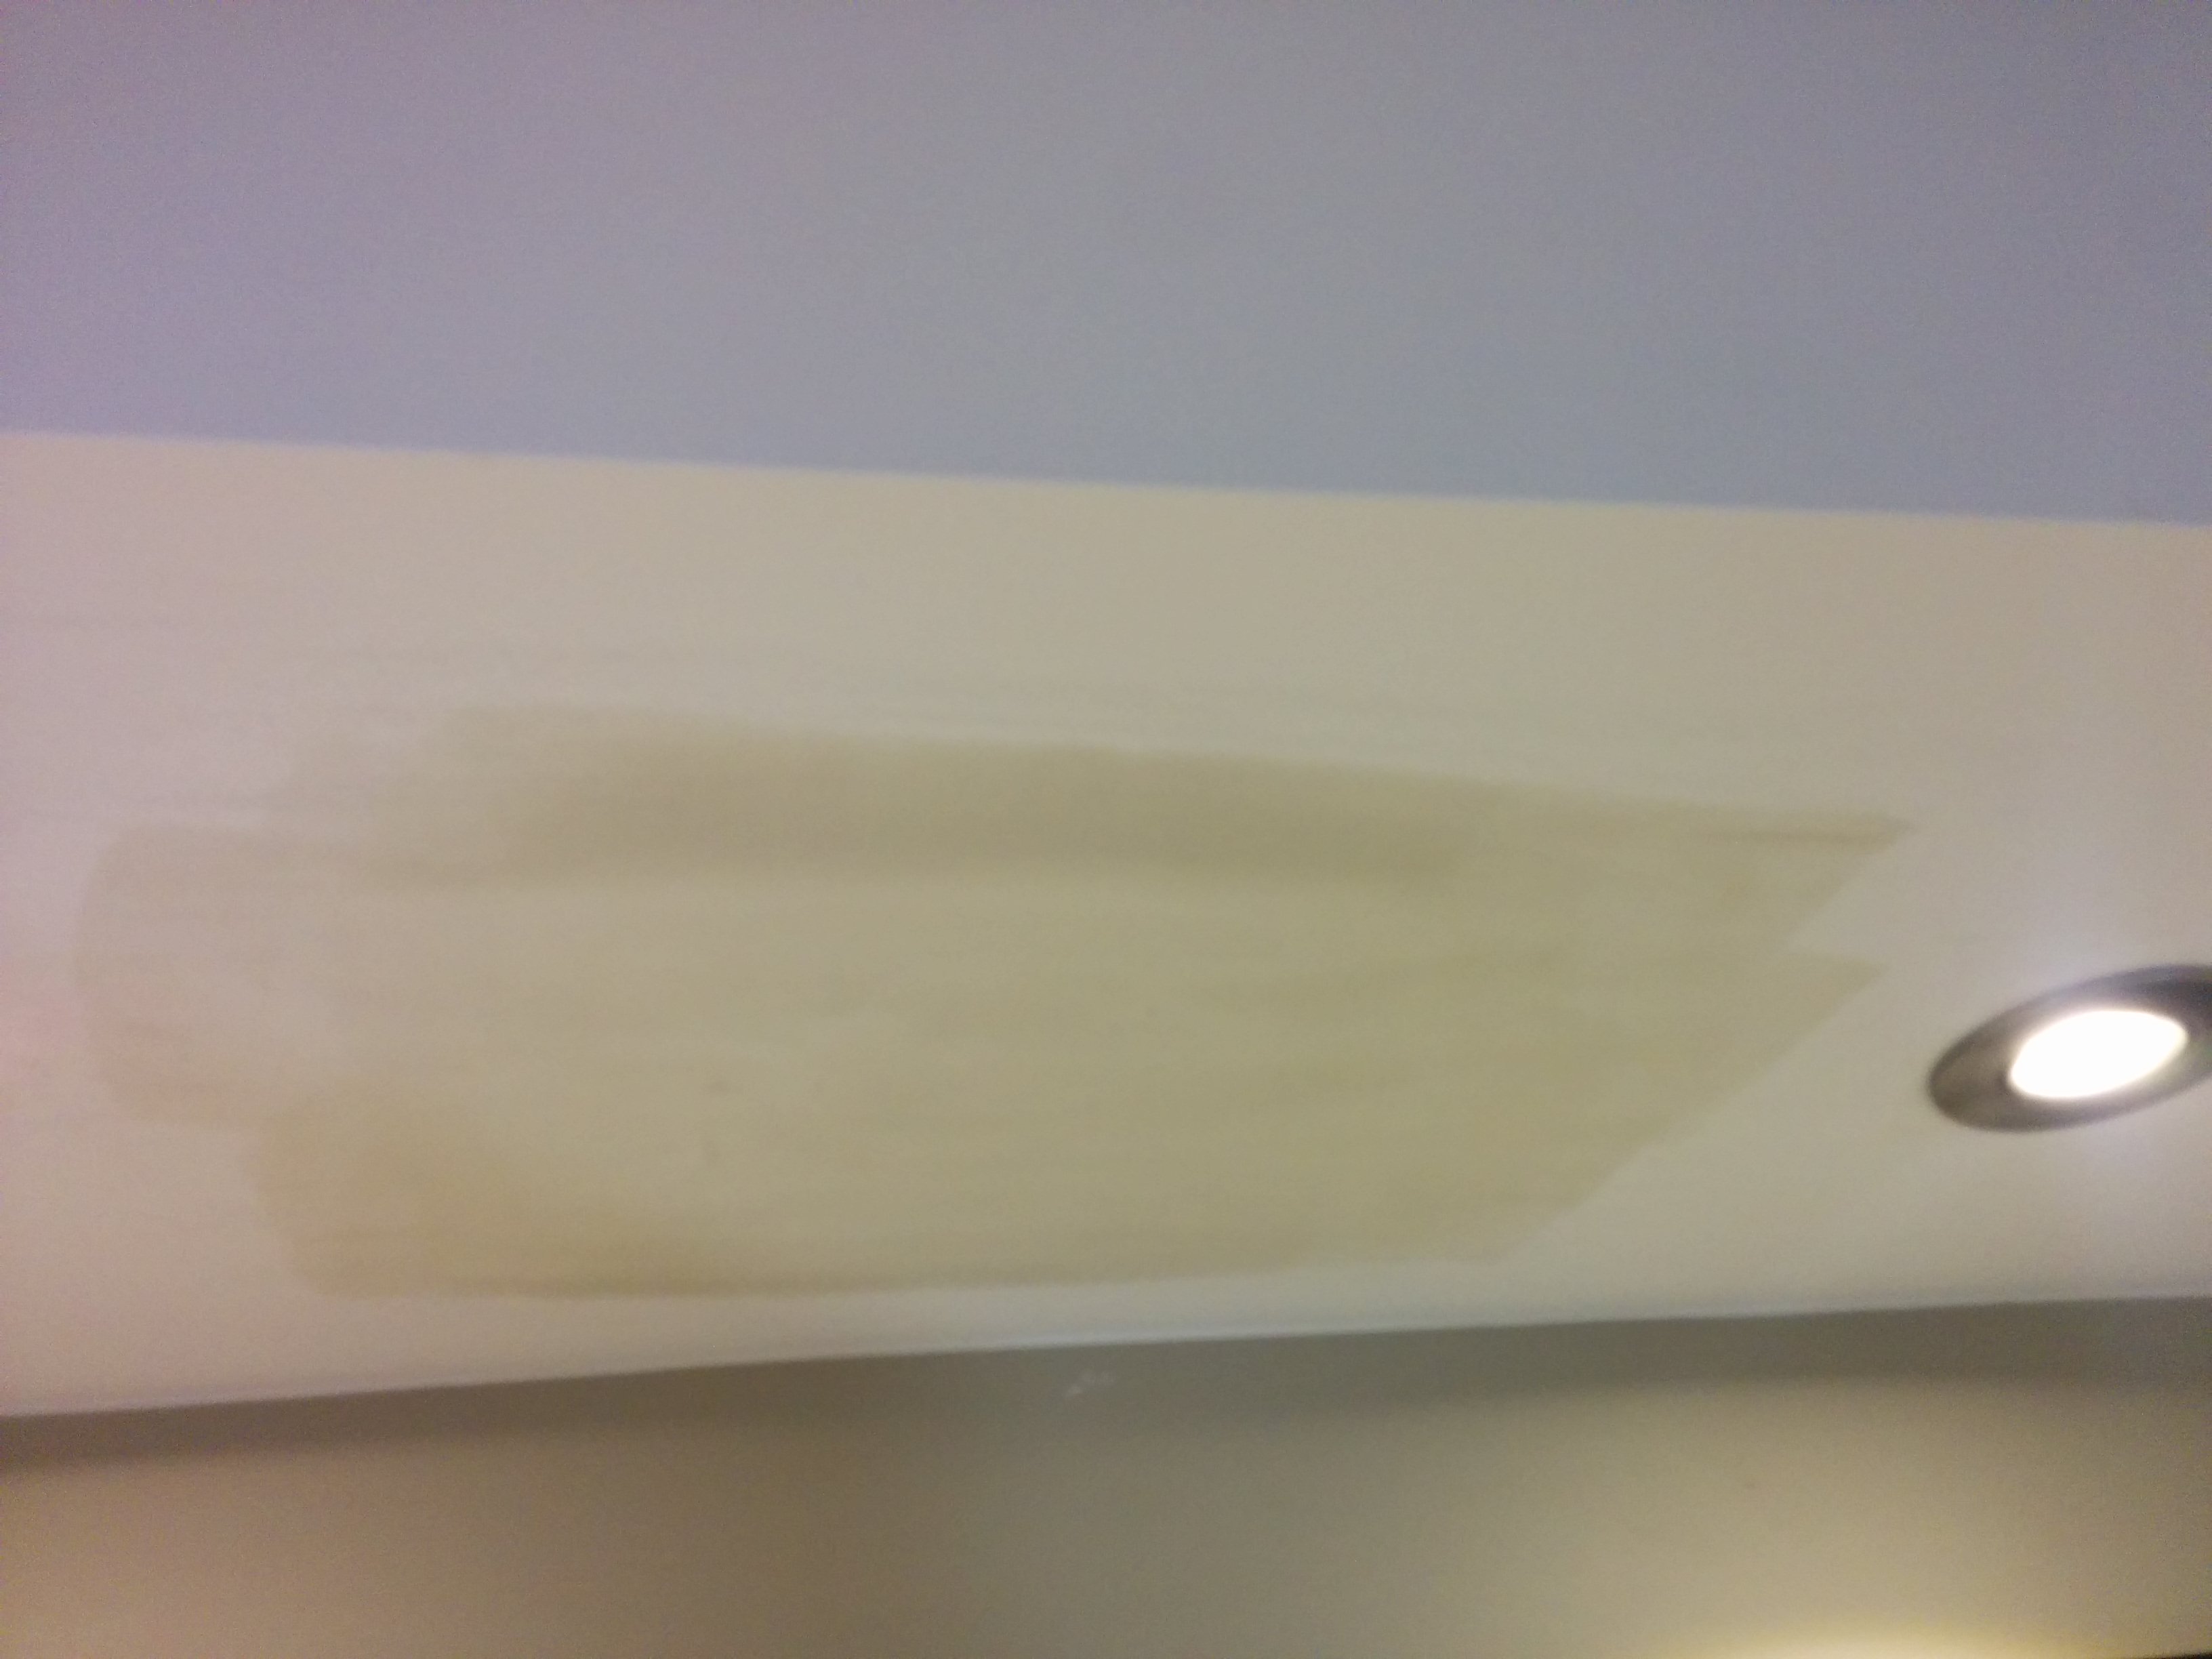
Step 8: Prime the area, re-inspect & touch up, if necessary
Primed and ready for paint!
Prime the area and once it’s dry re-inspect it to make sure it’s nice and smooth. If there are any dents or pock marks fill with Sheetrock.
Step 9: Sand touch ups and paint
Once the touch ups are dry, sand and apply 2 coats of paint.
Step 10: Clean up
Always be sure to clean up after yourself!
If your walls are cracked and in need of attention, why don’t you schedule an estimate? CAM Painters would love to Transform Your Home With Lasting Beauty!
by Craig | Aug 21, 2016 | drywall repair, Interior Painting
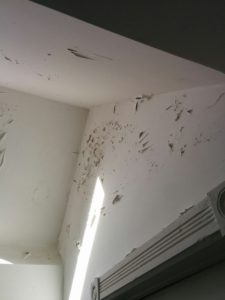
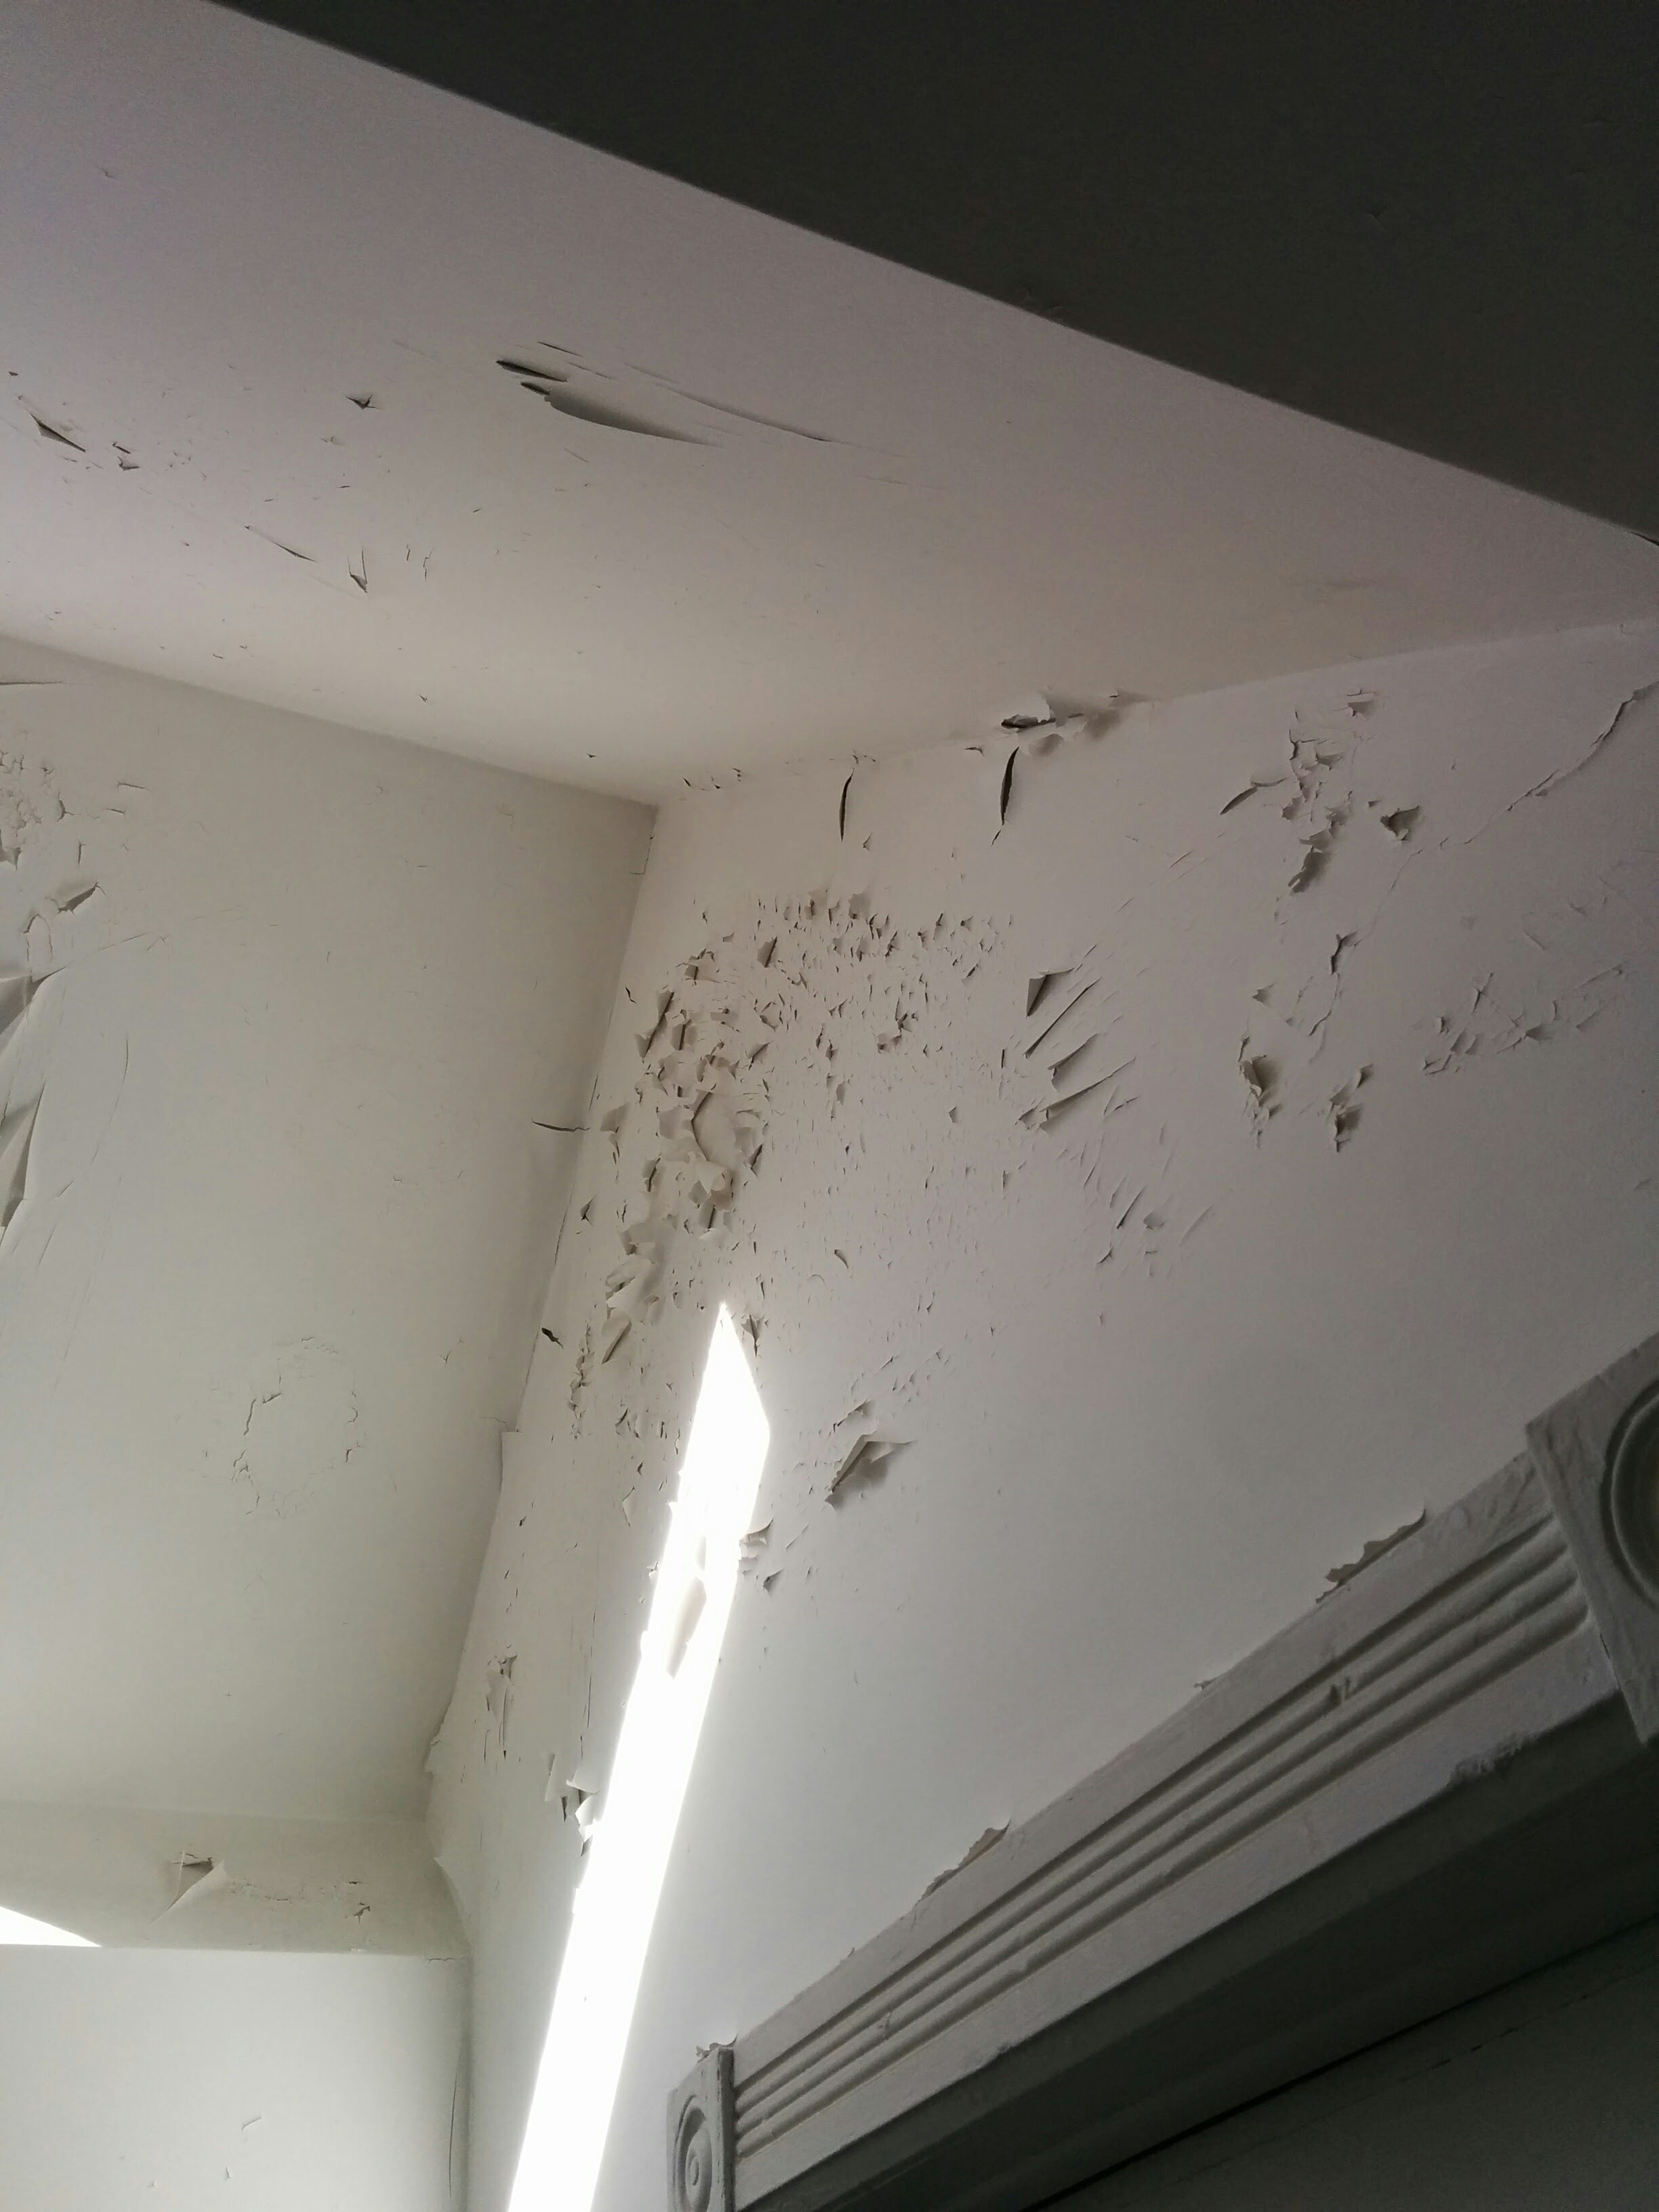
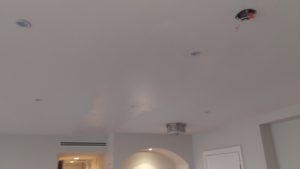
You’re having a shower in your beautiful Toronto home and you look up and see that there is peeling paint on the ceiling. “How did this happen?” you say to yourself, “and how can I fix it?”
Peeling paint is far more common on the exterior of a home than on an interior, exteriors are more subject to temperature changes and the elements, which puts more stress on a paint system. Having said that, paint can still fail on the interior of a home, so let’s figure out what’s happening.
Improper home surface preparation
Some surfaces don’t let paint “bite” into it, resulting in less adhesion and subsequent peeling. Glossy surfaces need to be sanded and/or primed in order for the finish coat to properly bind onto the surface.
This is why painting a latex paint over an old oil-based paint can result in problems down the road. The oil paint is too glossy for the latex paint to properly bond to, so it’s essential to ensure that old oil-based paint is sanded and primed so that the latex topcoat gets good adhesion.
Dirty surfaces can also create problems with paint topcoats. Take, for example, a kitchen, where a thin layer of grease can build up on the walls over time through cooking. Or possibly a bathroom, where hairspray can miss it’s intended target and build up on painted surfaces. If these are not properly cleaned they can cause issues and cause the topcoat to fail.
When we run into dirty surfaces we use a cleaner/degreaser to clean the walls. If we think there is going to be any chance of residue we use a very aggressive primer that will bite into these contaminants and seal them properly in preparation for the topcoat.
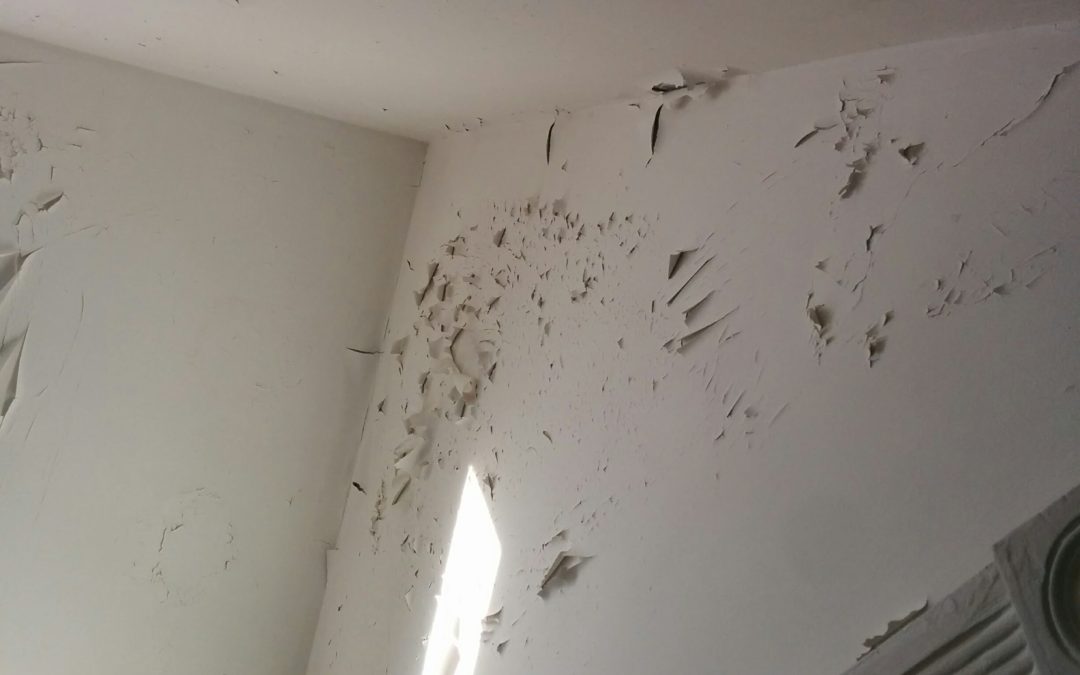
Generally, if it is an issue with improper preparation, only the topcoat will peel. This is sometimes called “tissue peeling”, the paint peels down only to the paint underneath, which is sound.
READ: How Do I Know If the Paint in My Toronto Home is Oil or Latex
Painting over silicone caulking in your home
Be careful when purchasing caulking, if the caulking doesn’t say “paintable” on the label don’t try to paint it!
Many times, though, ambitious DIYers or handymen will put clear unpaintable silicone over a painted surface. This is very common in bathrooms and kitchens, around bathtubs, sinks, etc. If this has been painted over it will peel and create a mess. If you notice peeling paint around the tub or sink in your bathroom, likely this is what has happened. To fix this, the silicone caulking must be removed, the area should be primed, new paintable caulking should be used and the area can then be repainted.
READ: How-To: Get a Straight Line of Caulking
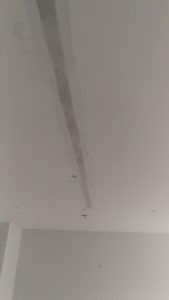
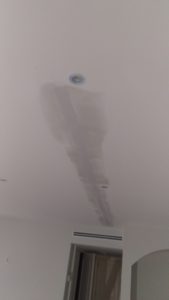
Moisture issues in your home
This is a little more tricky for a painter to fix. First, the source of the moisture must be eliminated, which involves a plumber, roofer, or some other contractor depending on where the moisture is coming from. Once that is fixed, we have to assess if the drywall is still sound. A professional drywall repair contractor will then be able to determine whether the waterlogged drywall should either be left to dry or removed, depending on the extent of the damage. Drywall repairs are then made and the walls are primed and painted.
Generally, when moisture is the reason for the failure, the paint peels right down to the drywall. Also, you might notice some mold forming on the surface or the drywall feels soft. This can be for many reasons, but leaks is a common one. One customer found plumbers in Port St. Lucie here who were able to locate the leak which was causing the paint damage but sometimes it can be more difficult. You can have all sorts of leaks around the house, but sometimes you can have a faulty roof; this is hard to notice seeing as you can hardly see your roof very well. Sometimes it just needs recladding or a simple repair of a fault tile. If you would like to find out more about this, visit https://divisionkangaroof.com/roofing-services/roof-repair/. They may be able to help you out whether it be talking through your options, checking your roof, making a repair, or redoing your roof with a more sustainable material.
If you’ve noticed some peeling paint on the interior of your home, why not book a quote? We’d be happy to stop by and give you feedback and provide you with solutions that will Transform your home with lasting beauty!
by Craig | Nov 2, 2015 | DIY, drywall repair, Interior Painting
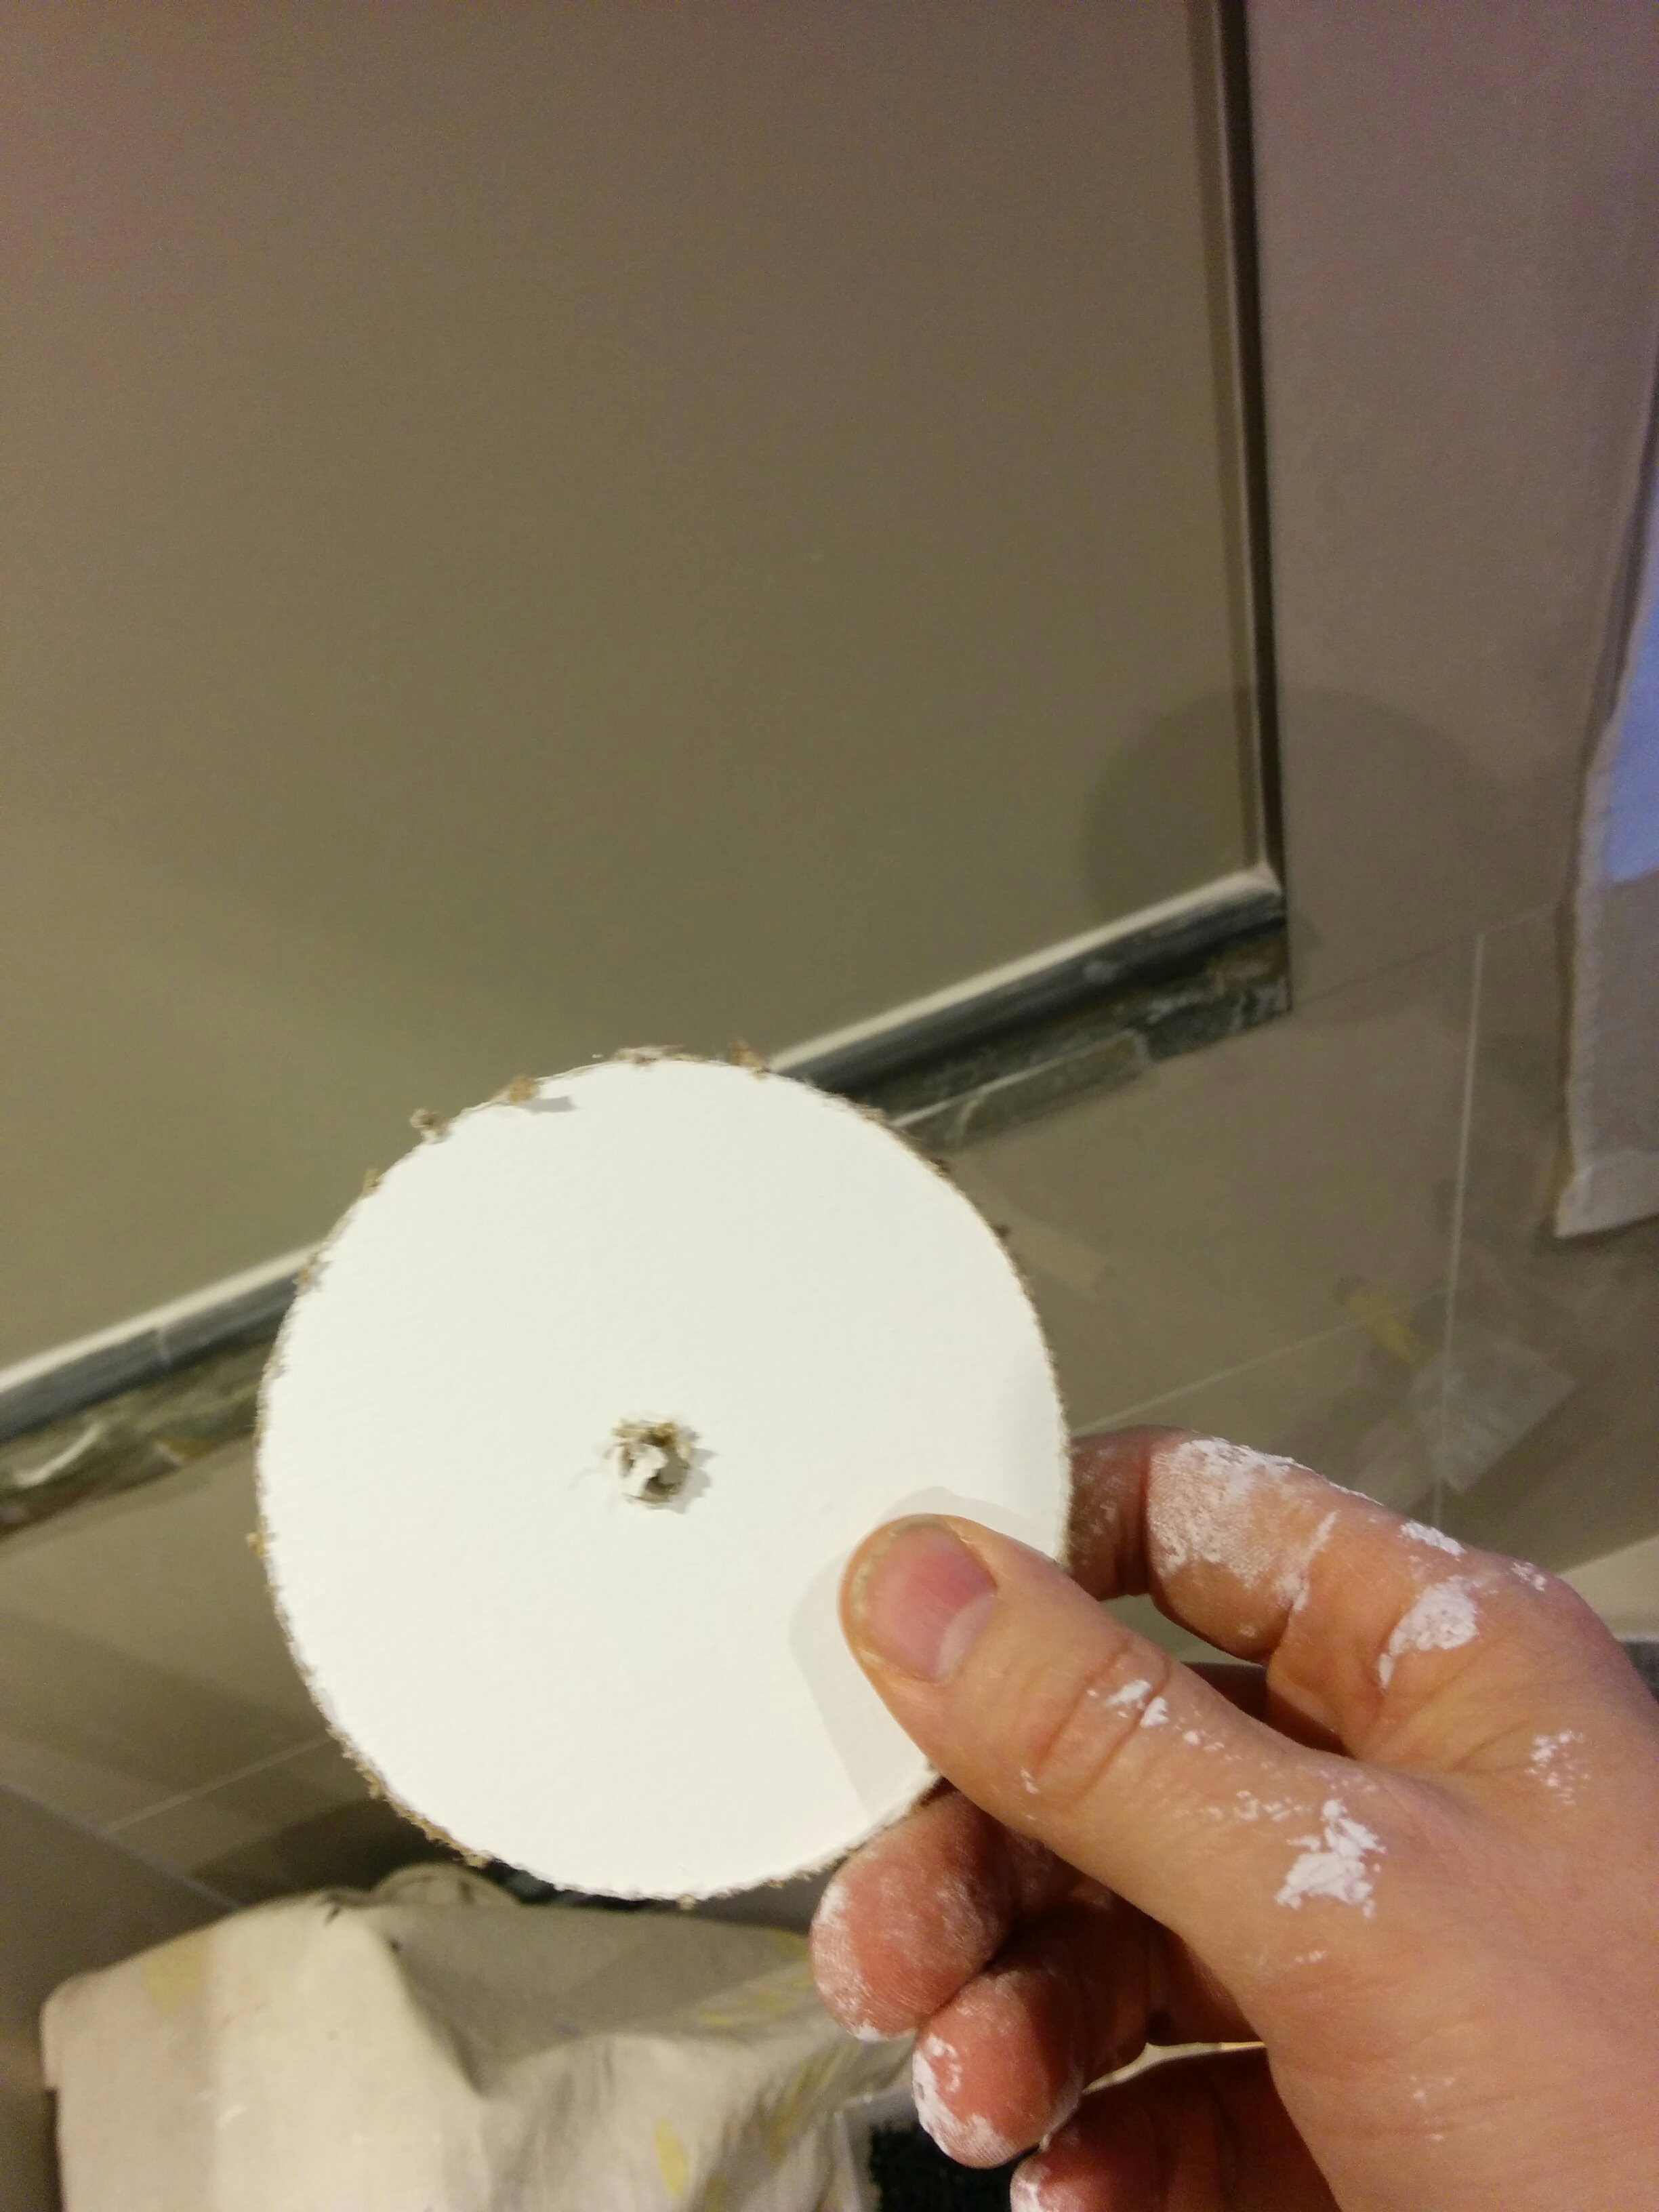
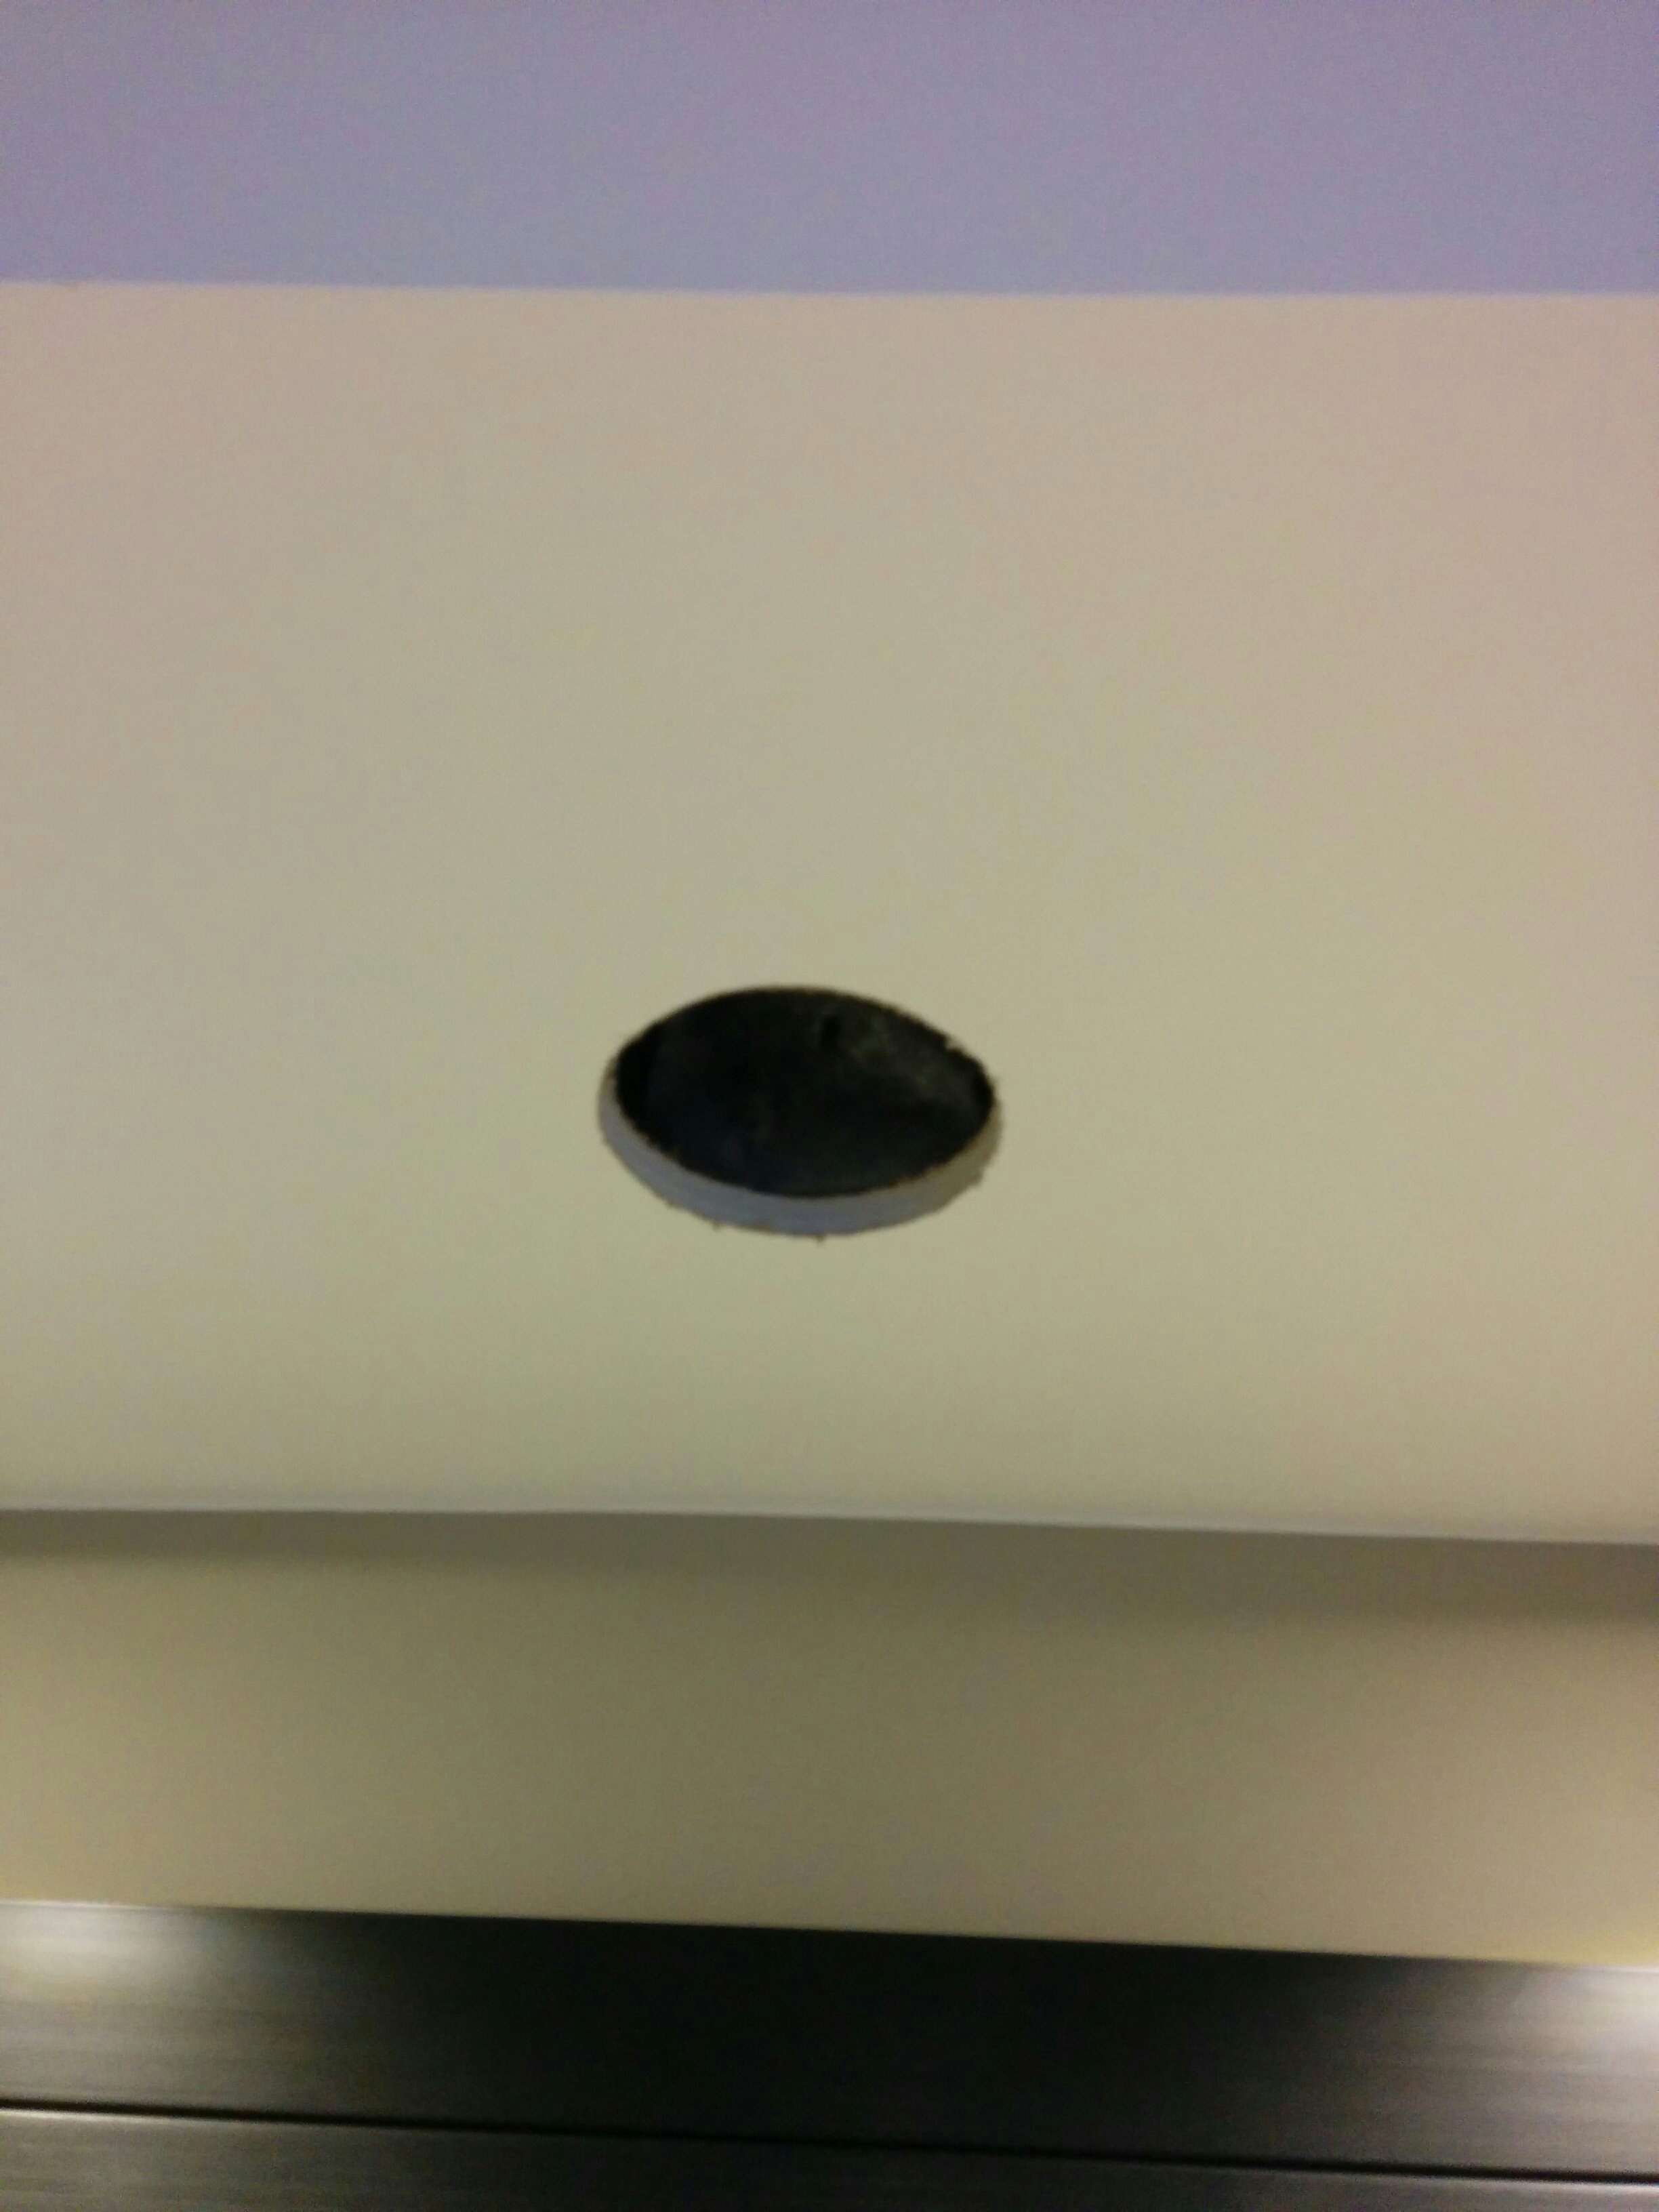
Patching a hole in the wall in your home is a simple task if you’re handy with DIY projects. I’ll outline how I usually tackle these projects.
Materials needed for the patching a hole:
Step 1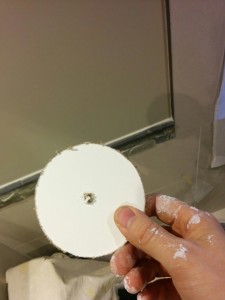
Either cut a piece of drywall the same size, or use the piece left behind by the contractor (if they are nice they will leave this for you).
Step 2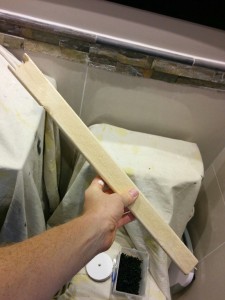
Get a piece of 1×2 lumber and cut it so that it extends past the hole by a few inches on either side.
Step 3
Insert wood into the hole and fasten it with screws on either side.
Step 4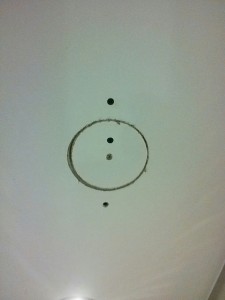
Insert drywall piece into hole and fasten it in position with a screw or 2.
Step 5
Apply mesh tape around the edge of the patch. However, in this case, the patch is small, so I’ve just mesh taped the entire area.
Step 6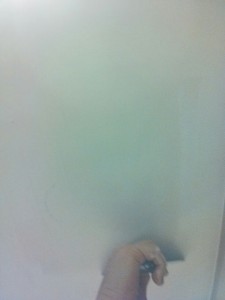
Apply a coat of mud over the patch and allow to dry overnight. Usually I will use the premix mud either in the bucket or box.
Final Steps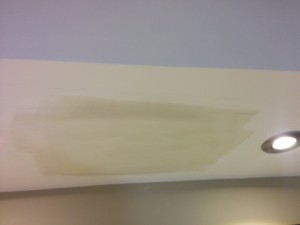
When the patch is dry, sand, give one more thin coat of mud, sand again and paint.
Usually for the final skim coat I will use Sheetrock 20 powder because it dries fairly quickly so I can sand and paint the same day.

There you have it, step-by-step instructions on how to do an effective and durable drywall patch.
If you need any help on your painting projects please schedule a quote, we’d be happy to help you out!